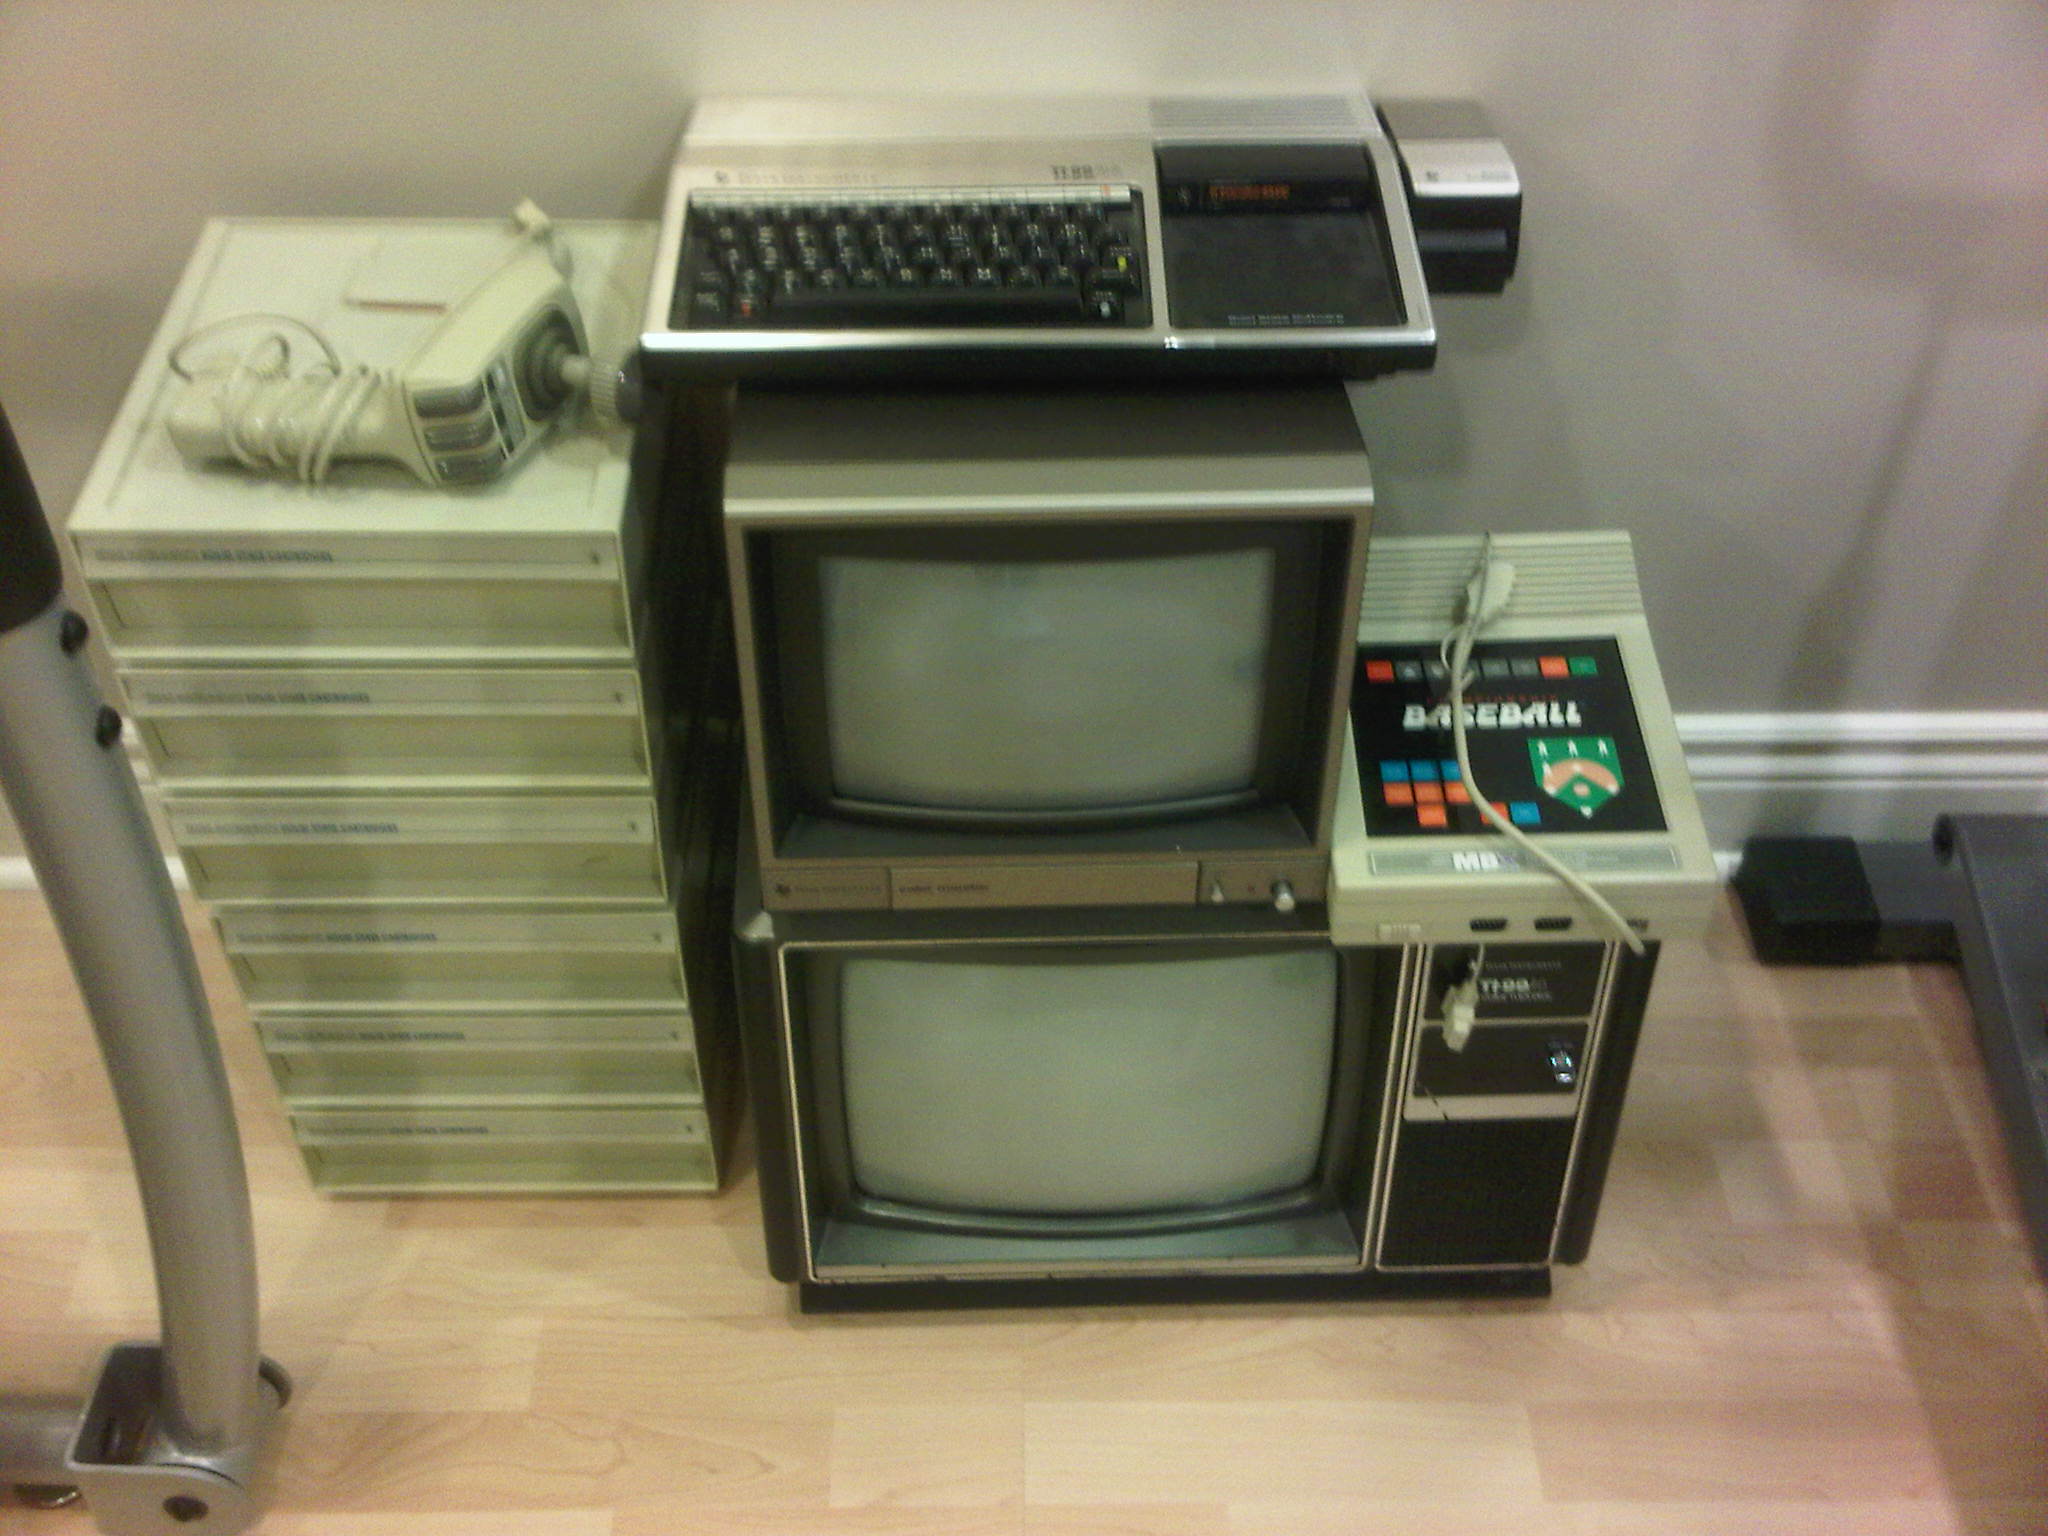
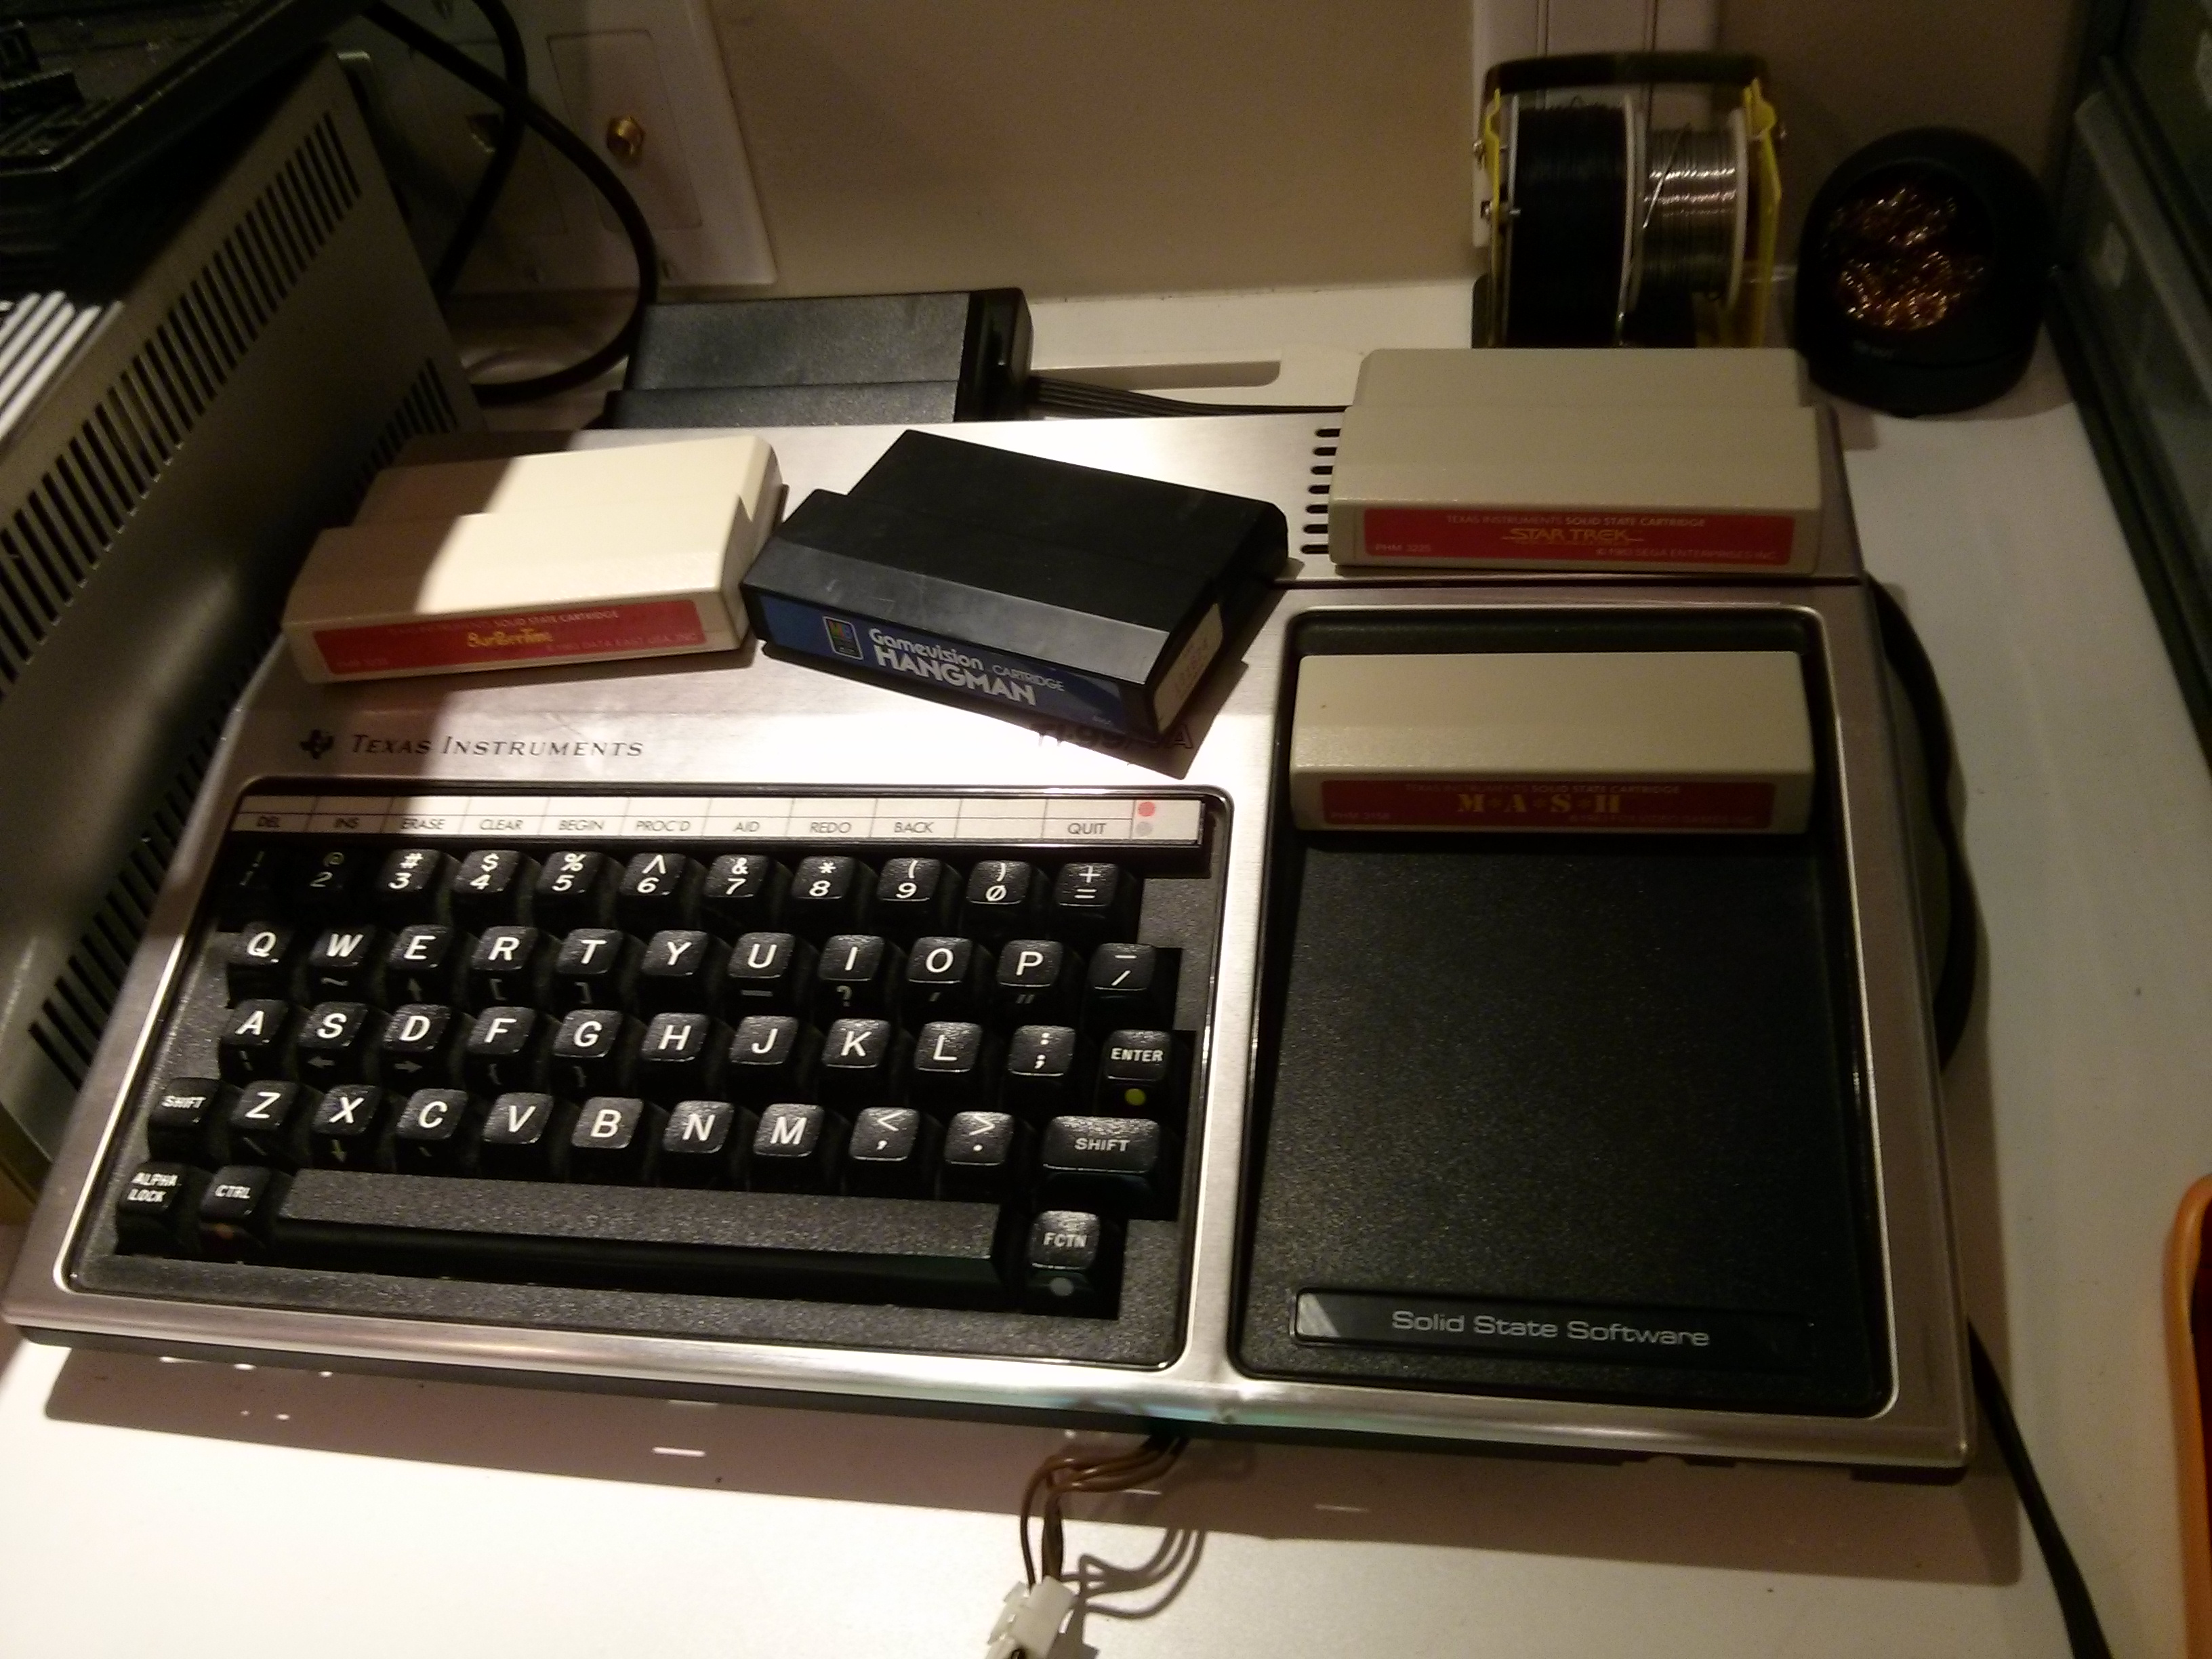
I bought this TI-99/4A computer along with around 70 games, 2 monitors, and a Milton Bradley MBX system at a garage sale a few years ago. If I recall correctly, the seller used to be a Regional Manager for Texas Instruments in the 1980s, and used it as his personal computer during that time. The whole set cost me around $90, however, it didn’t include the power or video cables, so I couldn’t test anything before I bought it.
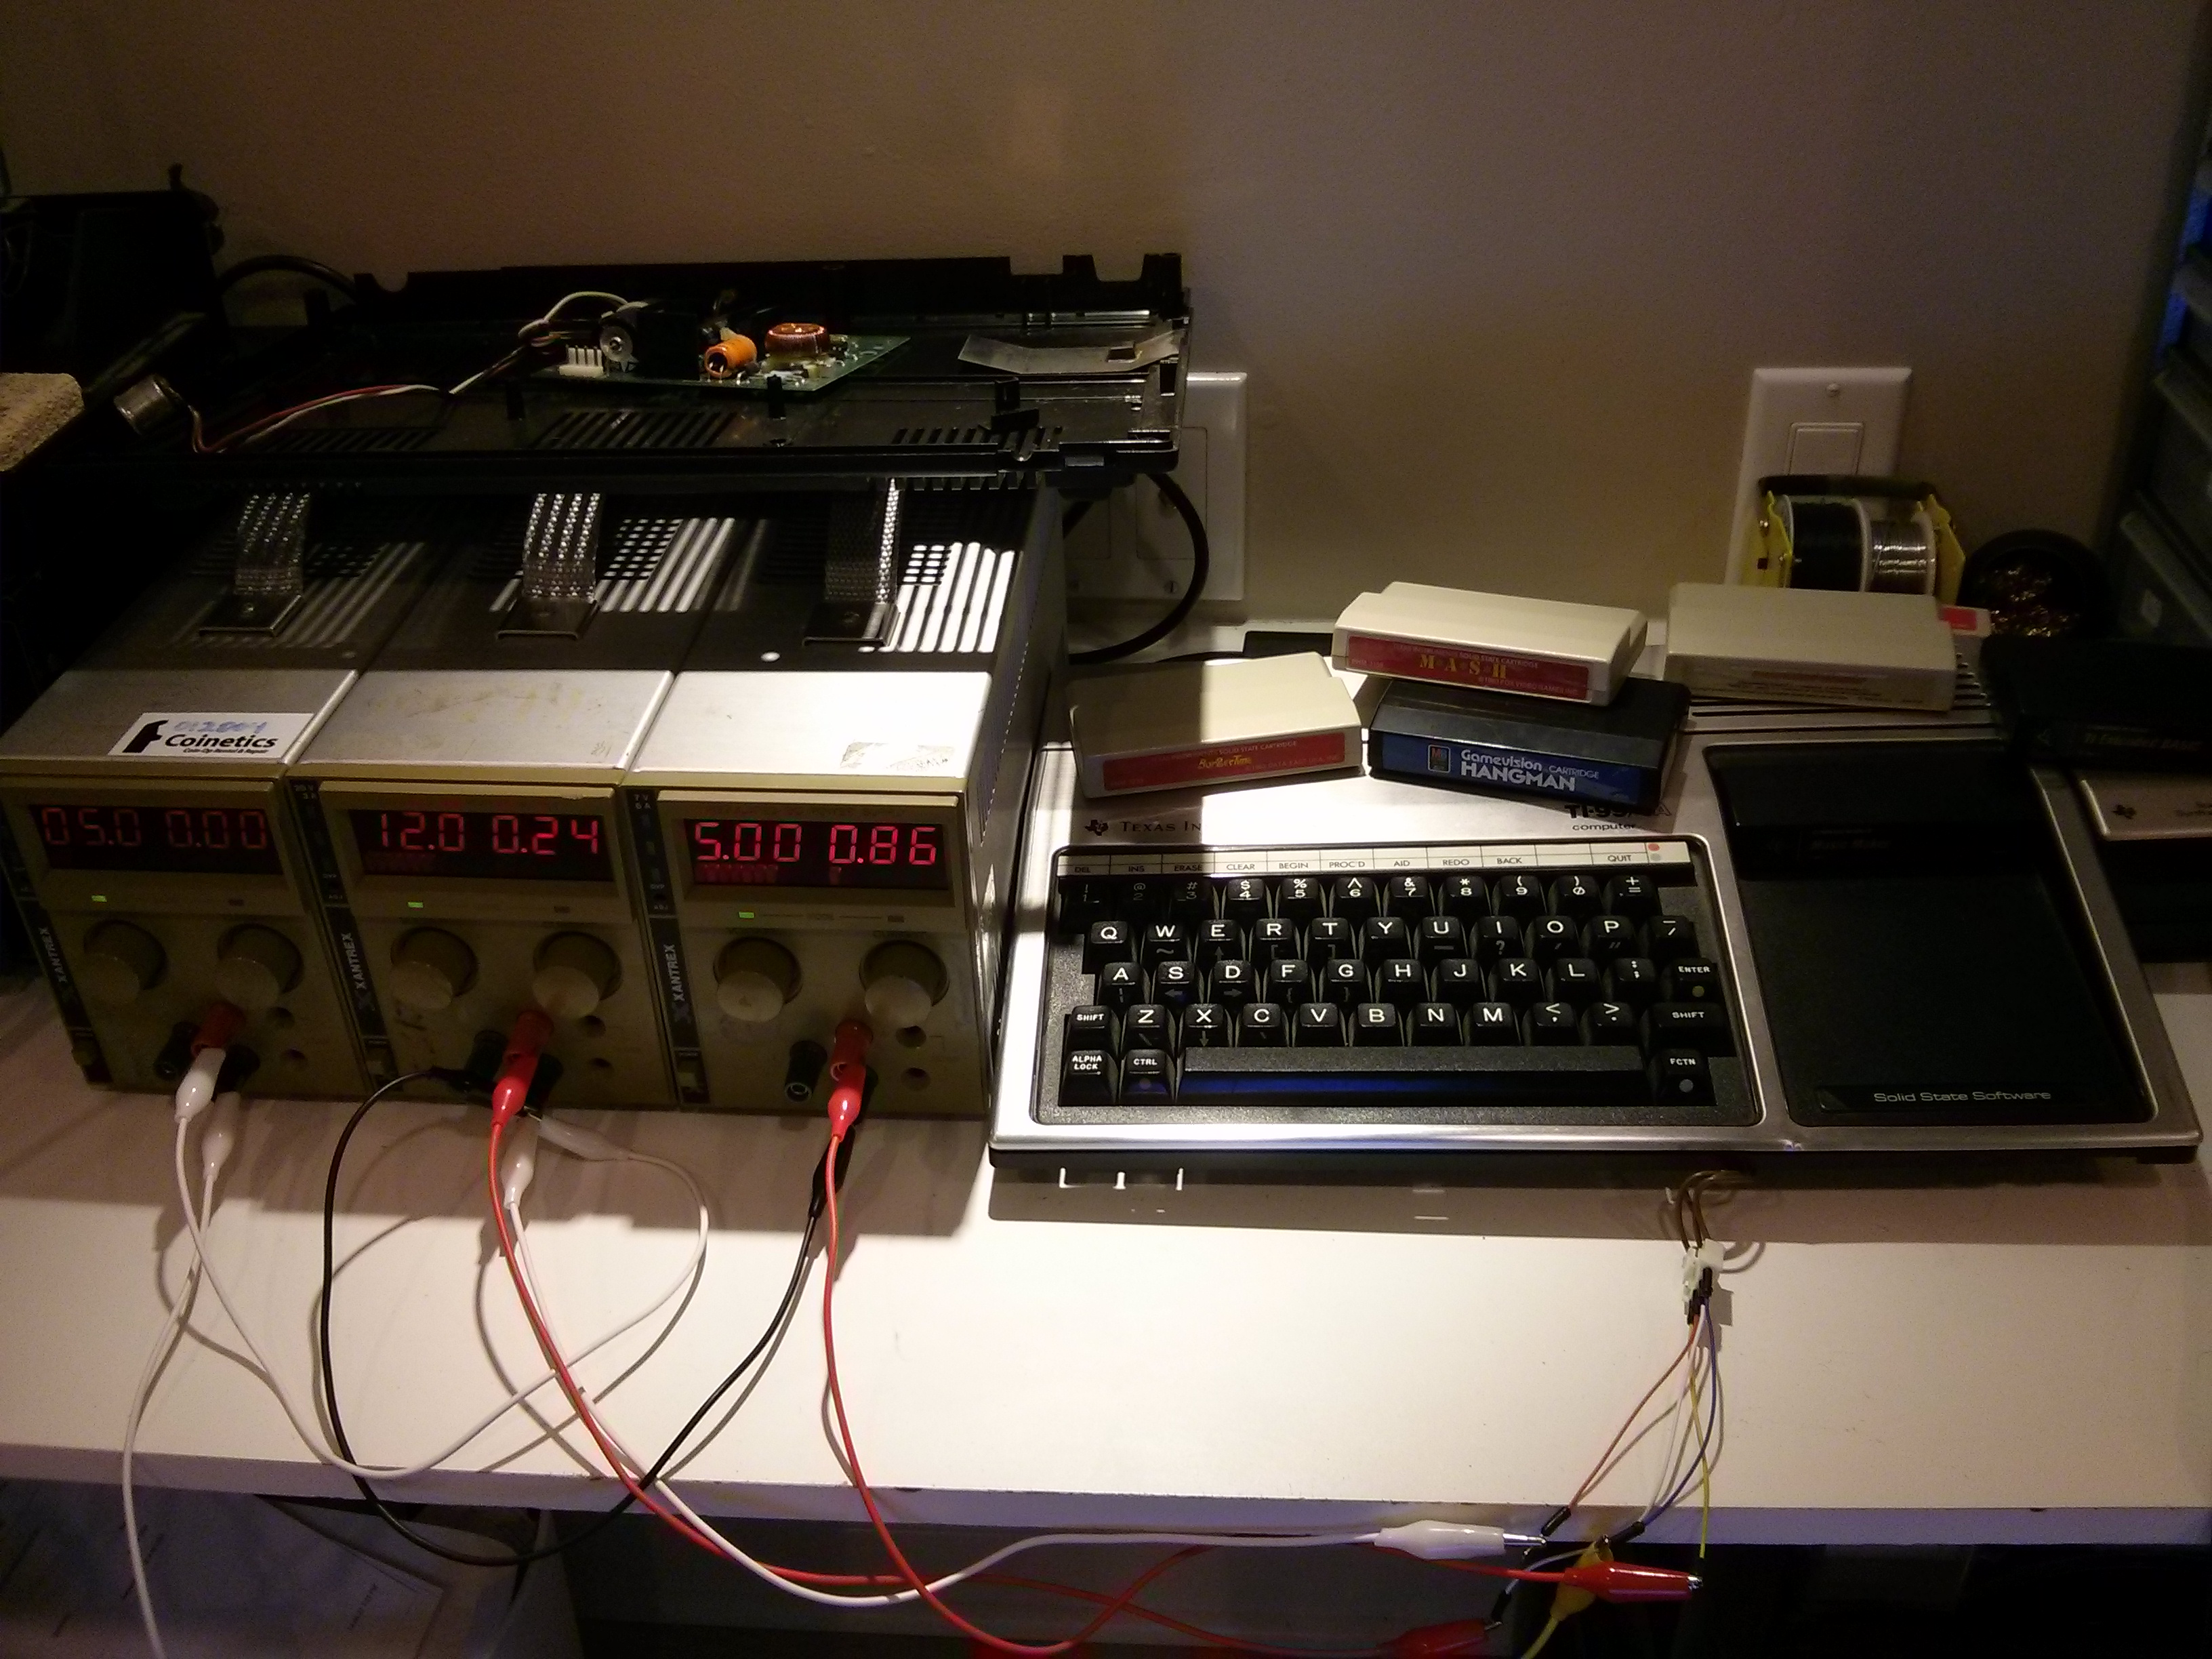
While cleaning out my basement last week, I rediscovered the whole set and decided to take it for a spin. Since the TI-99’s AC adapter outputted AC power and I don’t currently own a variable AC supply, I decided to just disassemble the computer and bypass the internal power supply completely by connecting DC power directly to the motherboard.
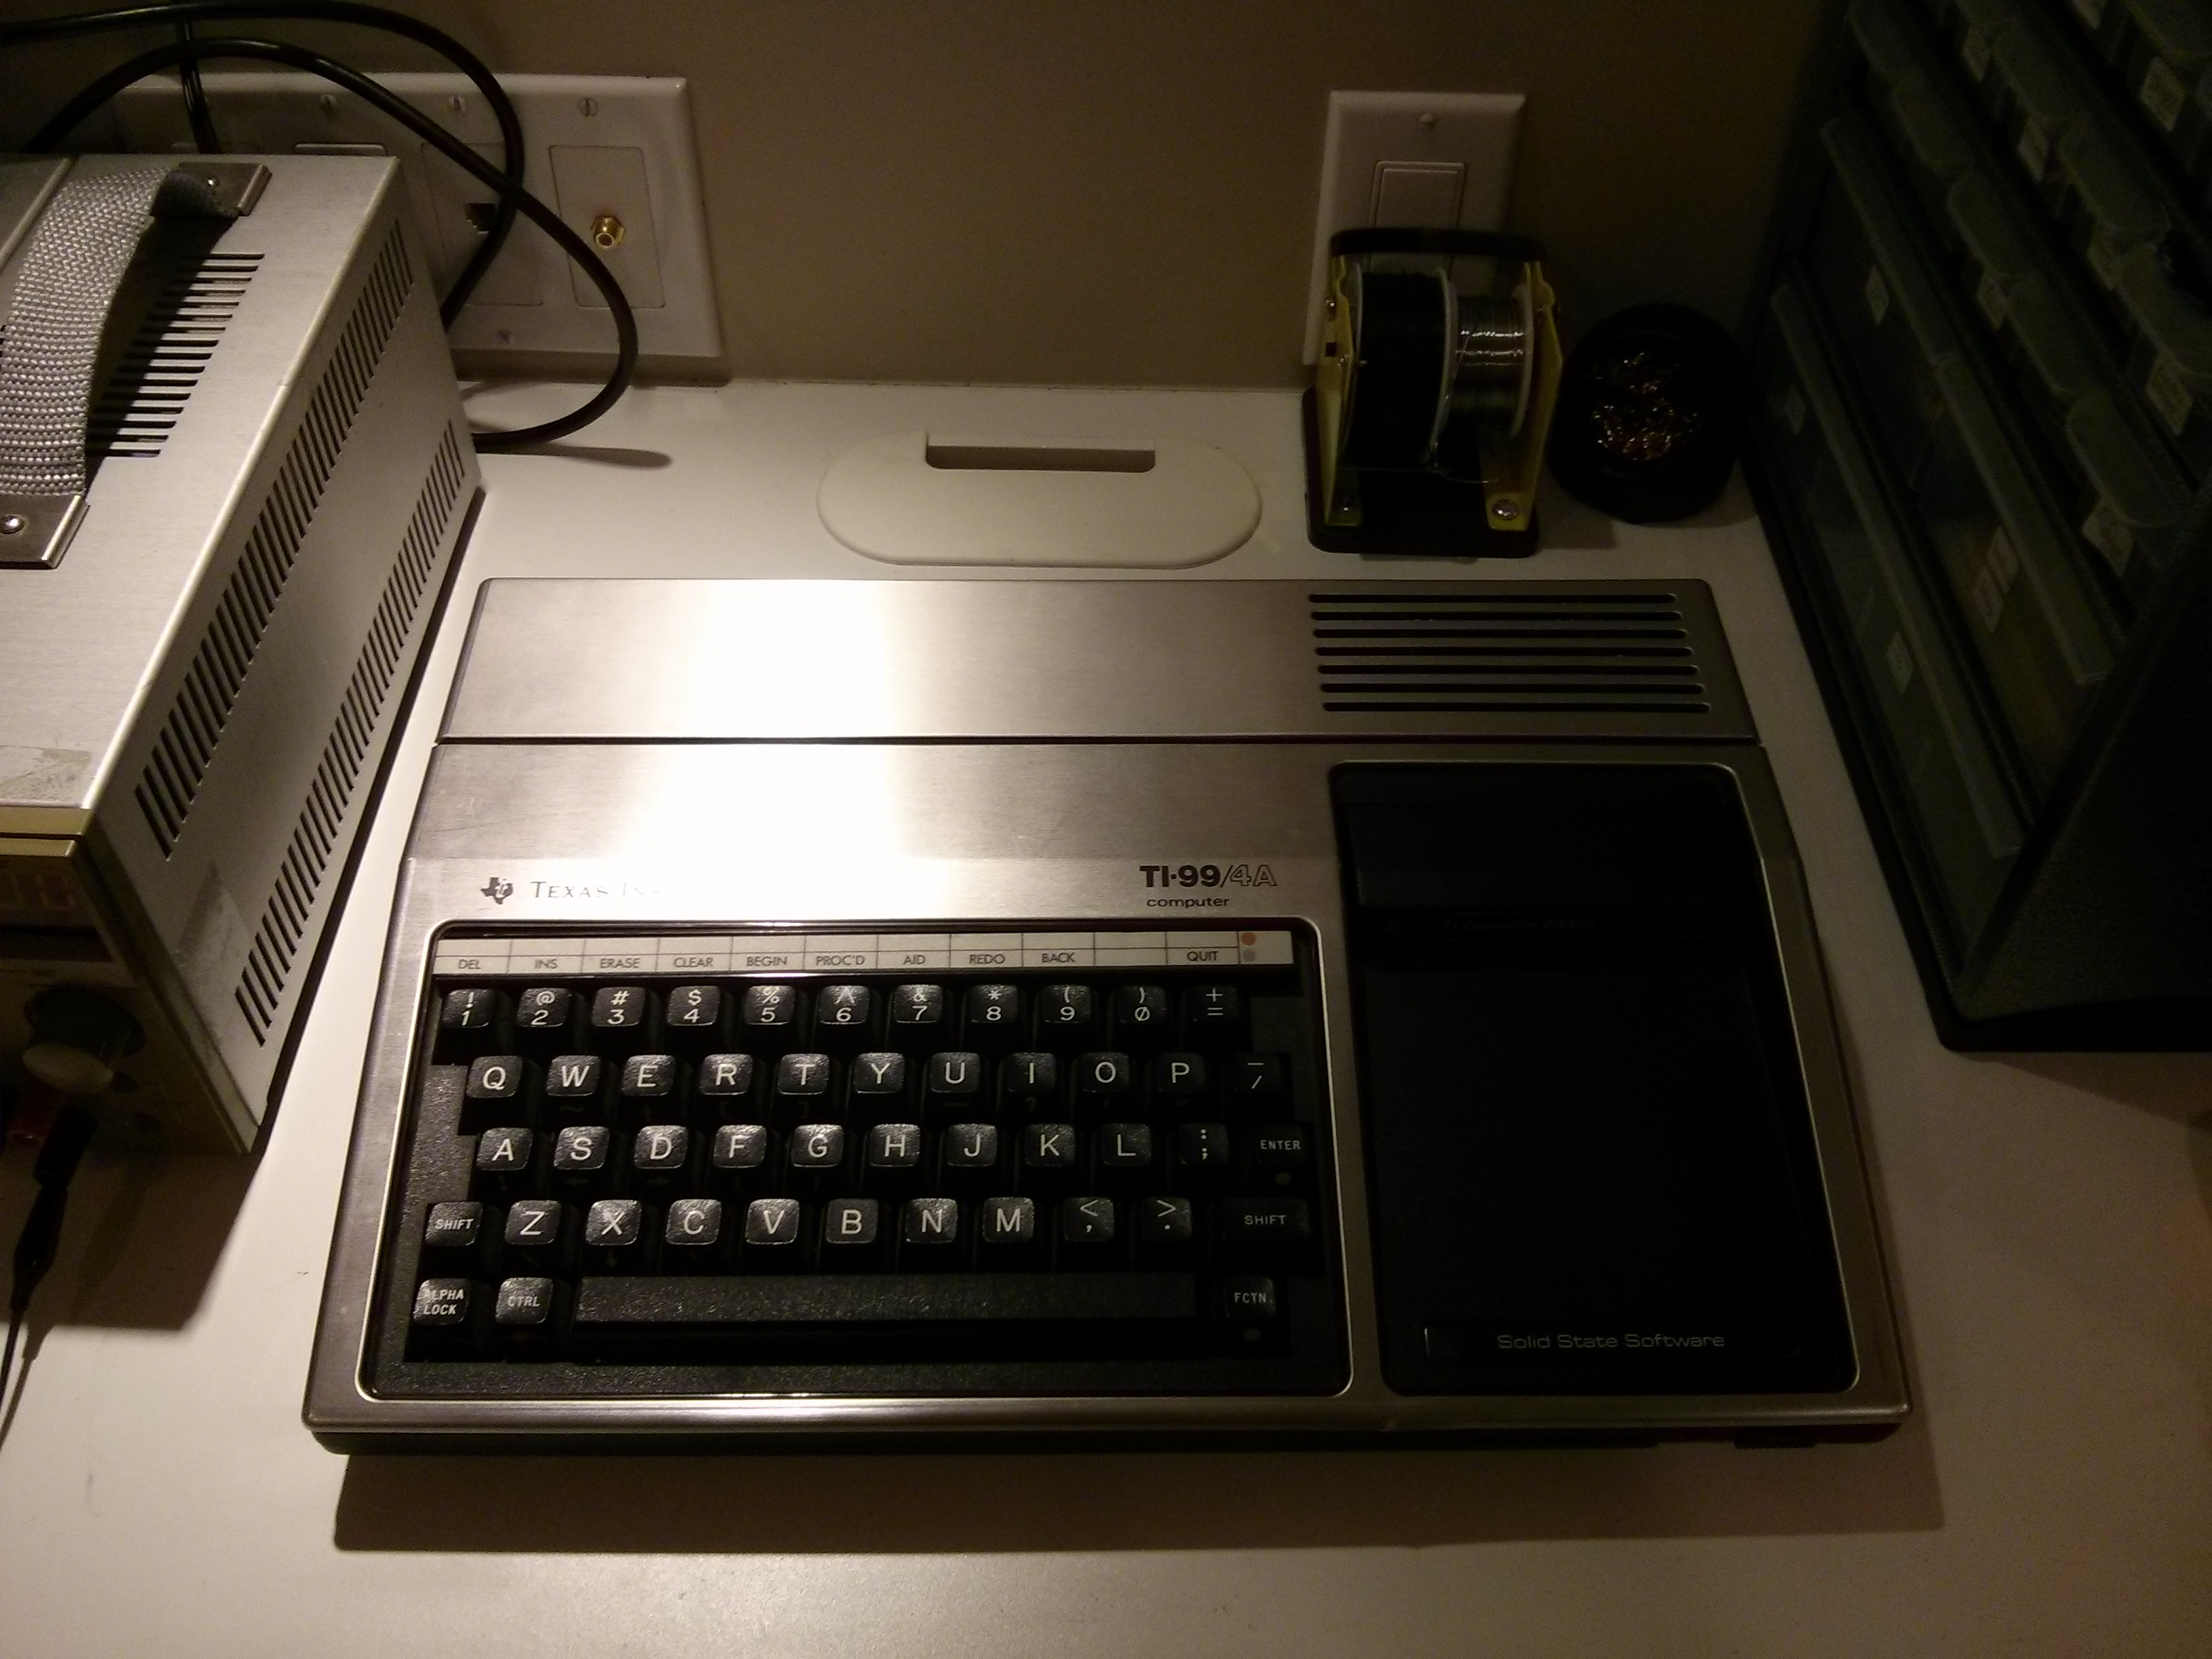
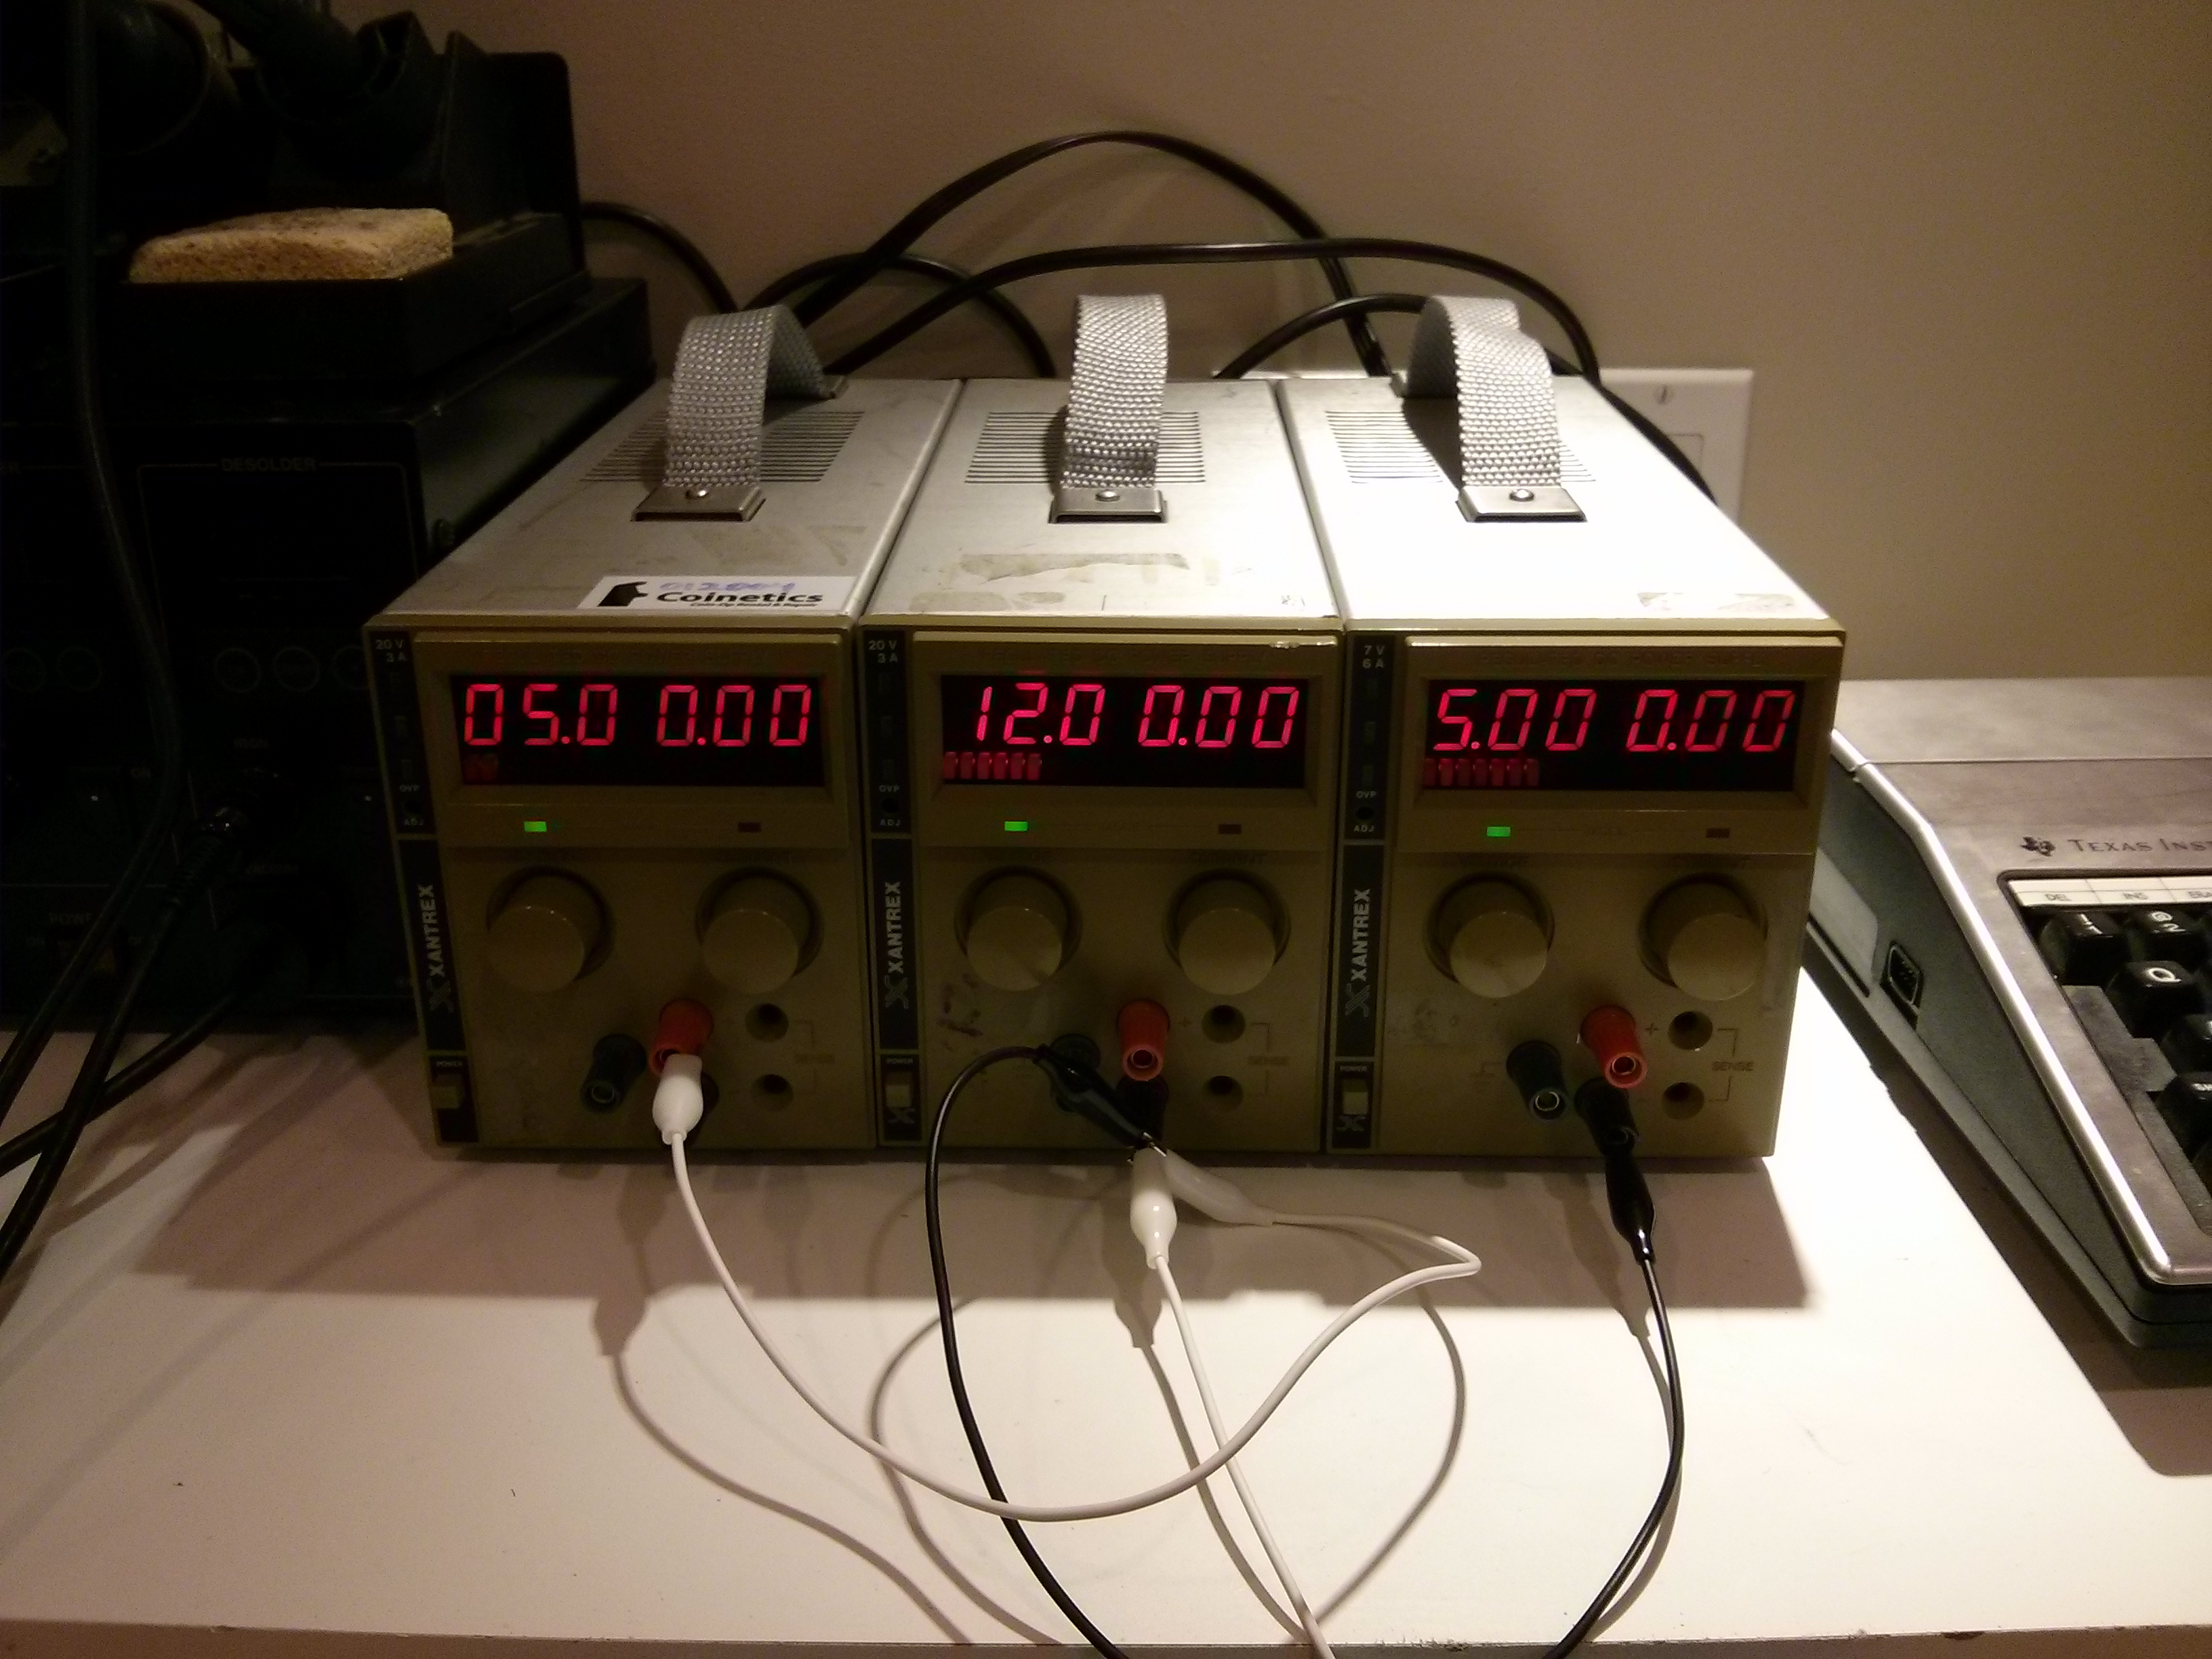
After unscrewing the bottom of the case and removing the power supply, I was able to locate the power connector to the motherboard. According to the silkscreen on the power supply board that it was plugged into, the voltages required were +5v, -5v, and +12v DC. With that in mind, I configured 3 variable DC power supplies so that they shared a common ground and outputted the correct voltages. I then used jumper wires to connect the supplies to the computer.

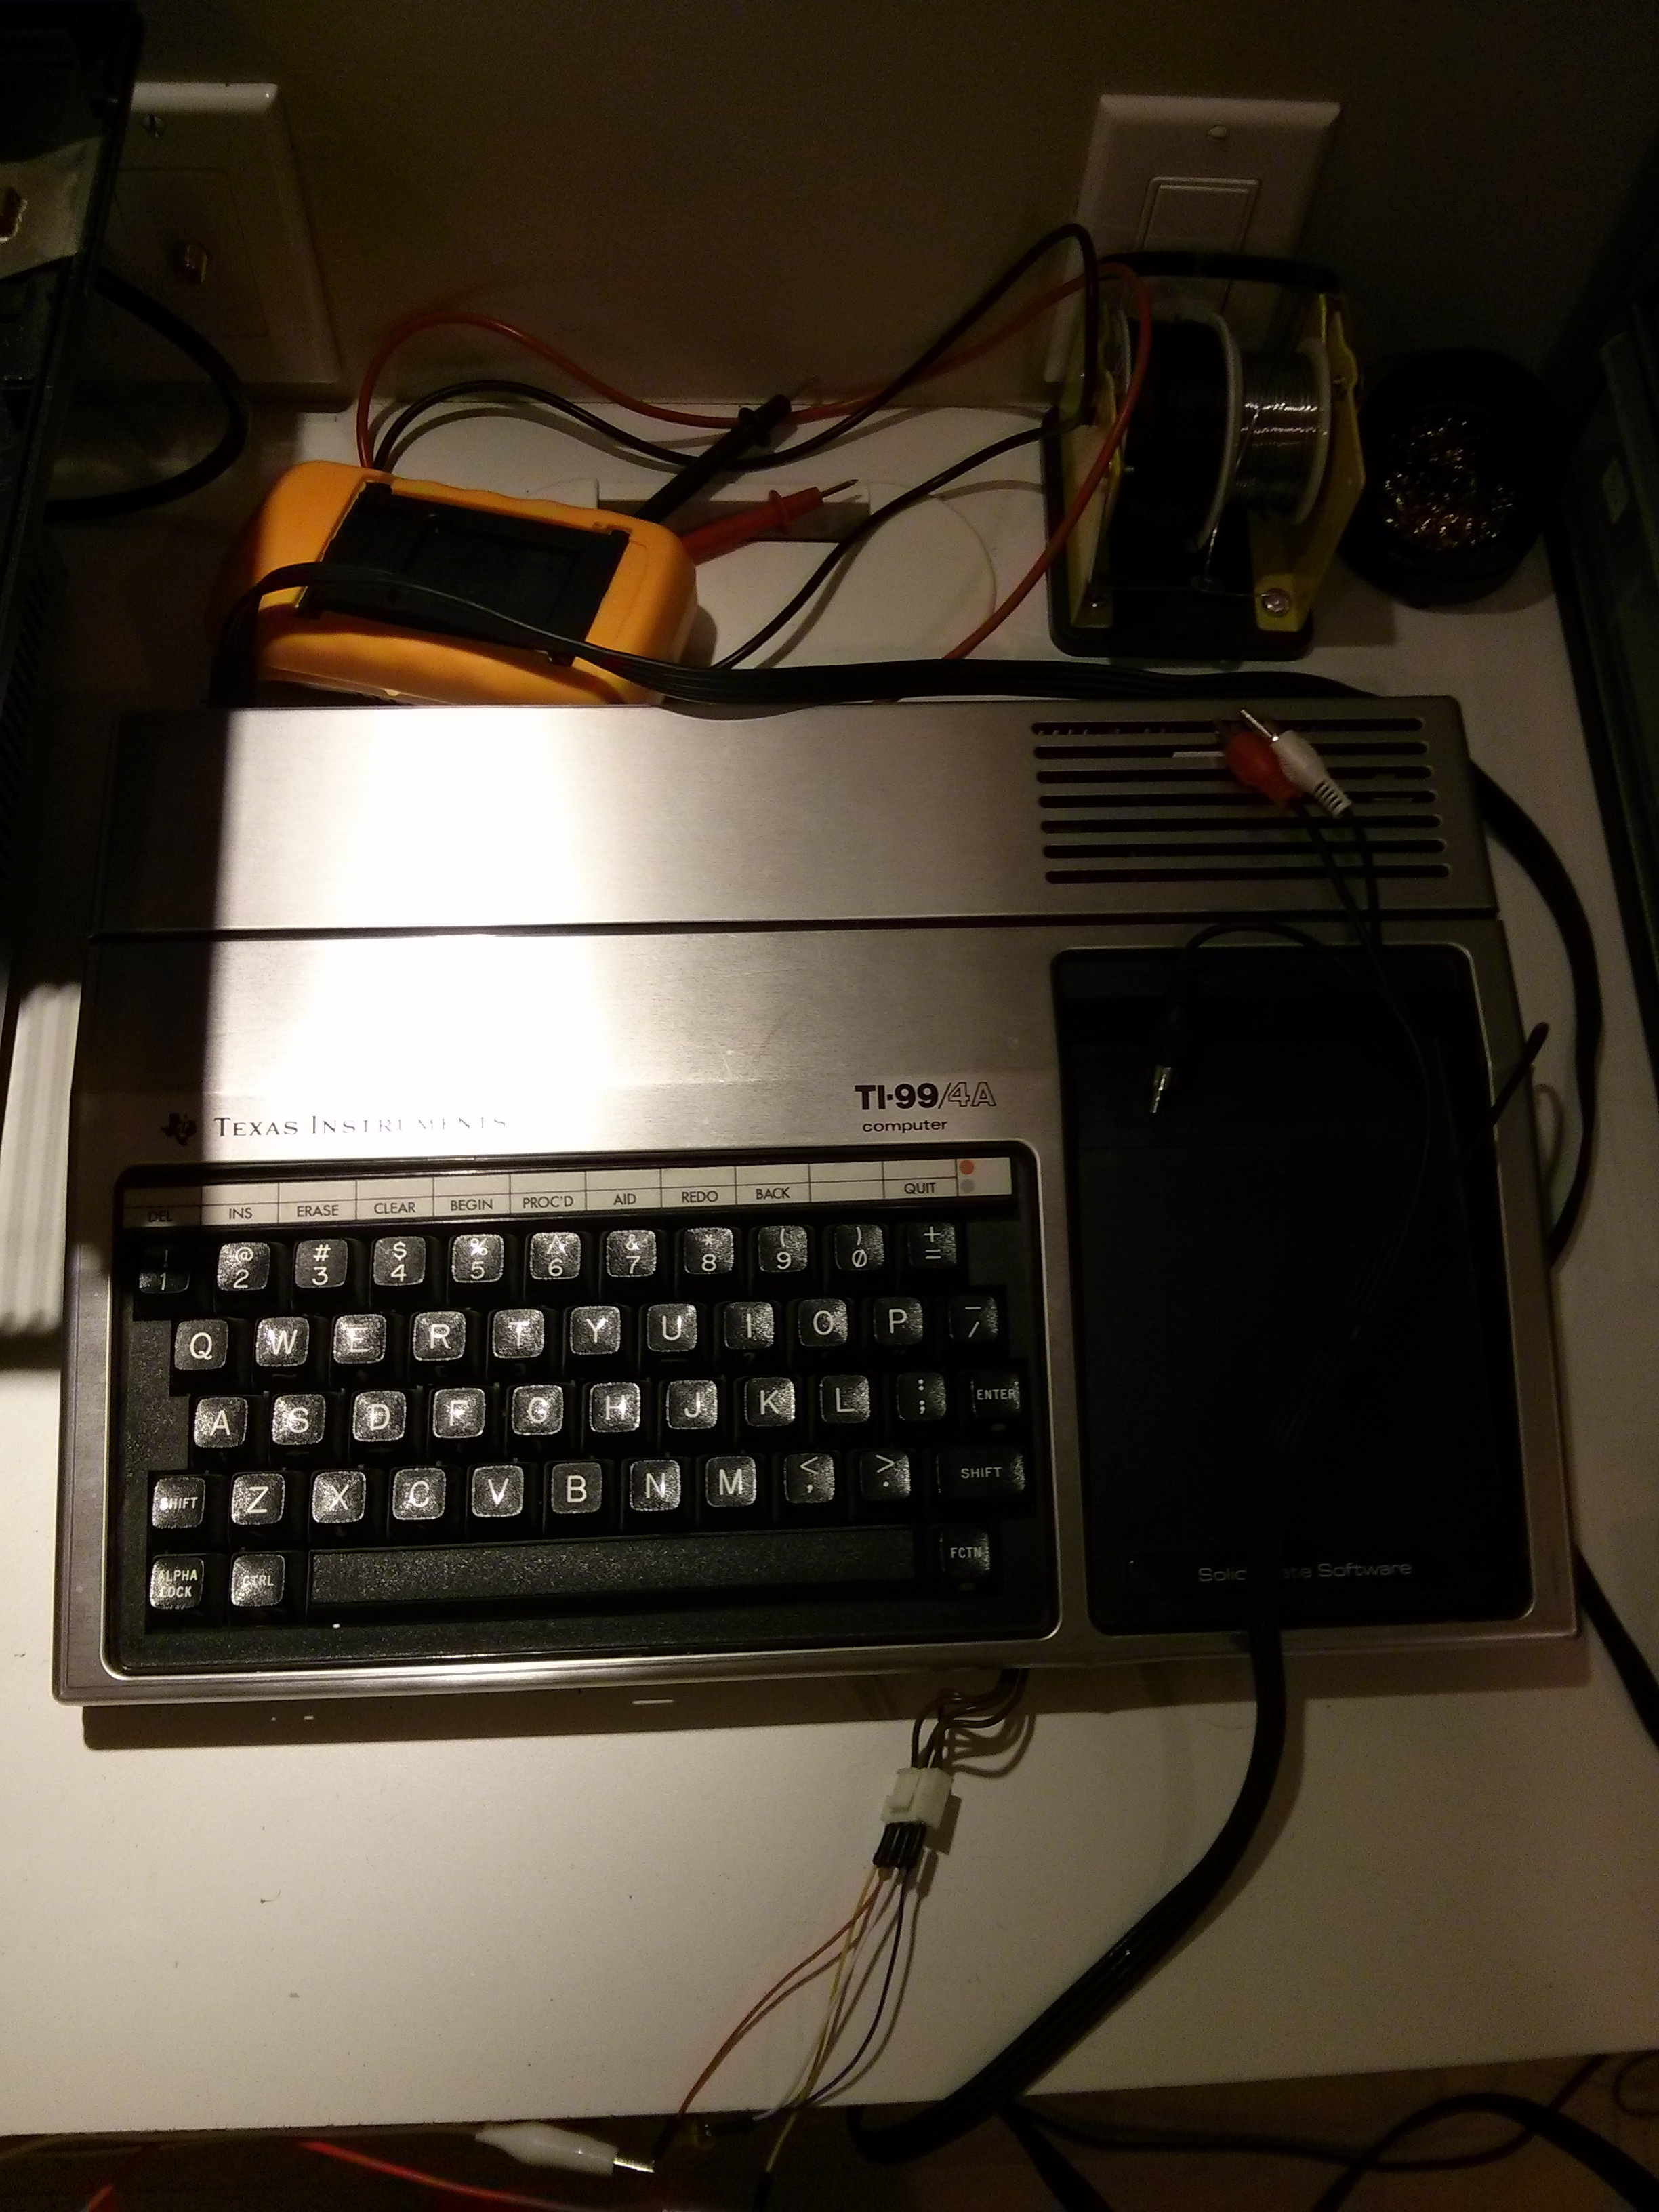
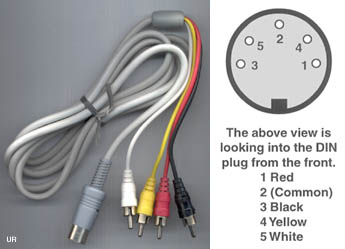
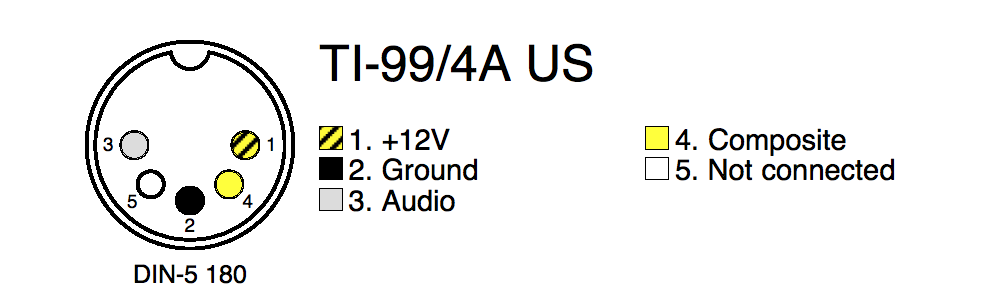
With the power supplies connected, I began work on the video. I found an old Commodore 64 monitor, and was able to use that for testing since it supported composite video input and mono sound. I also found a 5-pin DIN cable (like those used with old audio equipment), and matched the pinout of the video jack to that of the DIN cable. I’ve included a picture of the pinouts below. Before plugging anything into the monitor, I also measured each end of the cable with a multimeter to make sure I wasn’t about to plug +12v into the monitor’s video or sound jack (the TI-99 has +12v on one of the video pins to power the RF modulator box that was sold with the system). With everything verified, I connected the correct ends of the video cable to the monitor, and powered up the supplies.

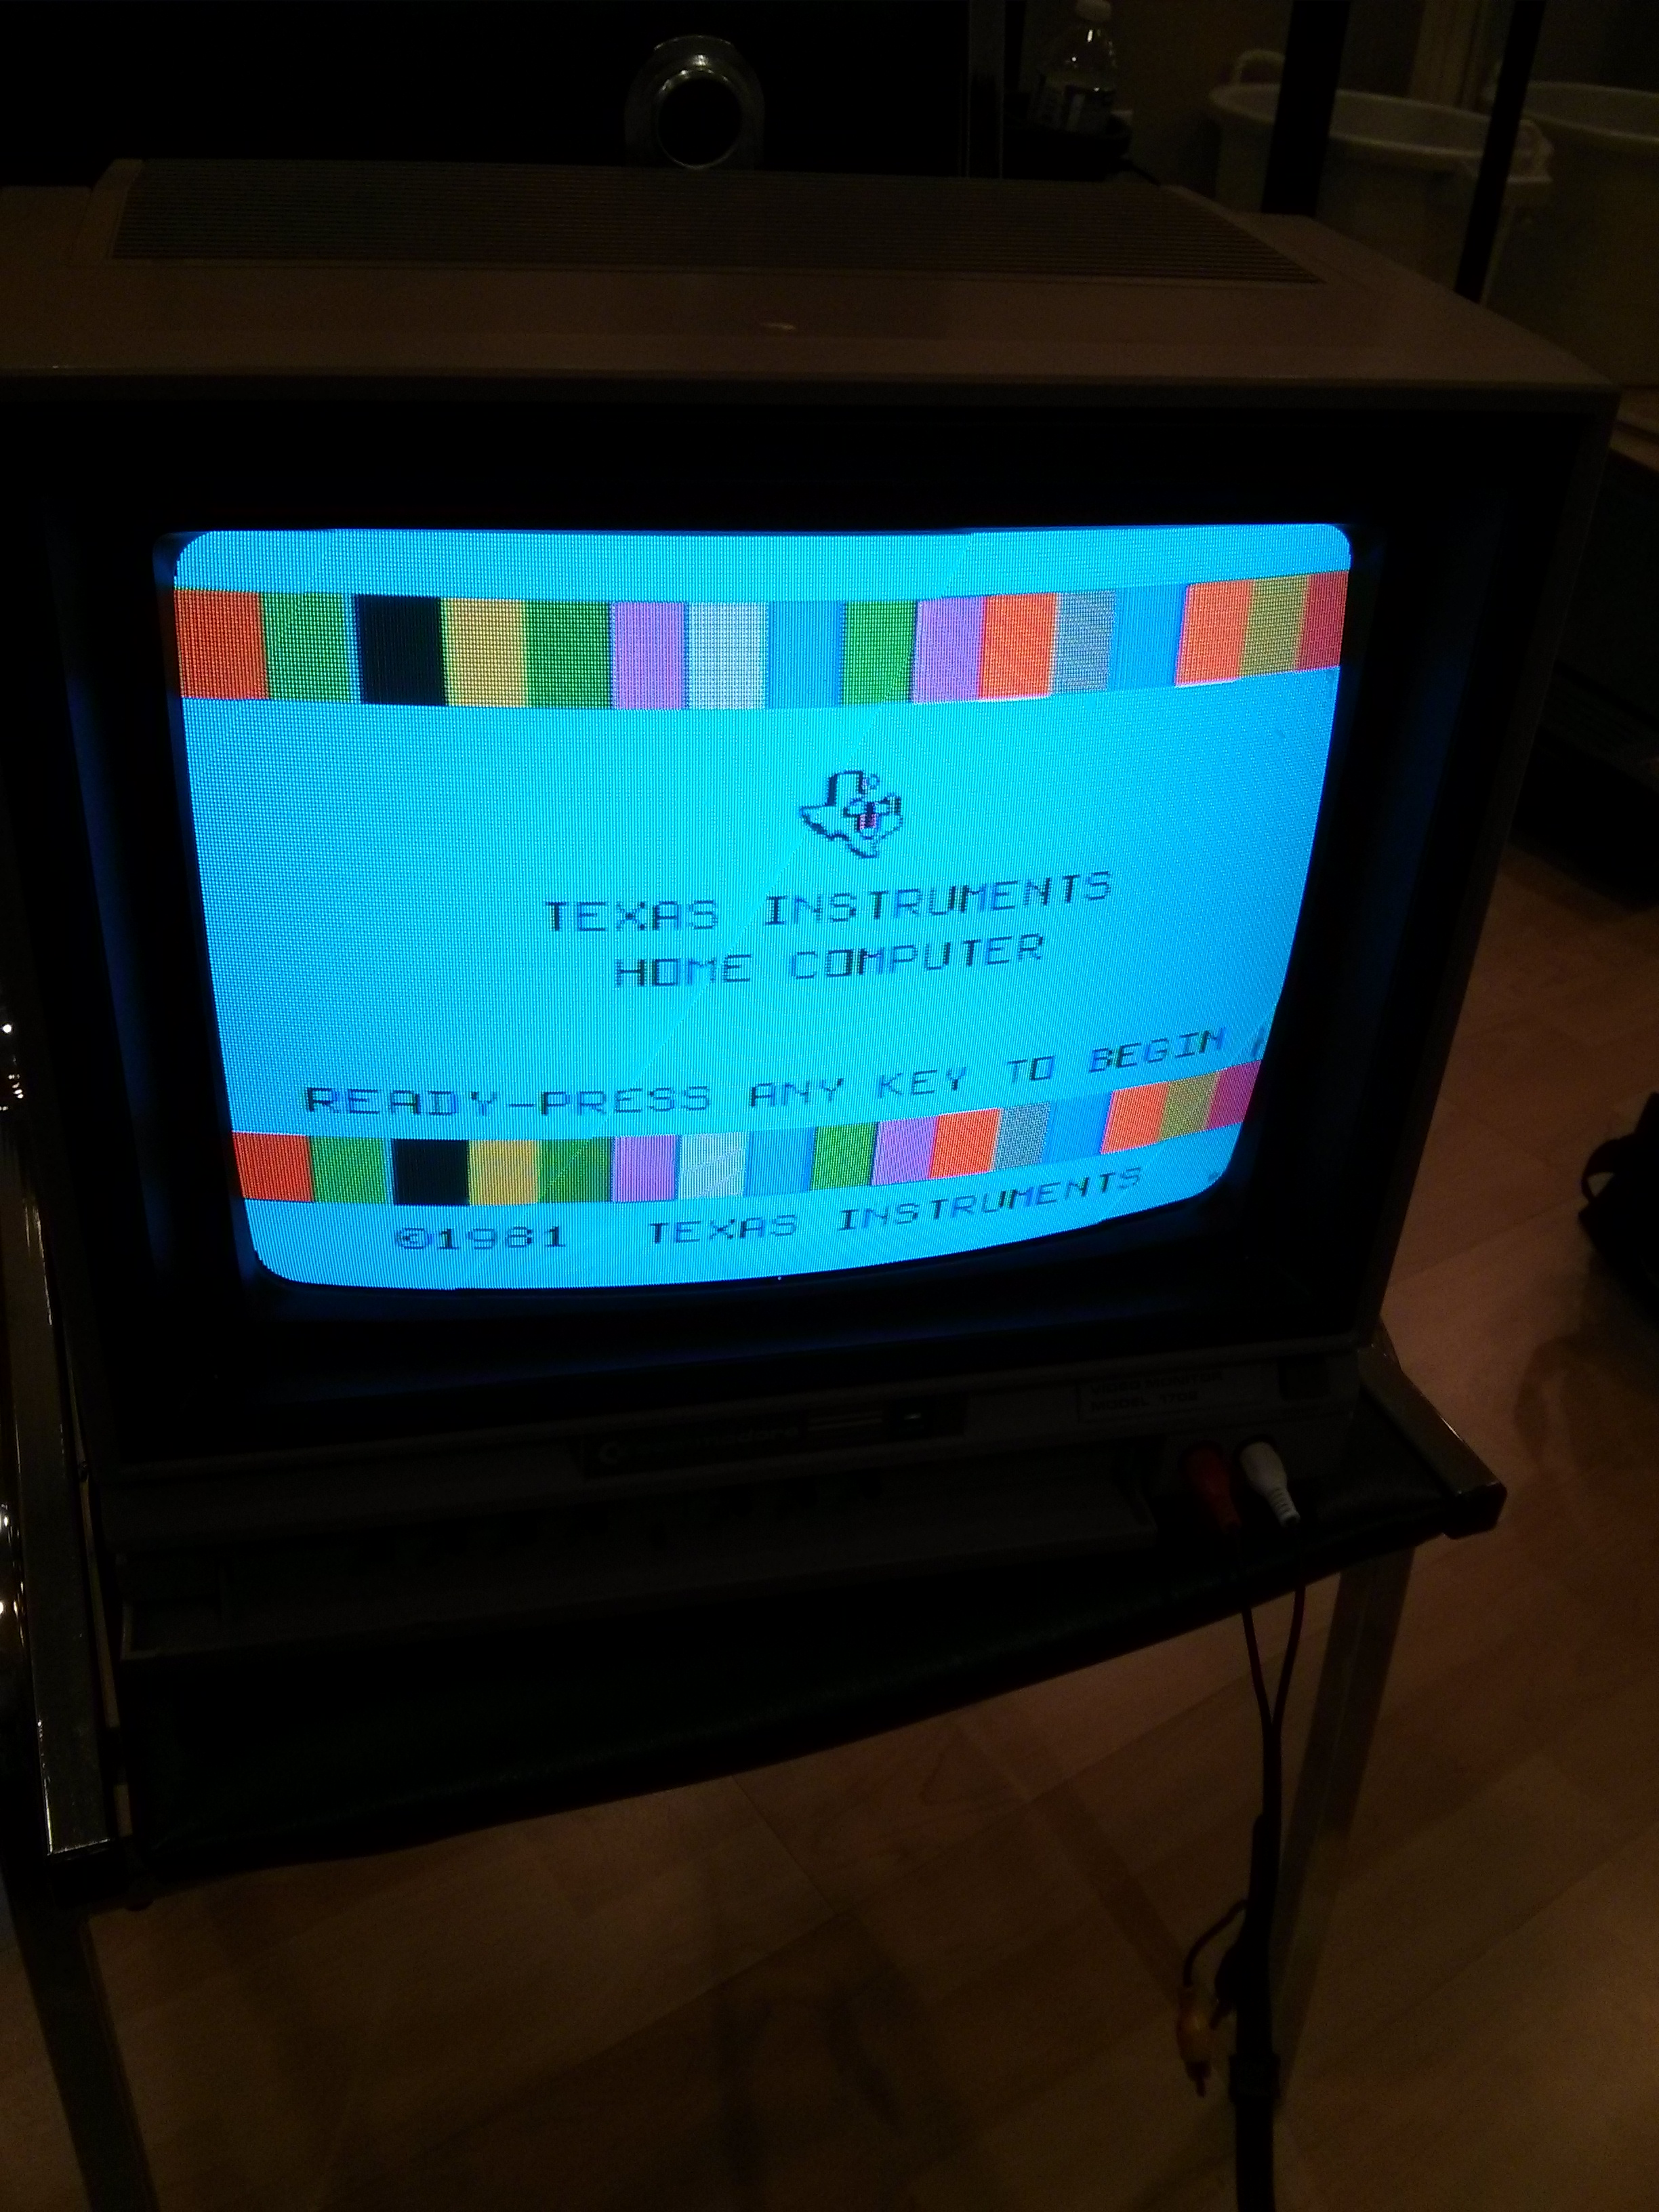
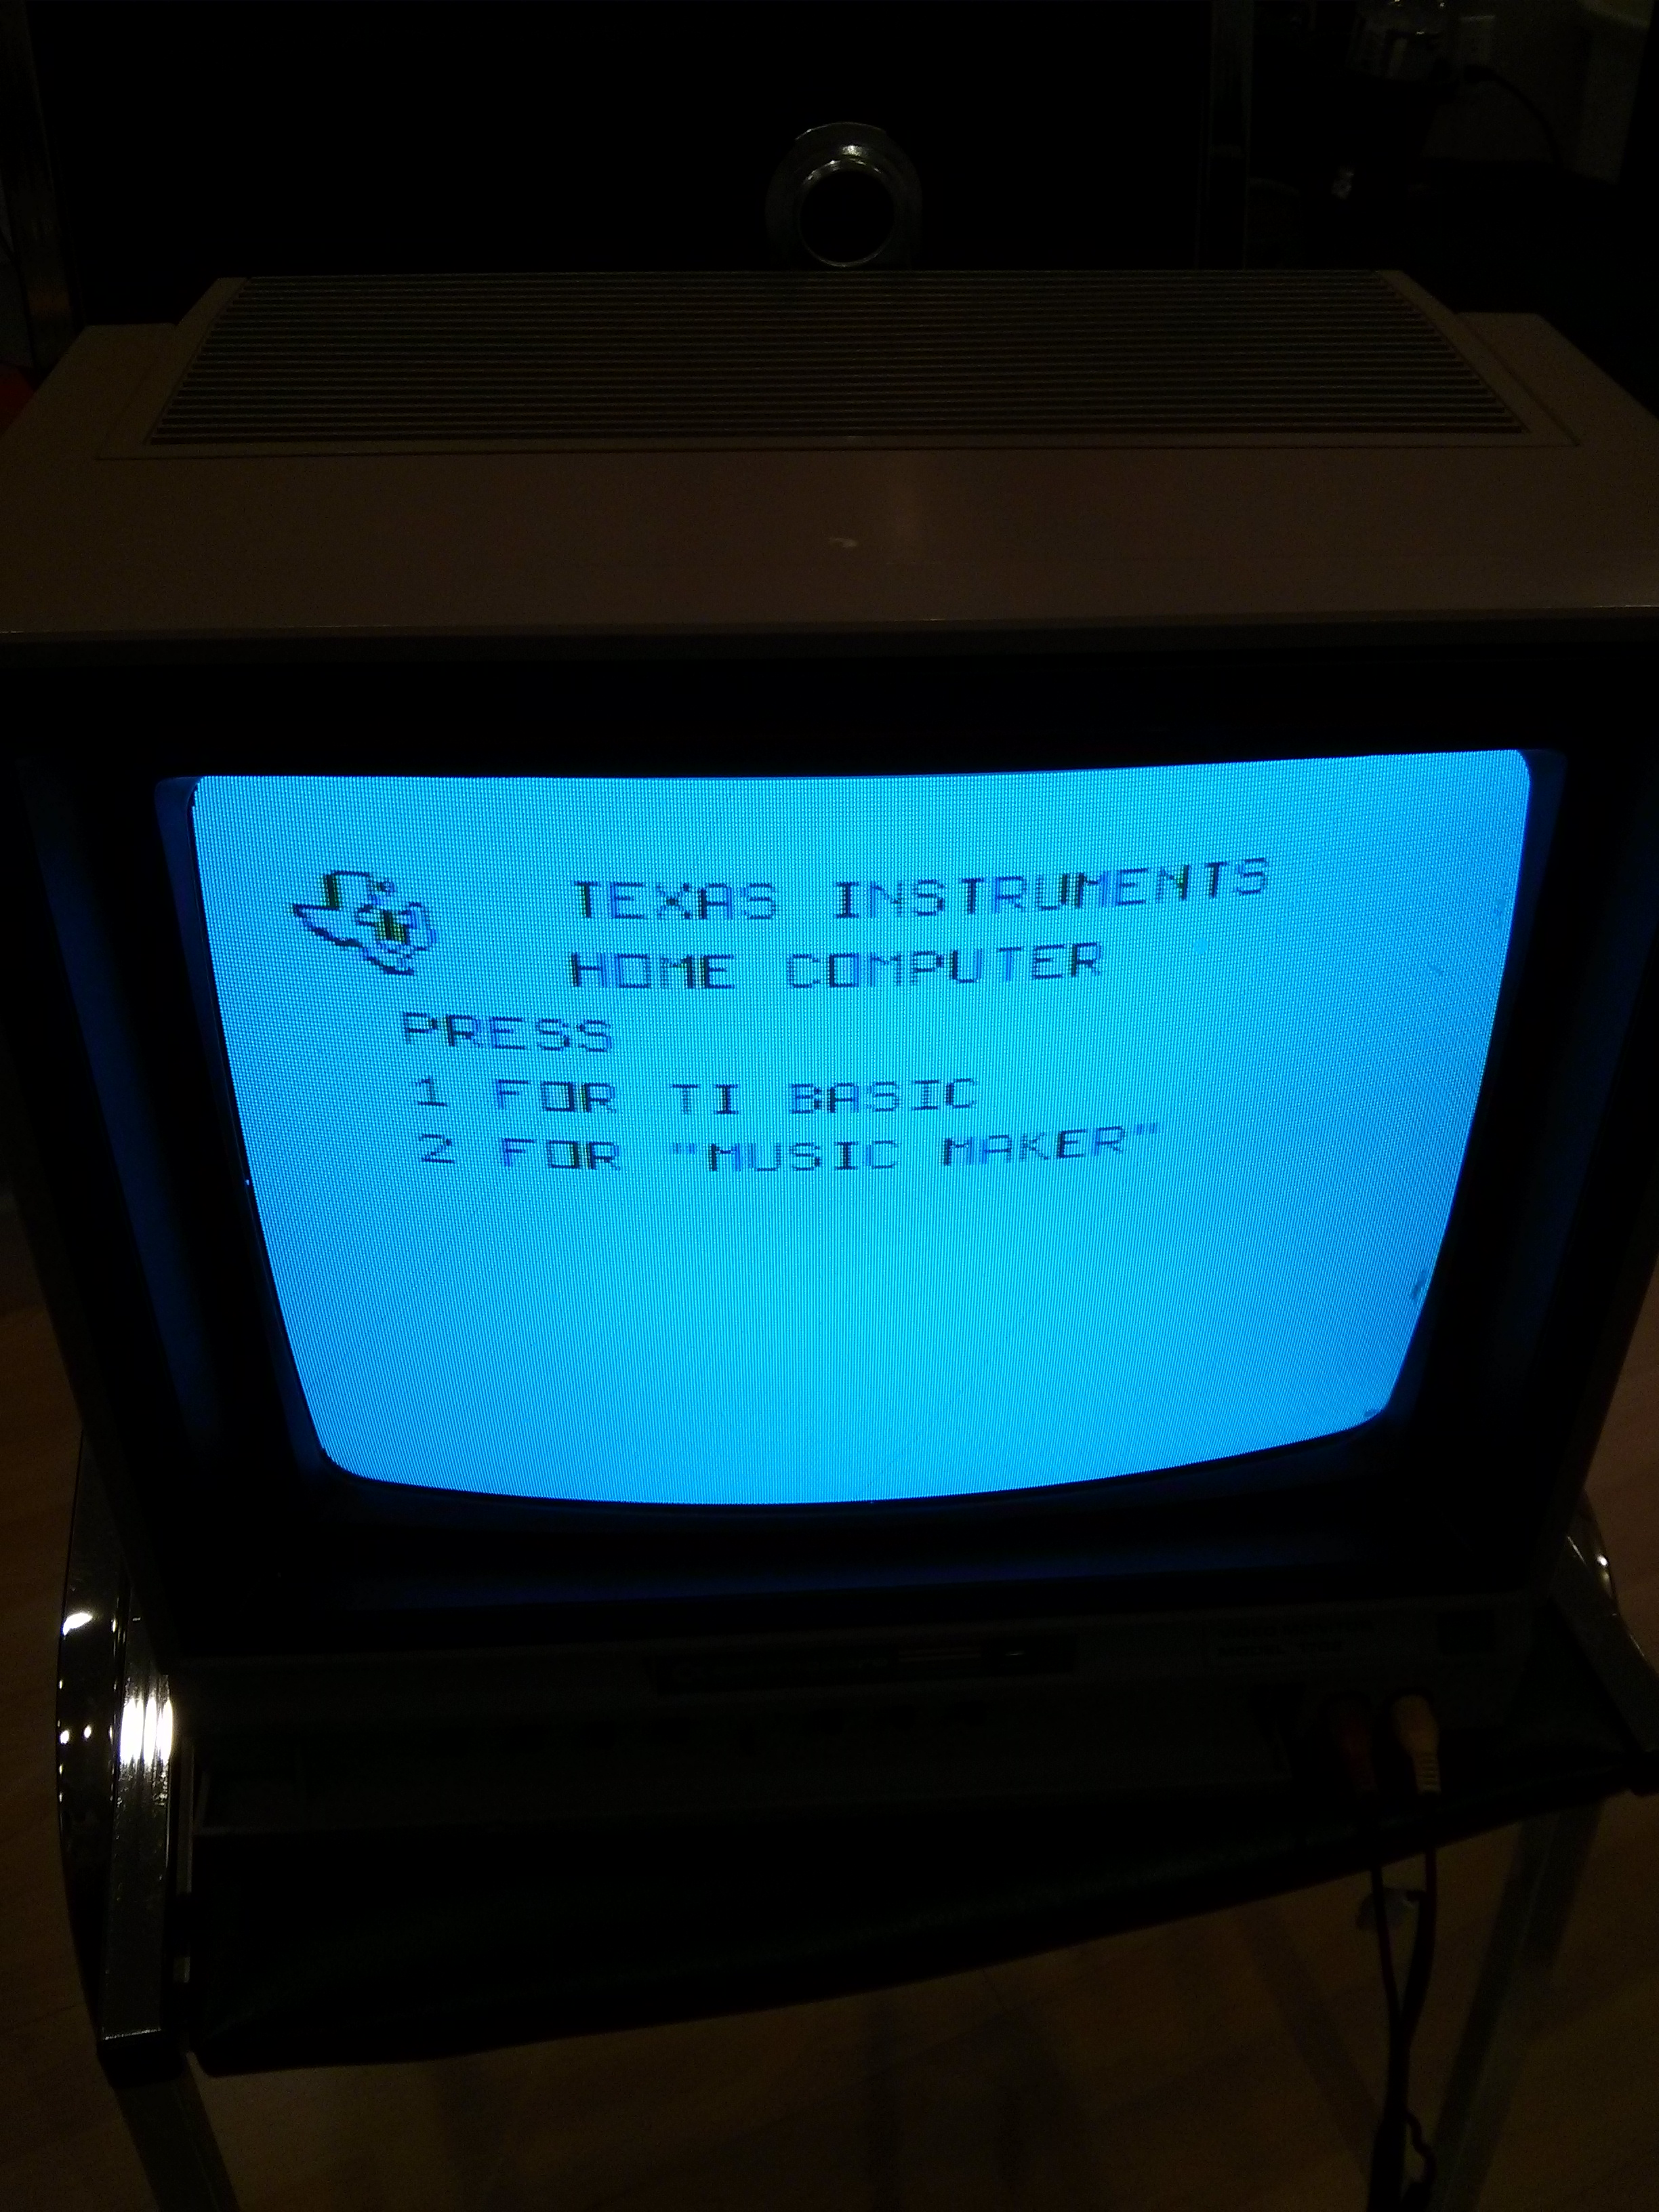
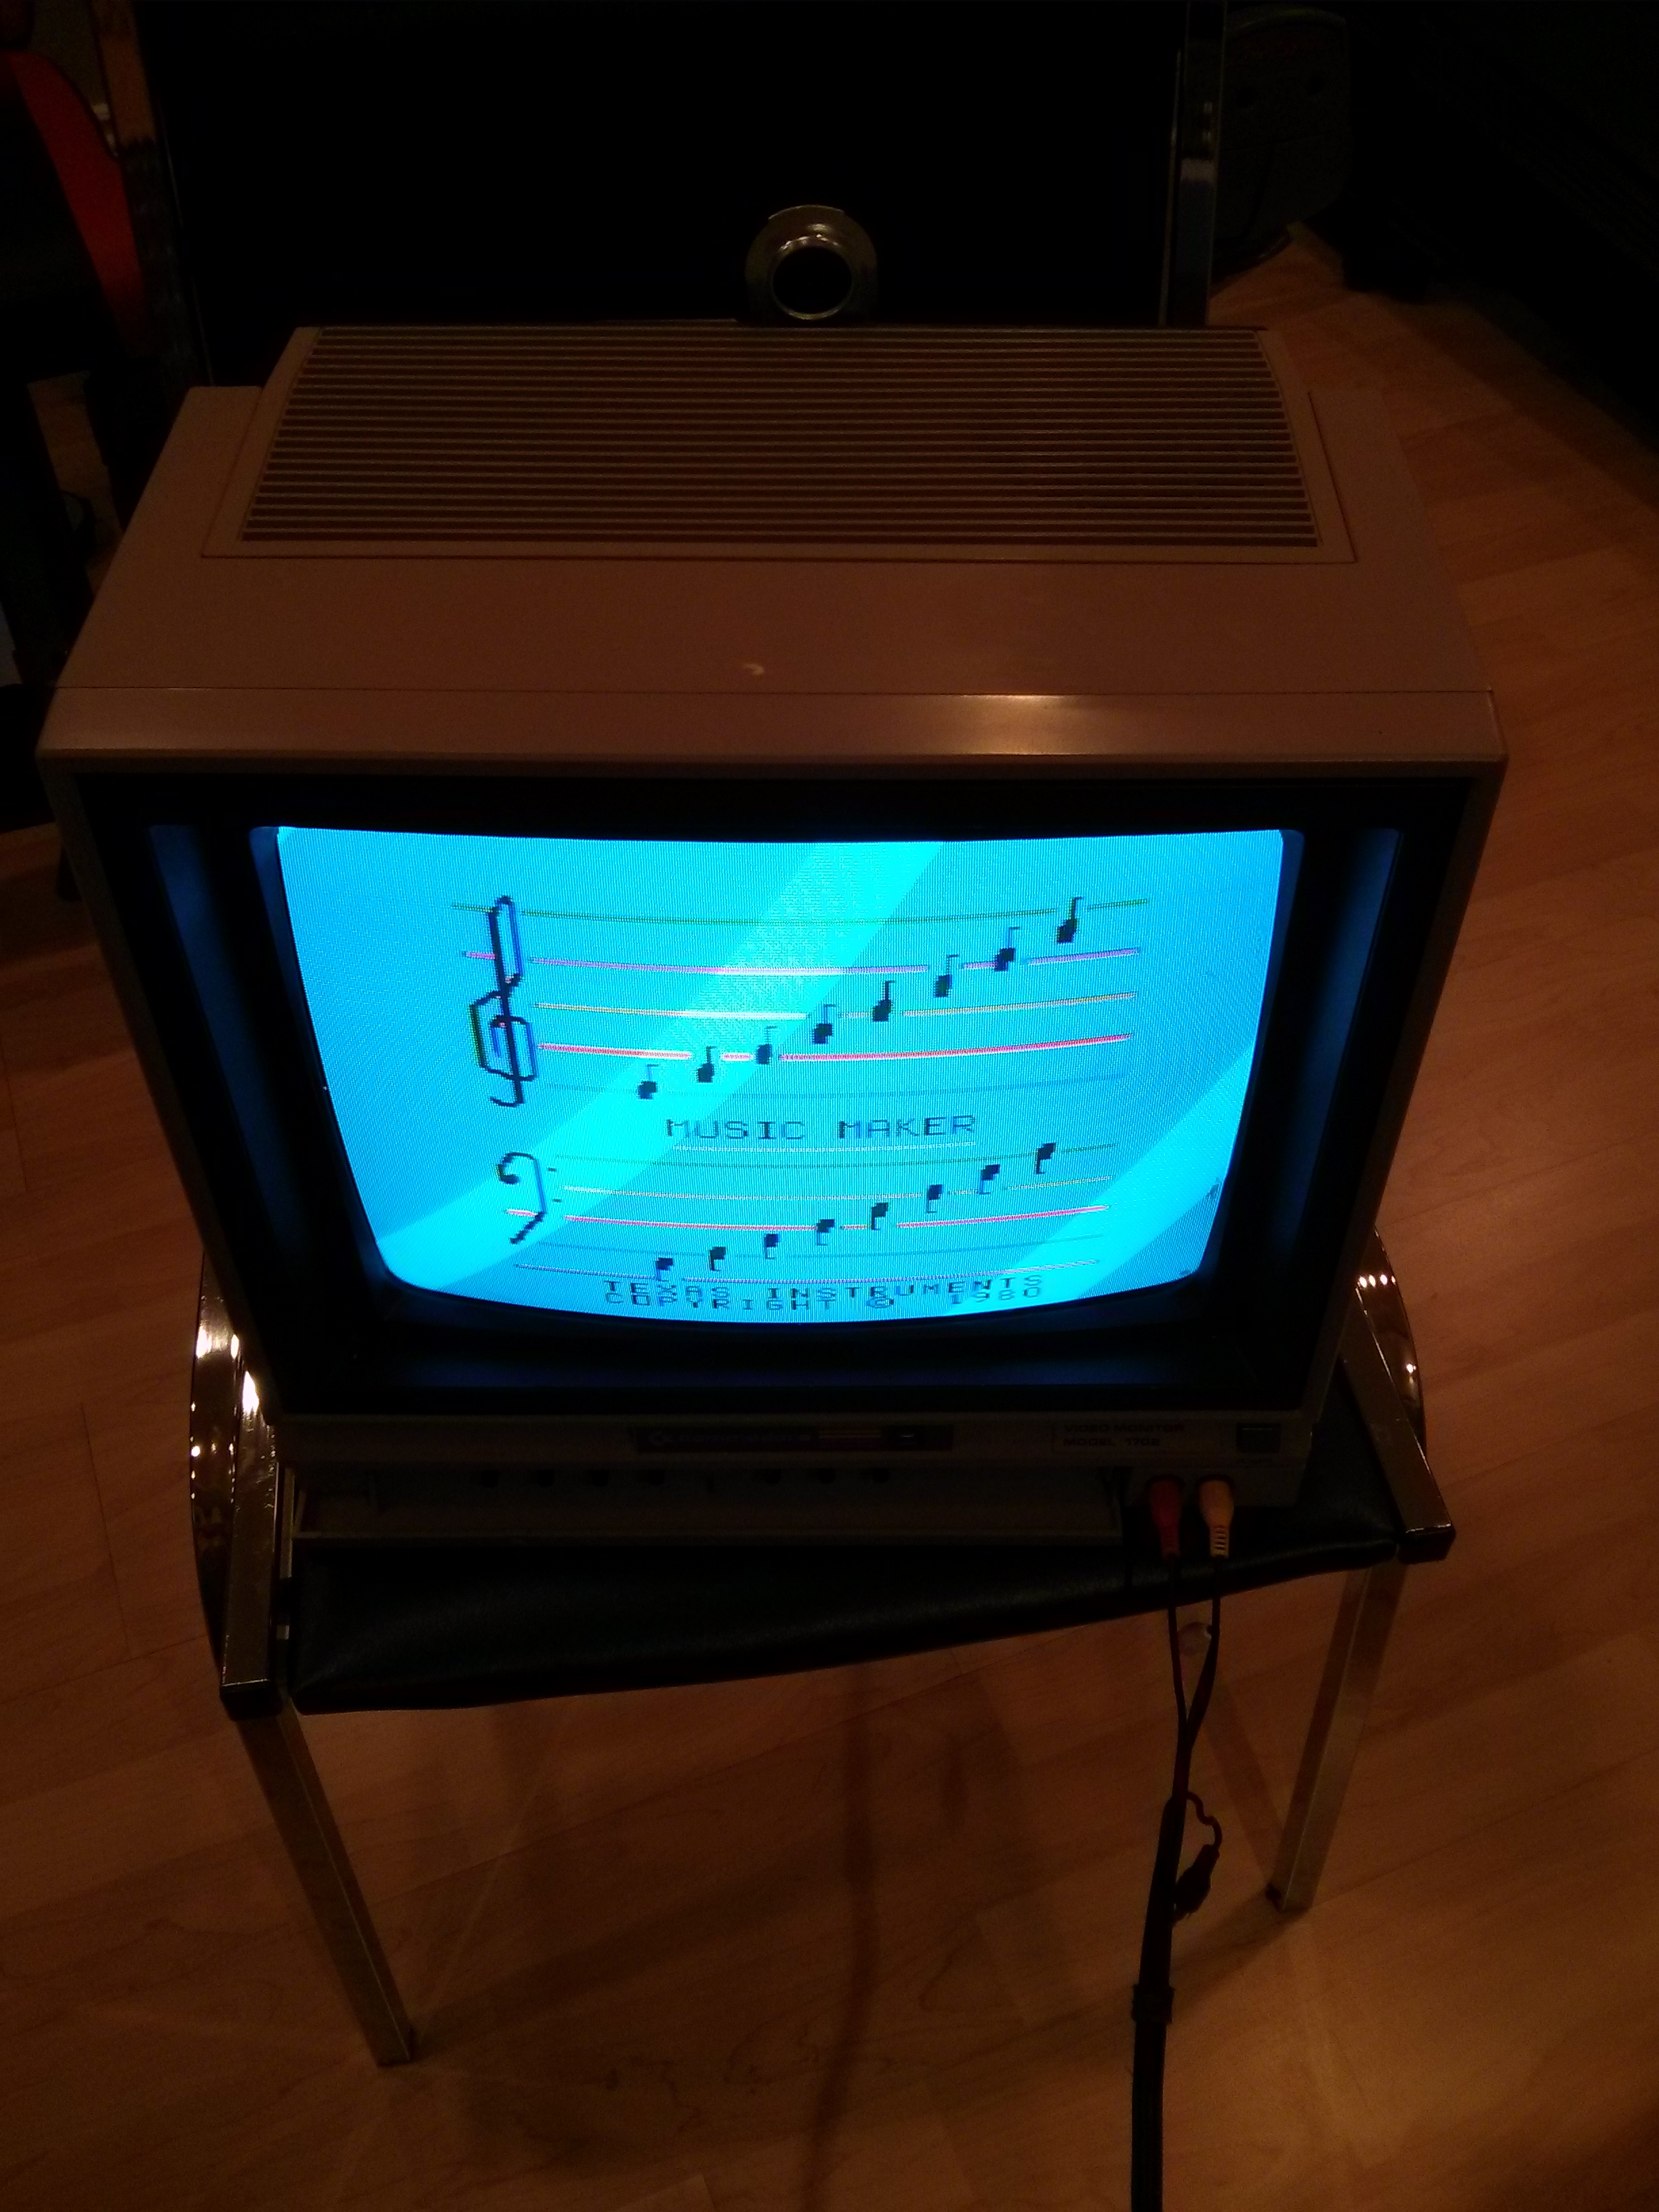
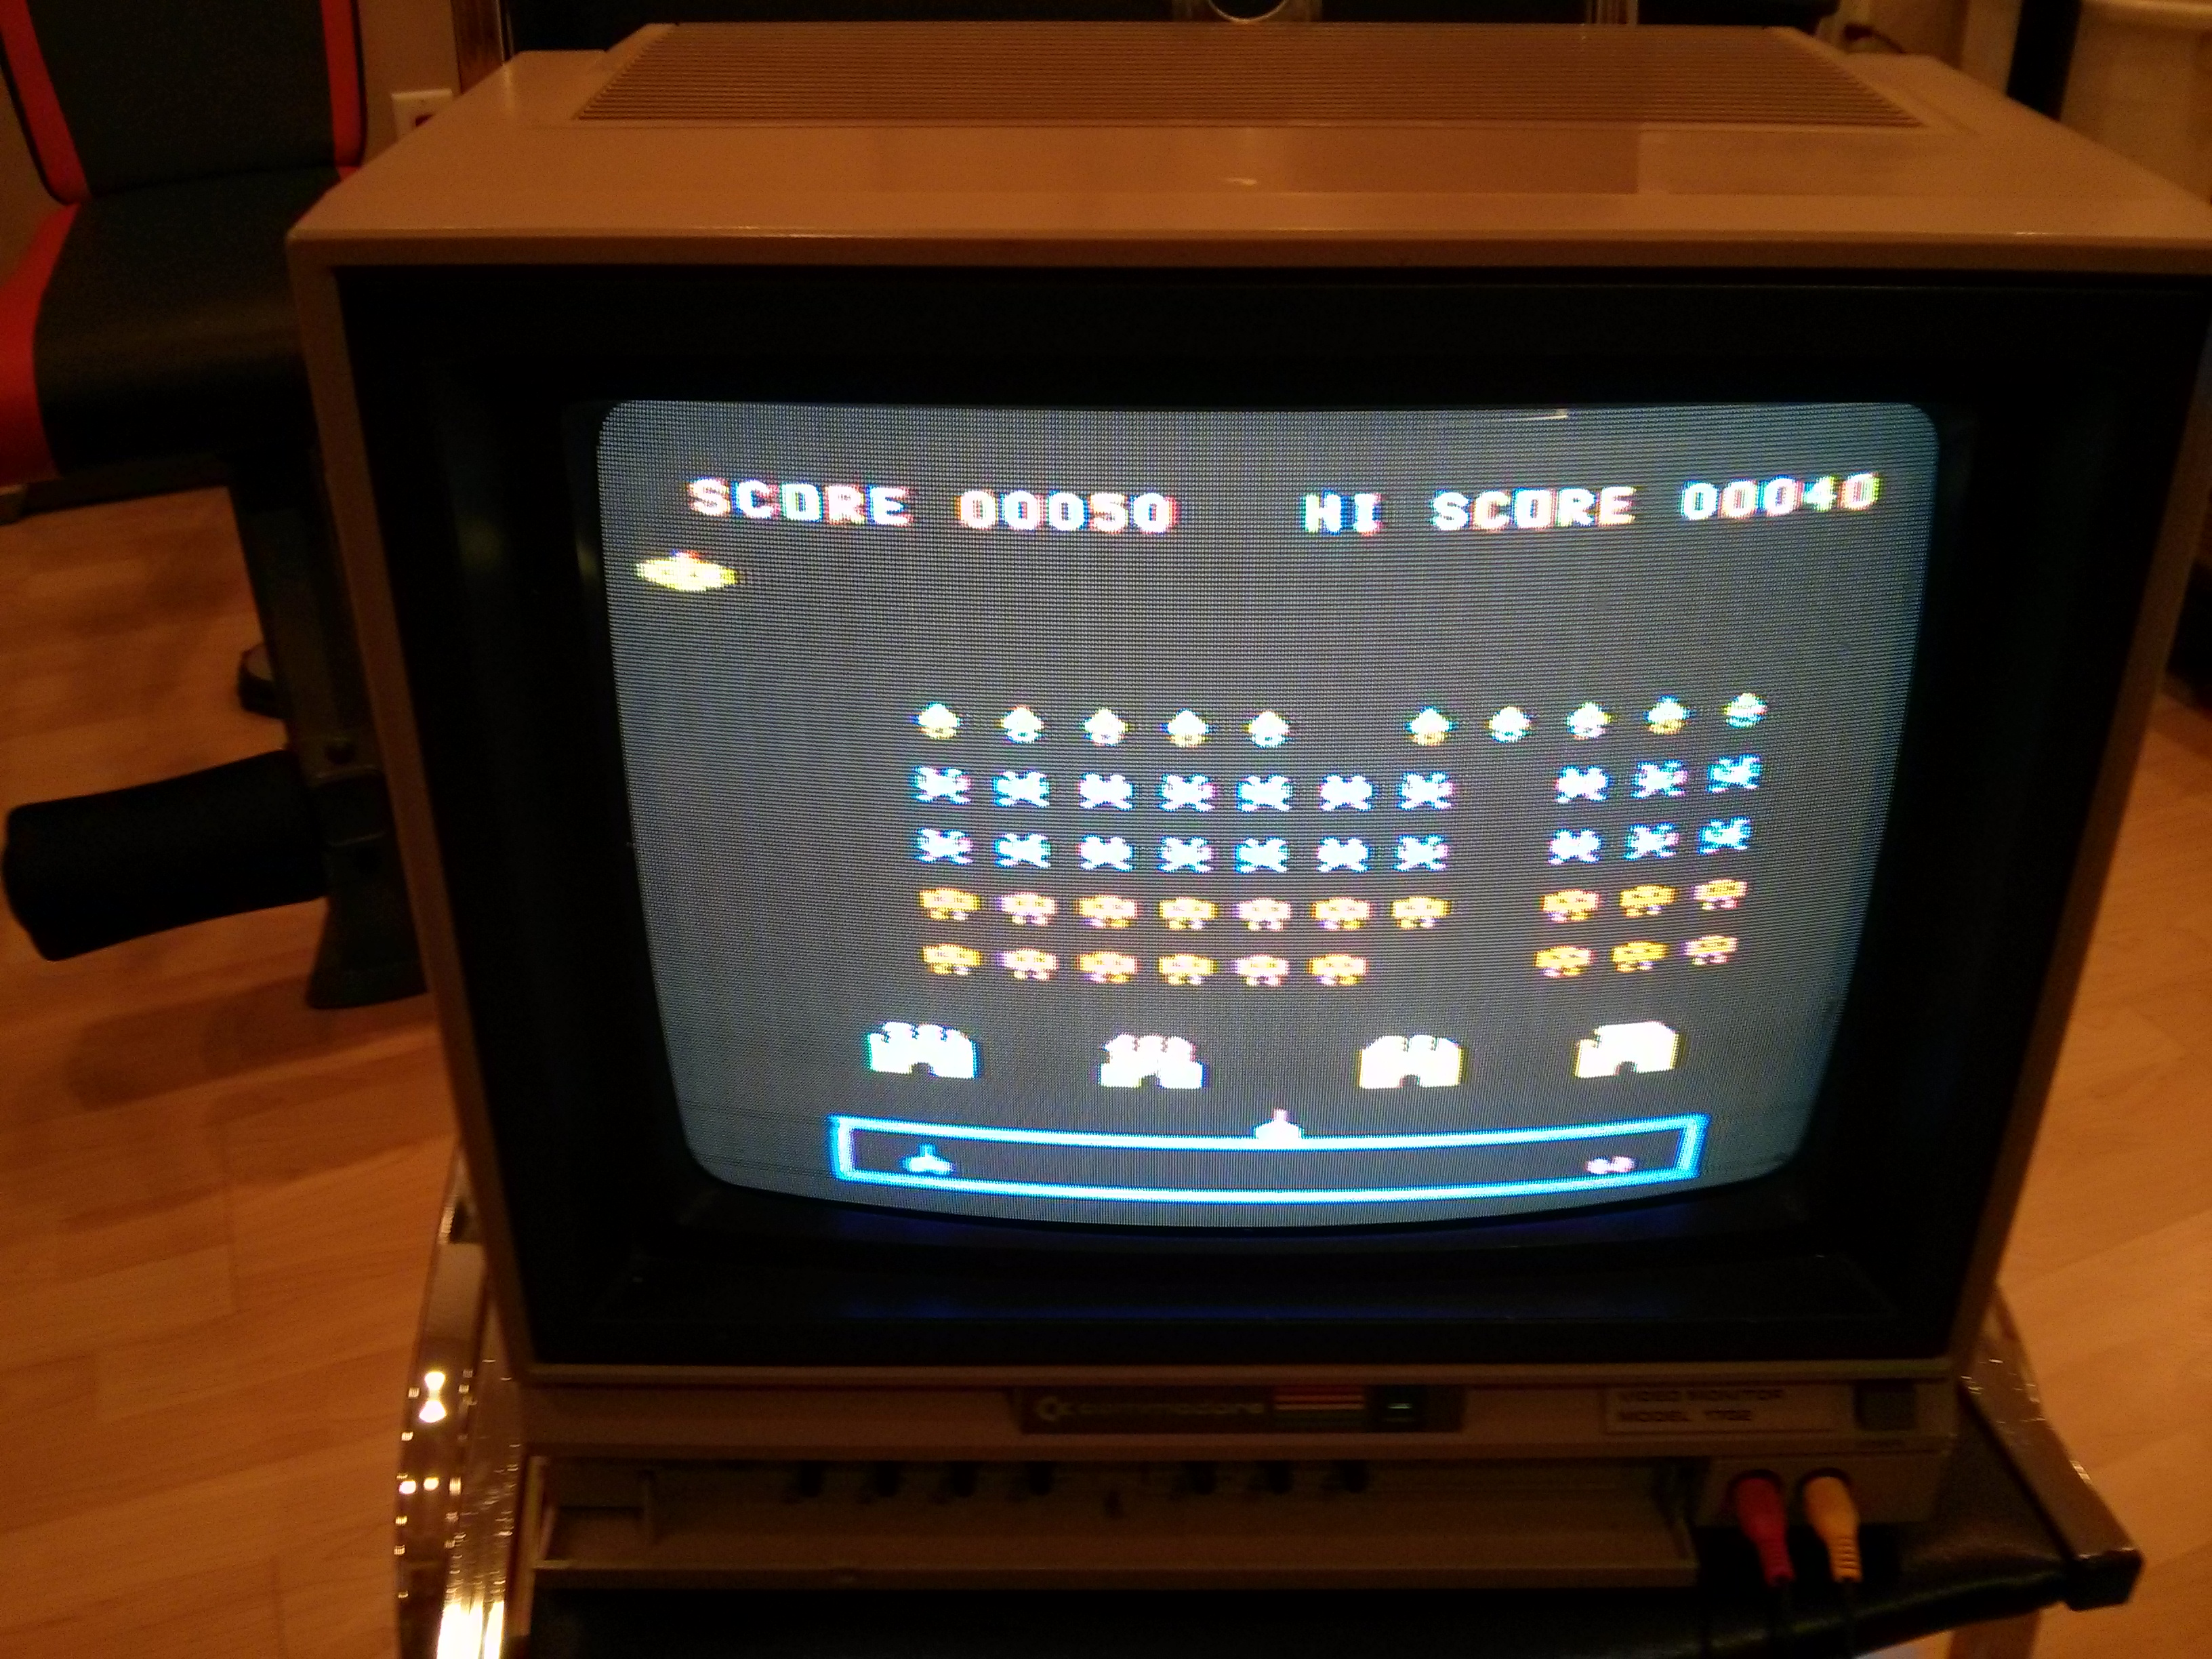
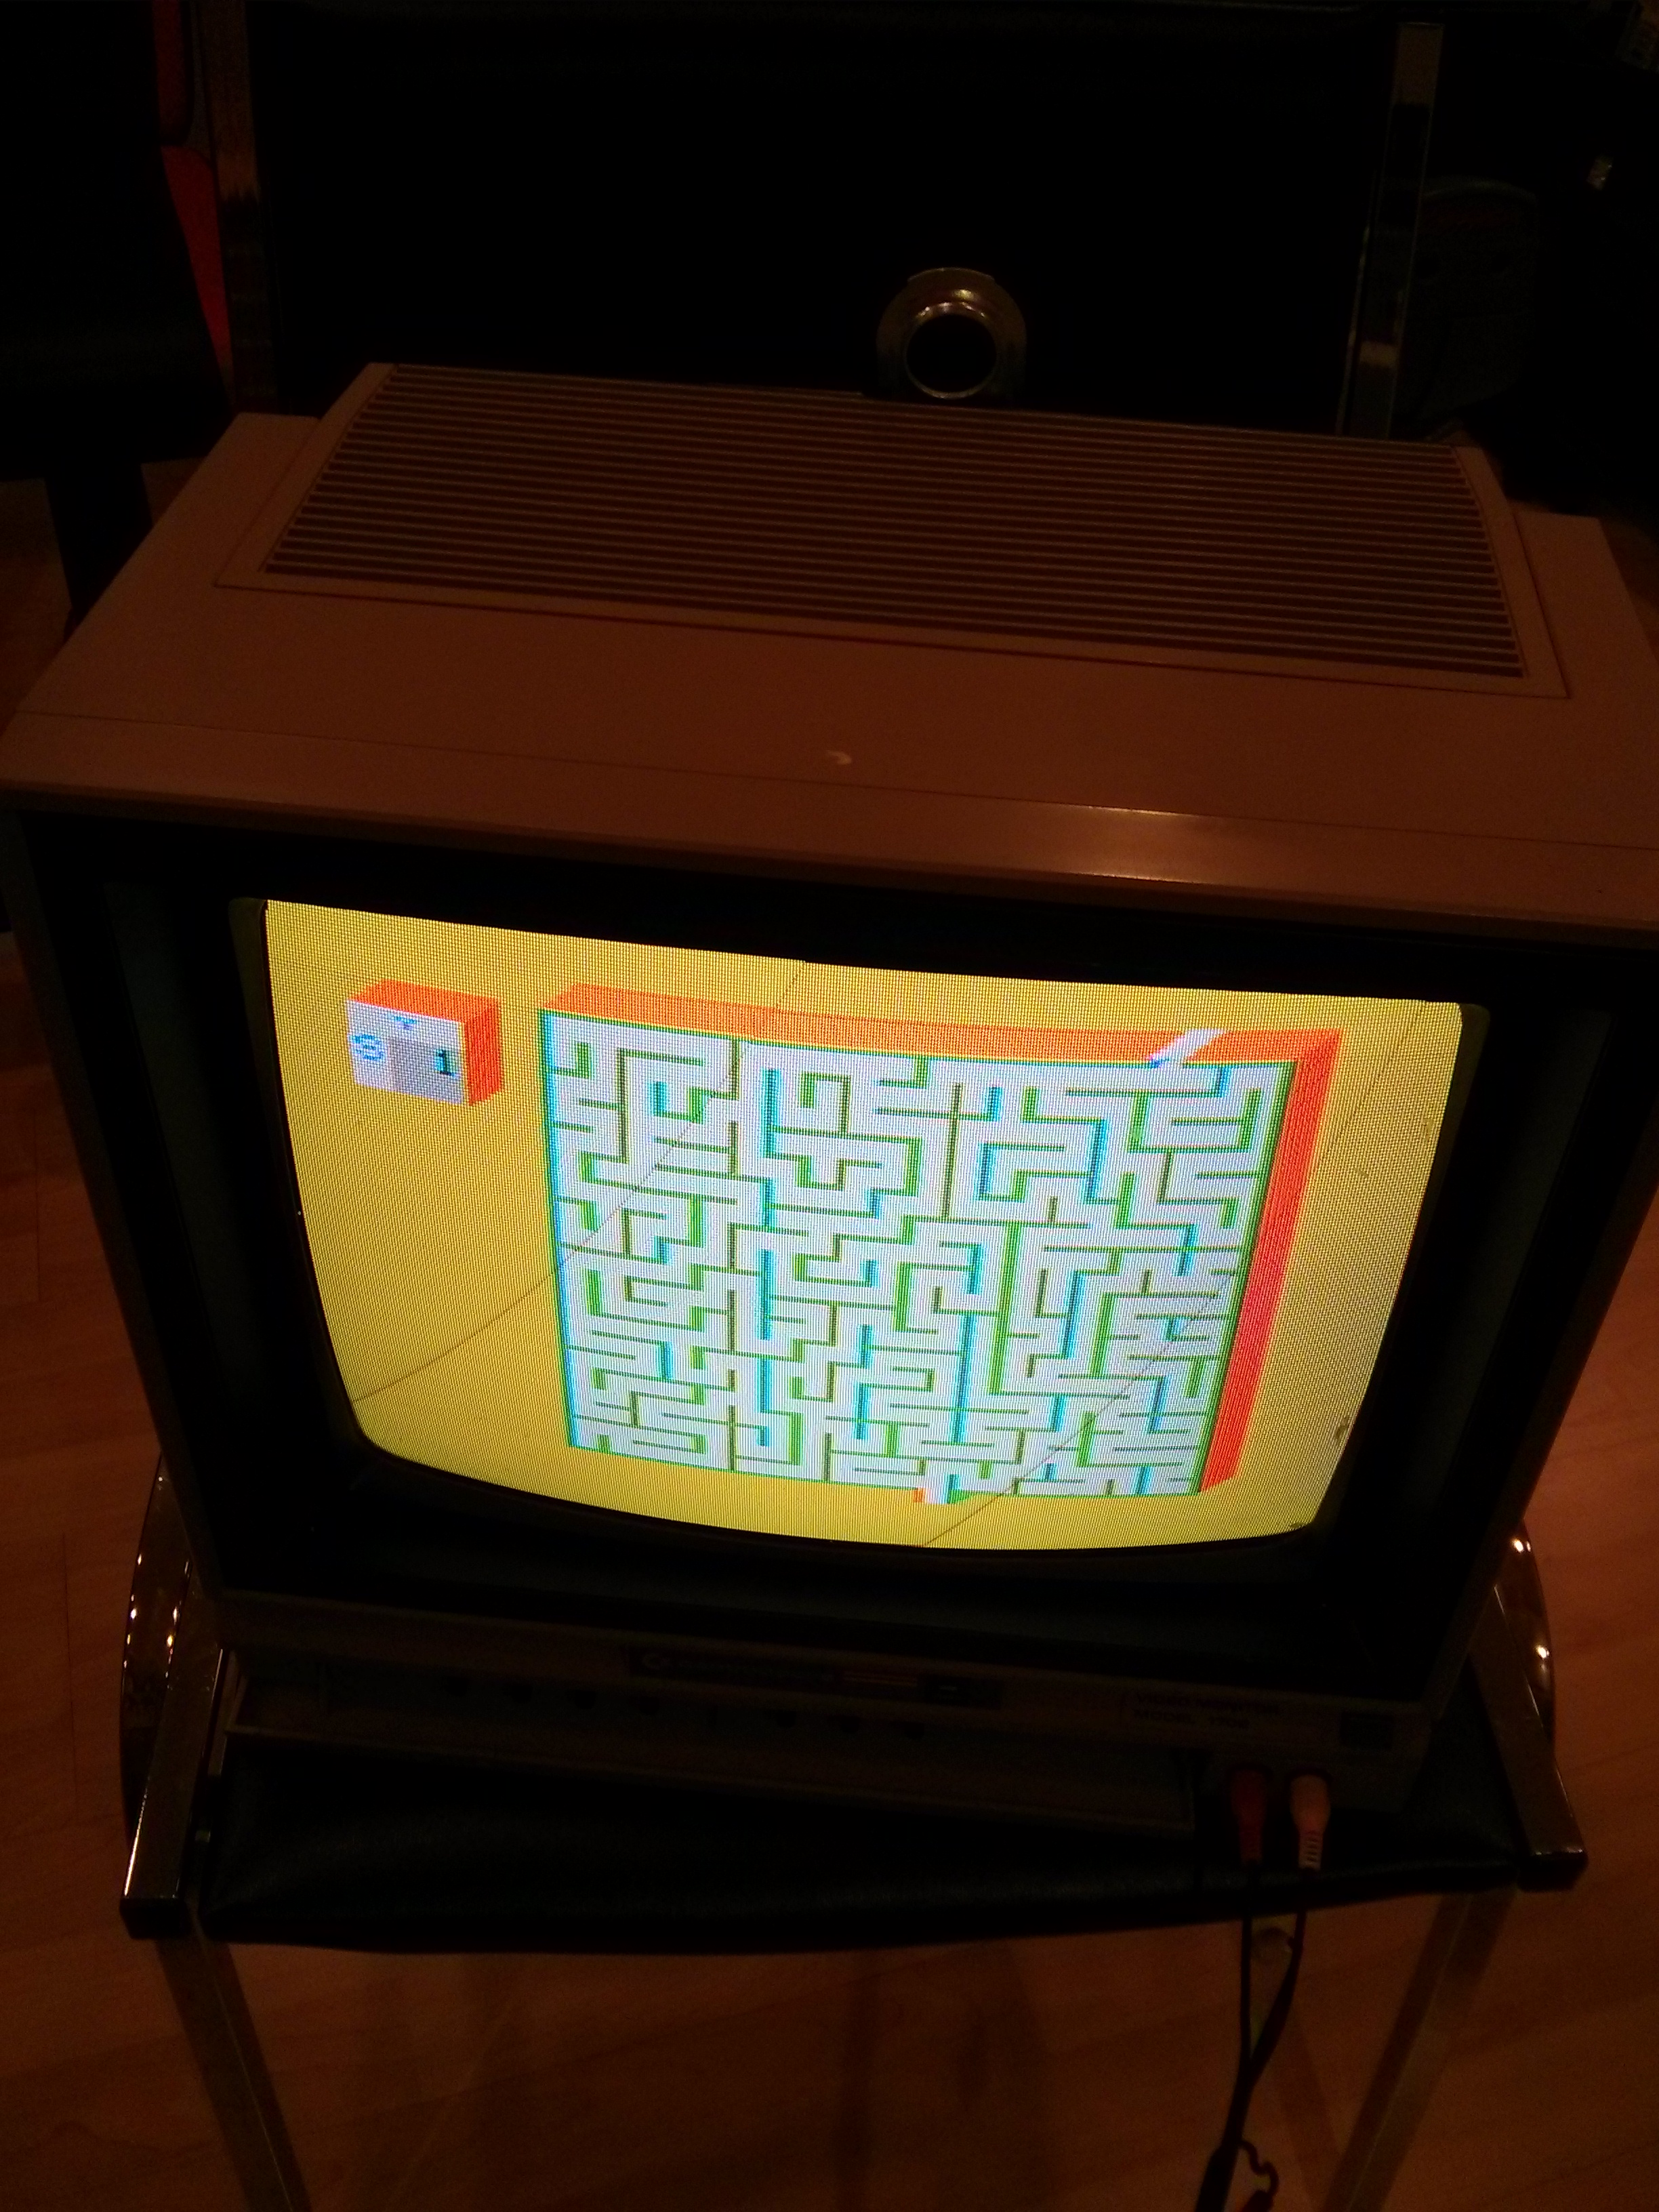
As I had hoped, everything ended up working fine. I had some fun with a few cartridges before putting everything away. I also got the speech synthesizer working with the TI Extended Basic cartridge (Command: CALL SAY (“HELLO”) in TI Extended Basic).


Quite an interesting “blast from the past”.
Hi Justin,
Great job you did! Is this the only way to power a TI if you do not have the adapter?
http://justinpaulin.com/wp-content/uploads/2014/05/IMG_20140427_132720.jpg
I need to do something similar for a /4 version (not a /4A) version, but this requires
DC-input, these adapters are different (AC 9900/N (not N2)).
http://www.ti99.com/ti994pow.htm (use Translate.google.com for English)
See also my posting at Atari-age:
http://atariage.com/forums/topic/238392-ti-994-not-4a-power-supply-ac9900n-not-n2/
P.S. – the M.A.S.H. game you need to fly with the chopper to pickup the wounded people
in the field (use a joystick with the button and fly and go up and down), bring them
back to the base. After that you need to get the bullets out of the persons (like a medical
doctor) without killing the patient! It looks like reviving a TI-99/4
Hi Ronald,
Thanks! There are better ways to power something like this, I only used Variable PSUs because I had them. Knowing how much amperage they take now, and given that your machine takes DC from the external port, you can simply wire up your own external power supply with a few “wall-wart” (2x 5v and 1x 12v) DC adaptors (with the same wiring I used, though make sure they provide enough amperage) and won’t have to tear your machine apart.
Another thing I should probably note – though this doesn’t apply to your model – if the 4A’s power board uses a DC rectifier (I wasn’t sure, since it didn’t use a standard rectifier chip, if it used one at all), you can connect DC to the external AC power port without damaging the machine (since the voltage would simply be rectified by the power supply). You’d need to find a schematic of the power supply to verify this.
Let me know if you have any further questions, I’d be happy to help!
Did you get the MBX working? I need a power supply for mine yet don’t know what to get?