The Coney Island Boxer is designed to work with an expensive Alberici mechanism, that uses somewhat proprietary signalling. In this post, I’ll go over how I got around that and was able to install an inexpensive generic multi-coin acceptor in it’s place. As I also received the new buttons in the mail, I’ll install those as well.
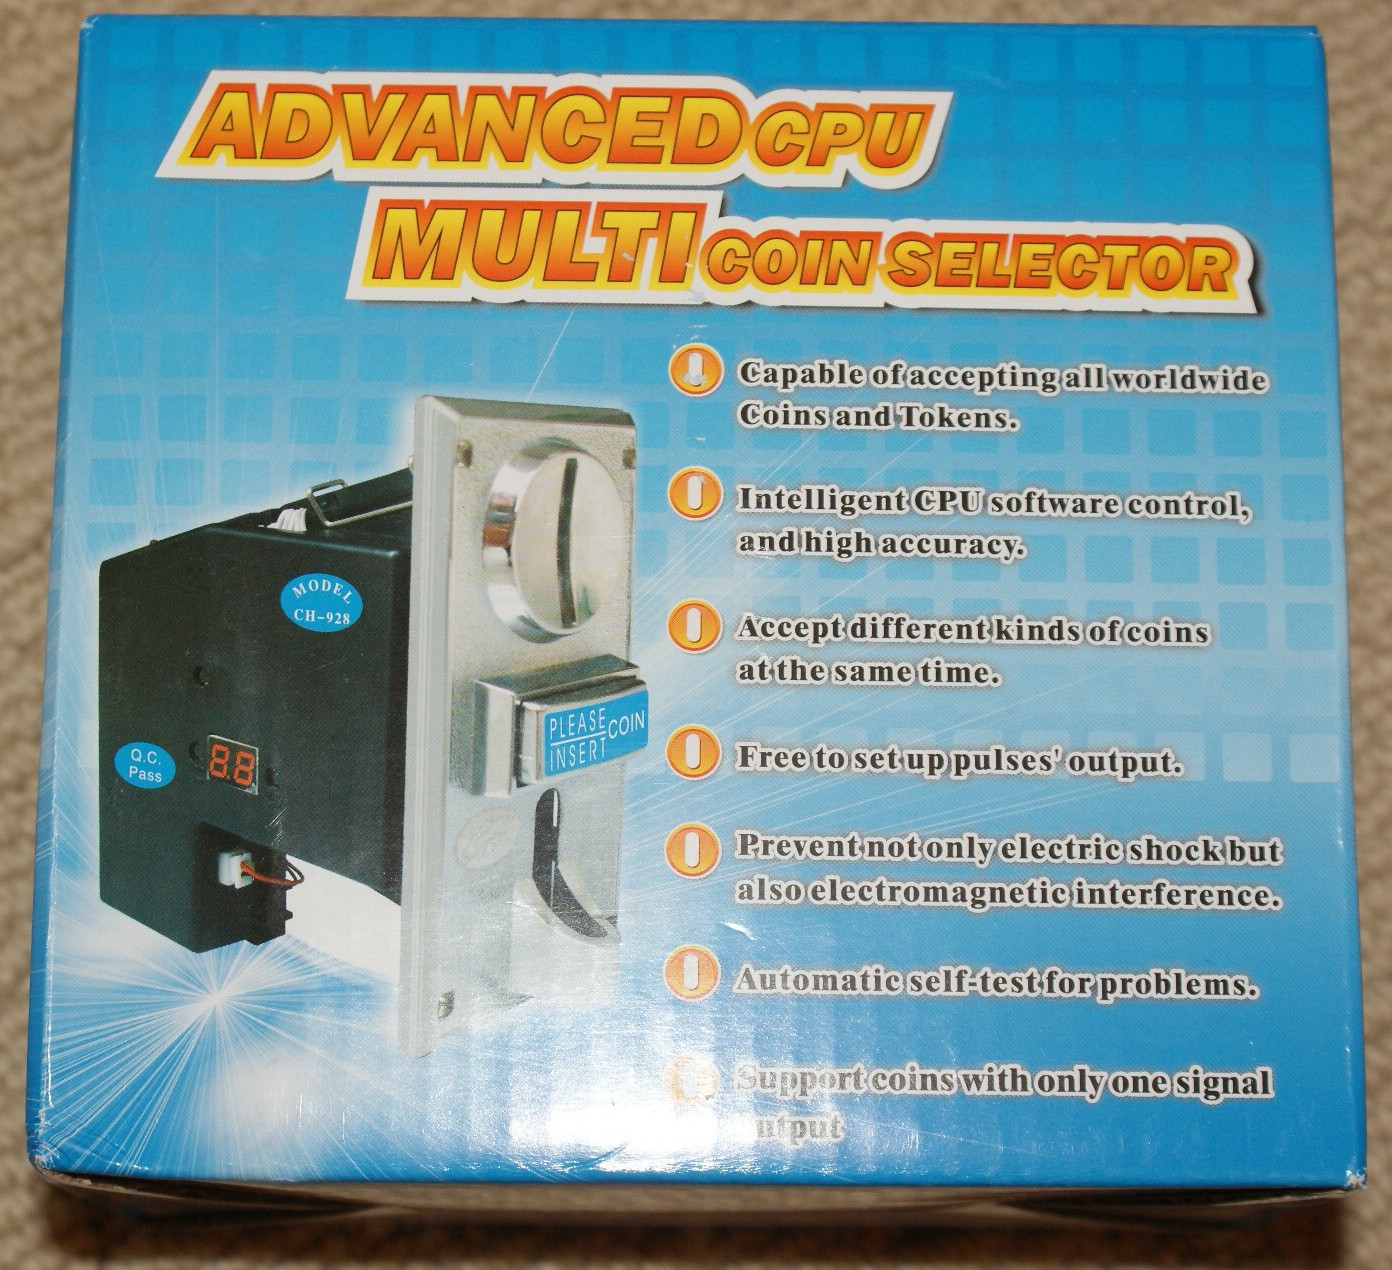
The Chowhe CH-923 is an inexpensive ($25) programmable coin acceptor that can be used with up to 3 different coins at once. For those of you following my blog, you’ll notice that this is a similar acceptor to the one I used in my Arduino/MAME Coin Acceptor Project. Coins are differentiated with different pulse sequences on the coin signal line. For example, if you insert a quarter, the mechanism will output one pulse, but if you insert a loonie ($1 coin here in Canada), the mechanism will output four pulses. To program it, I followed the manual as before, to support quarters, loonies, and toonies. I’ve included a picture of the manual below for more detailed programming instructions:

Once programmed, I needed to remove the yellow solenoid on the side, so that it would fit in the coin mechanism cutout on the front of the boxer. As the acceptor was shorter than the cutout, I used a couple pieces of plastic sheeting on the top and bottom to cover the openings, and sealed them to the acceptor with a glue gun and screws.
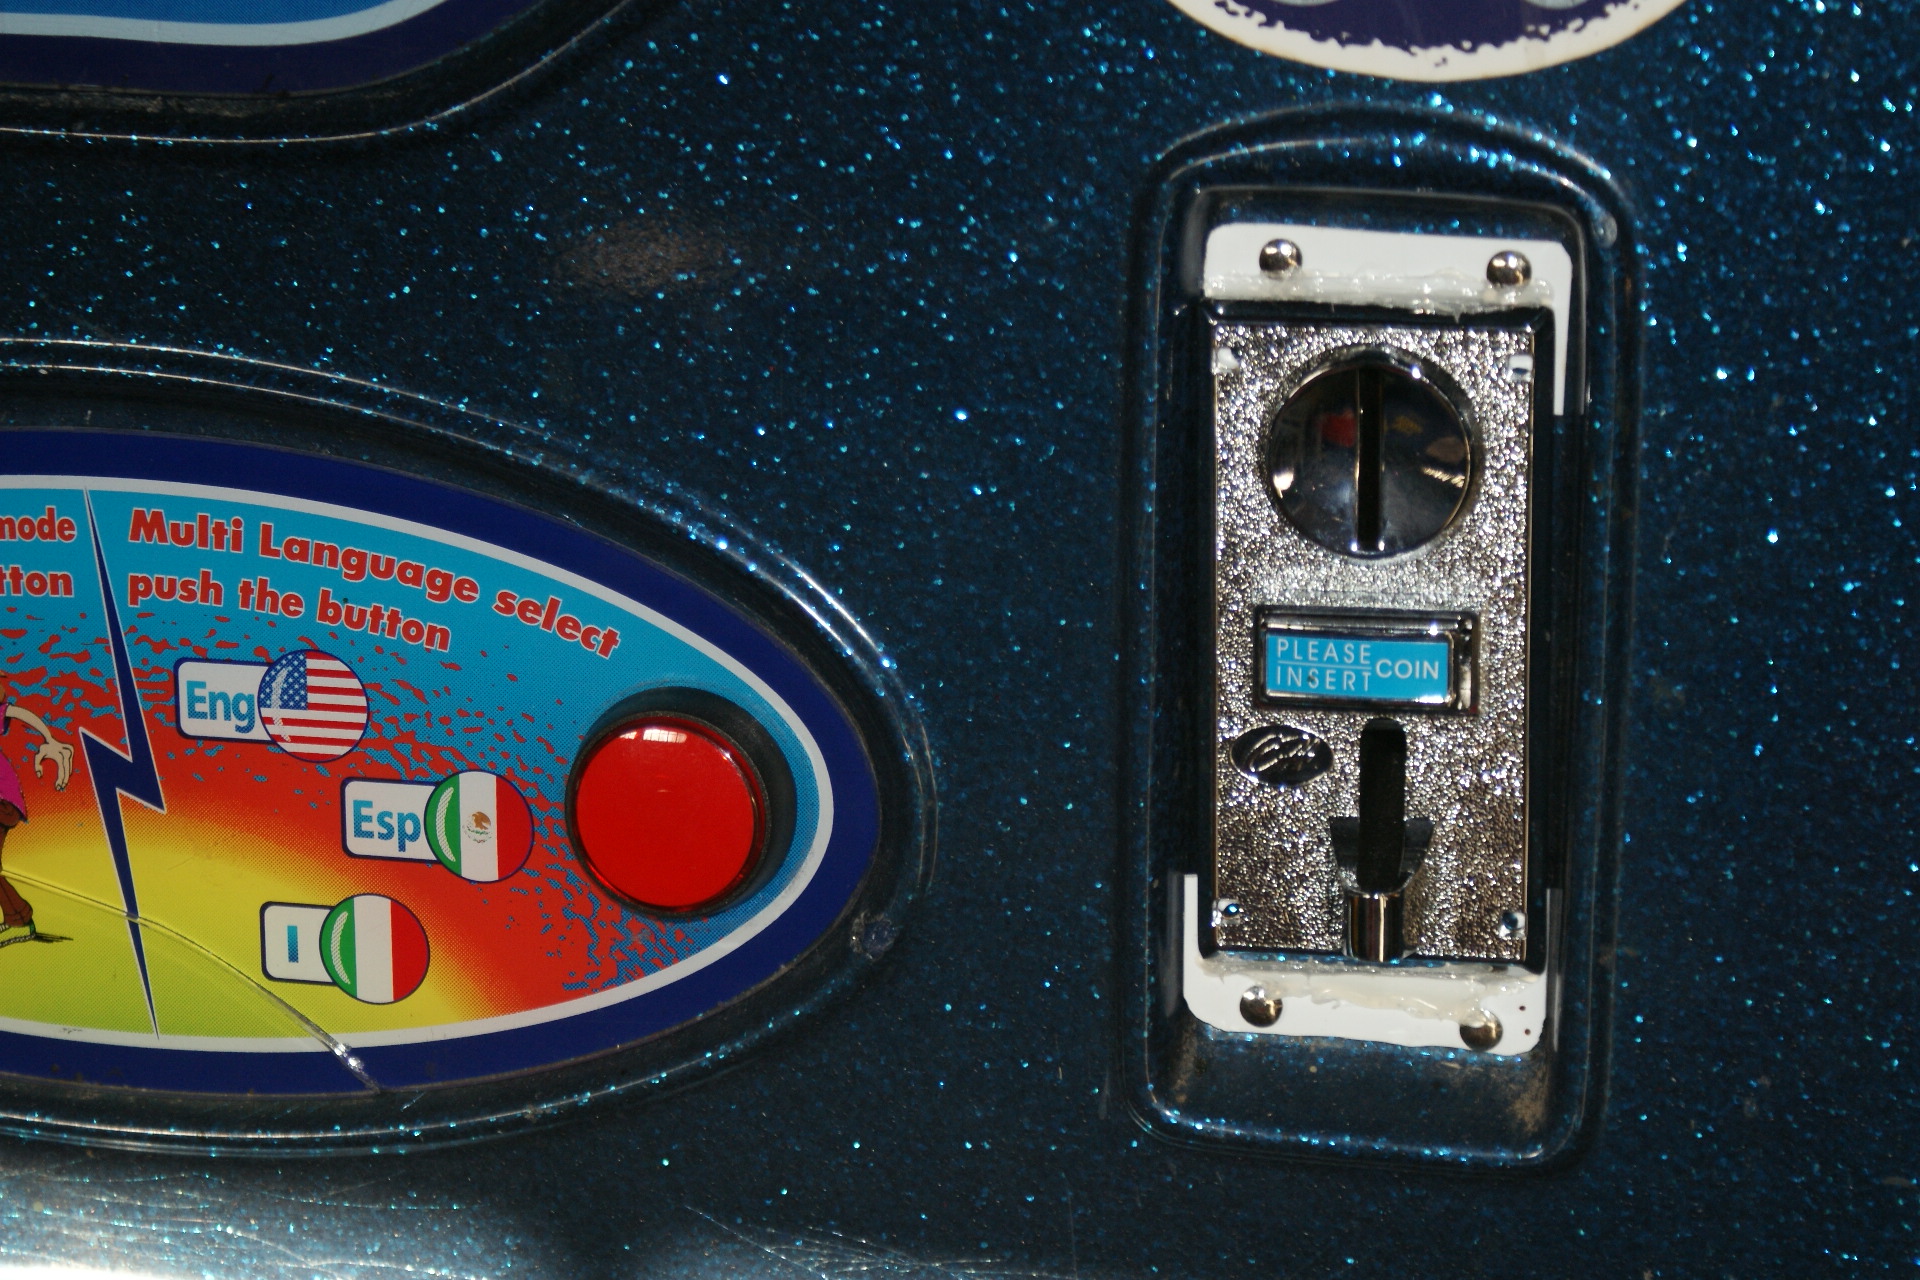
Once installed into the cutout, I reattached the solenoid on the inside, and connected the interface pins to the motherboard.
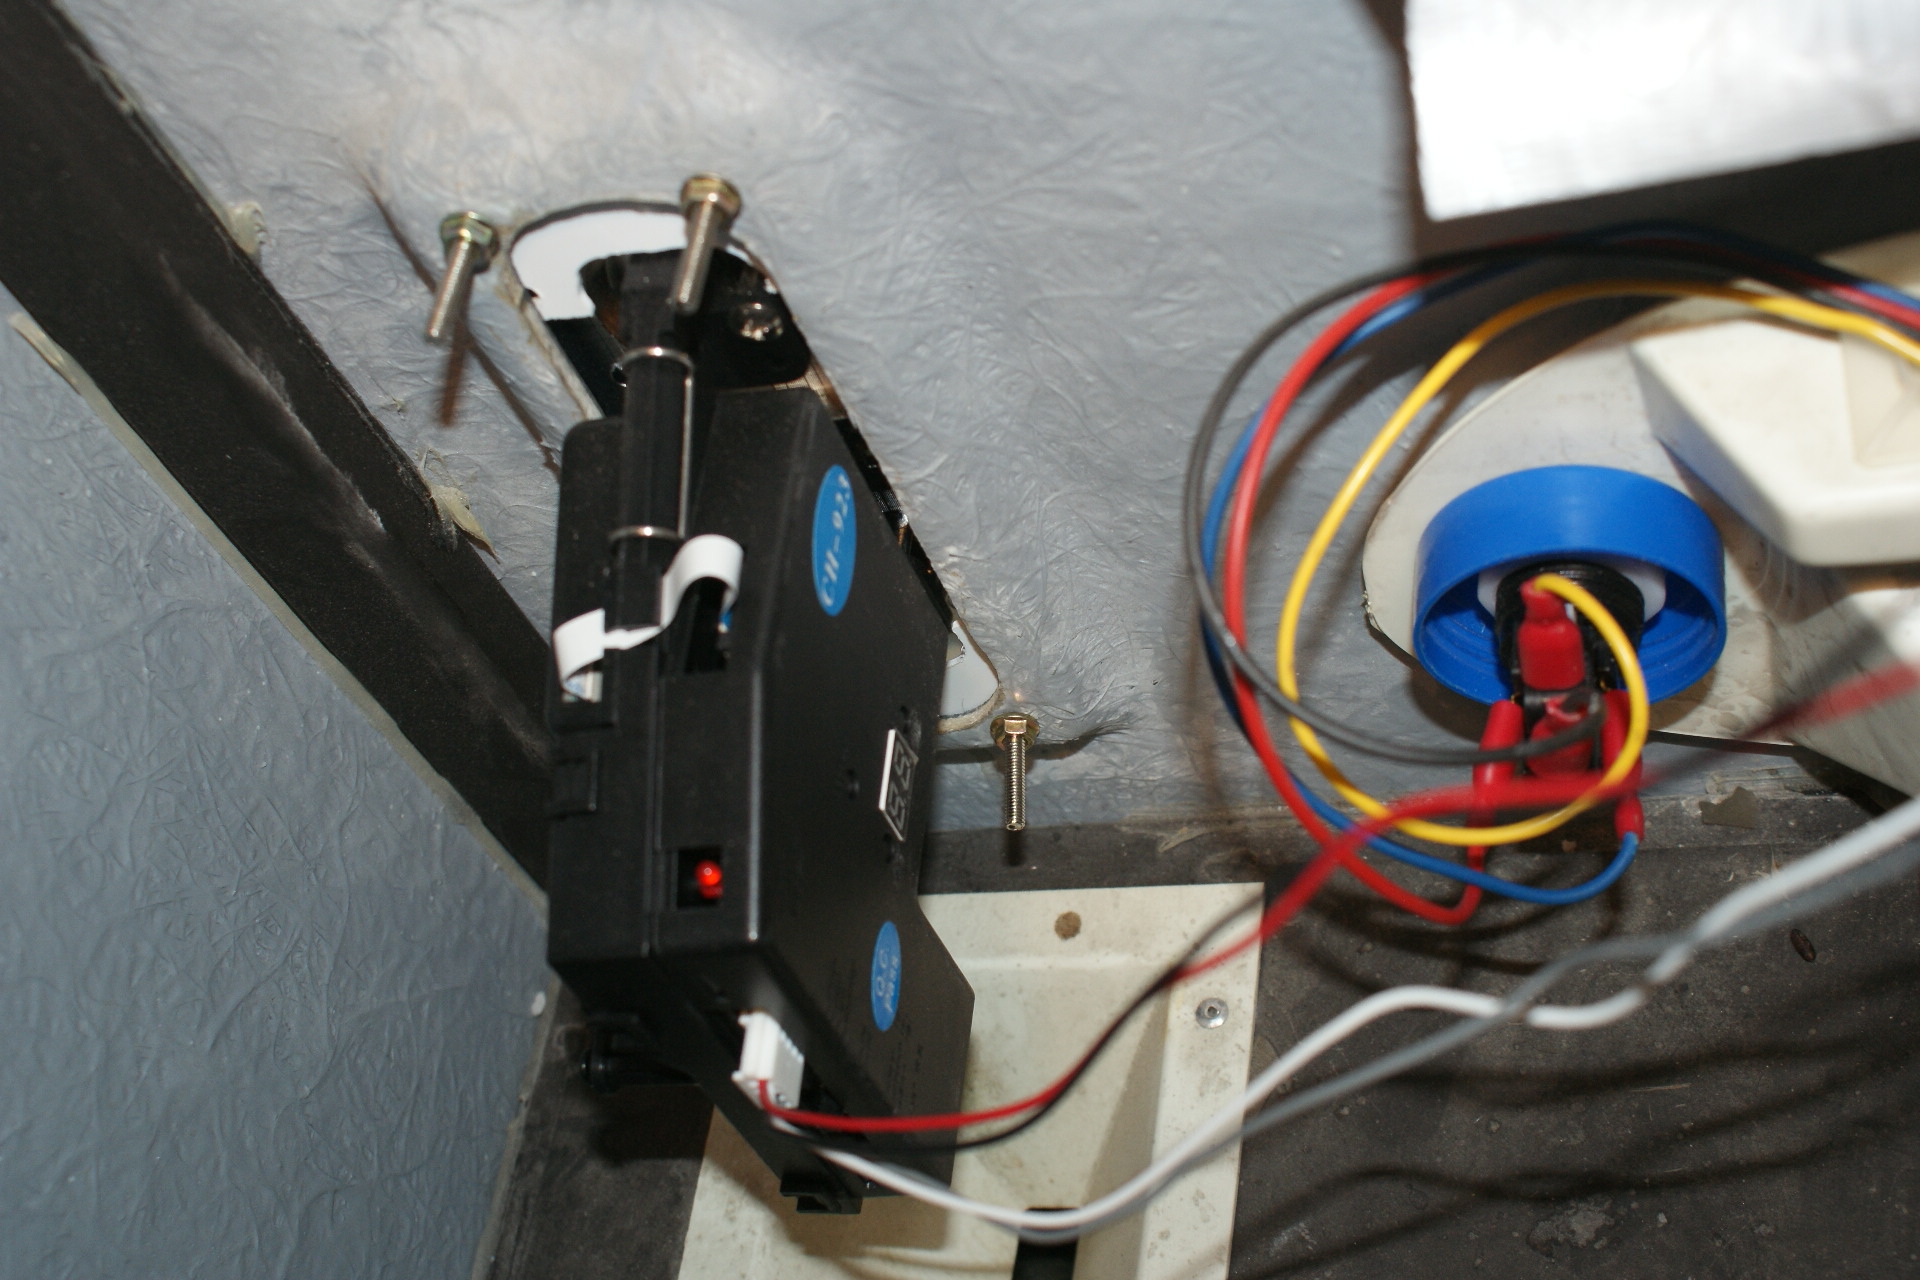
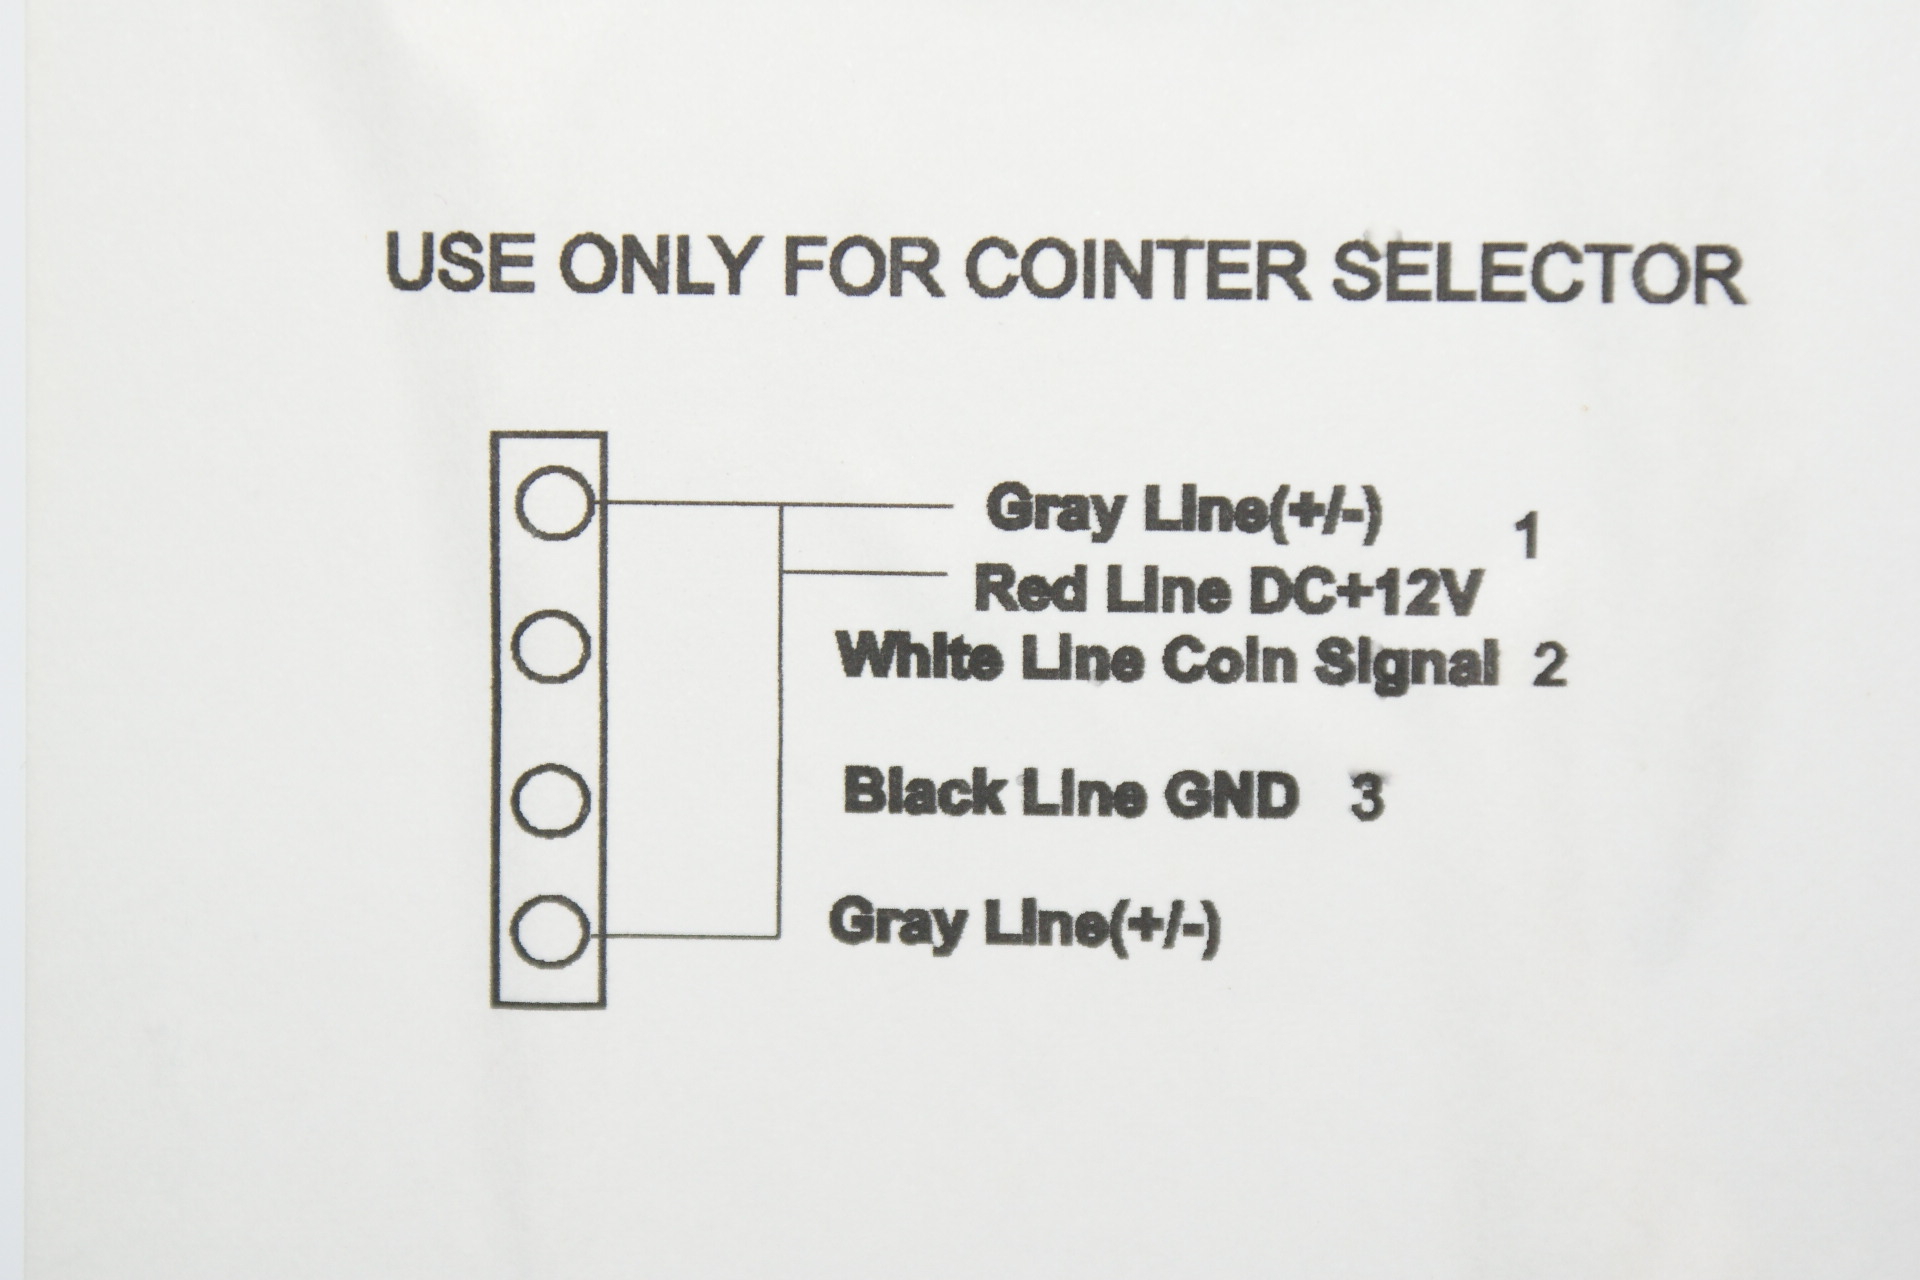
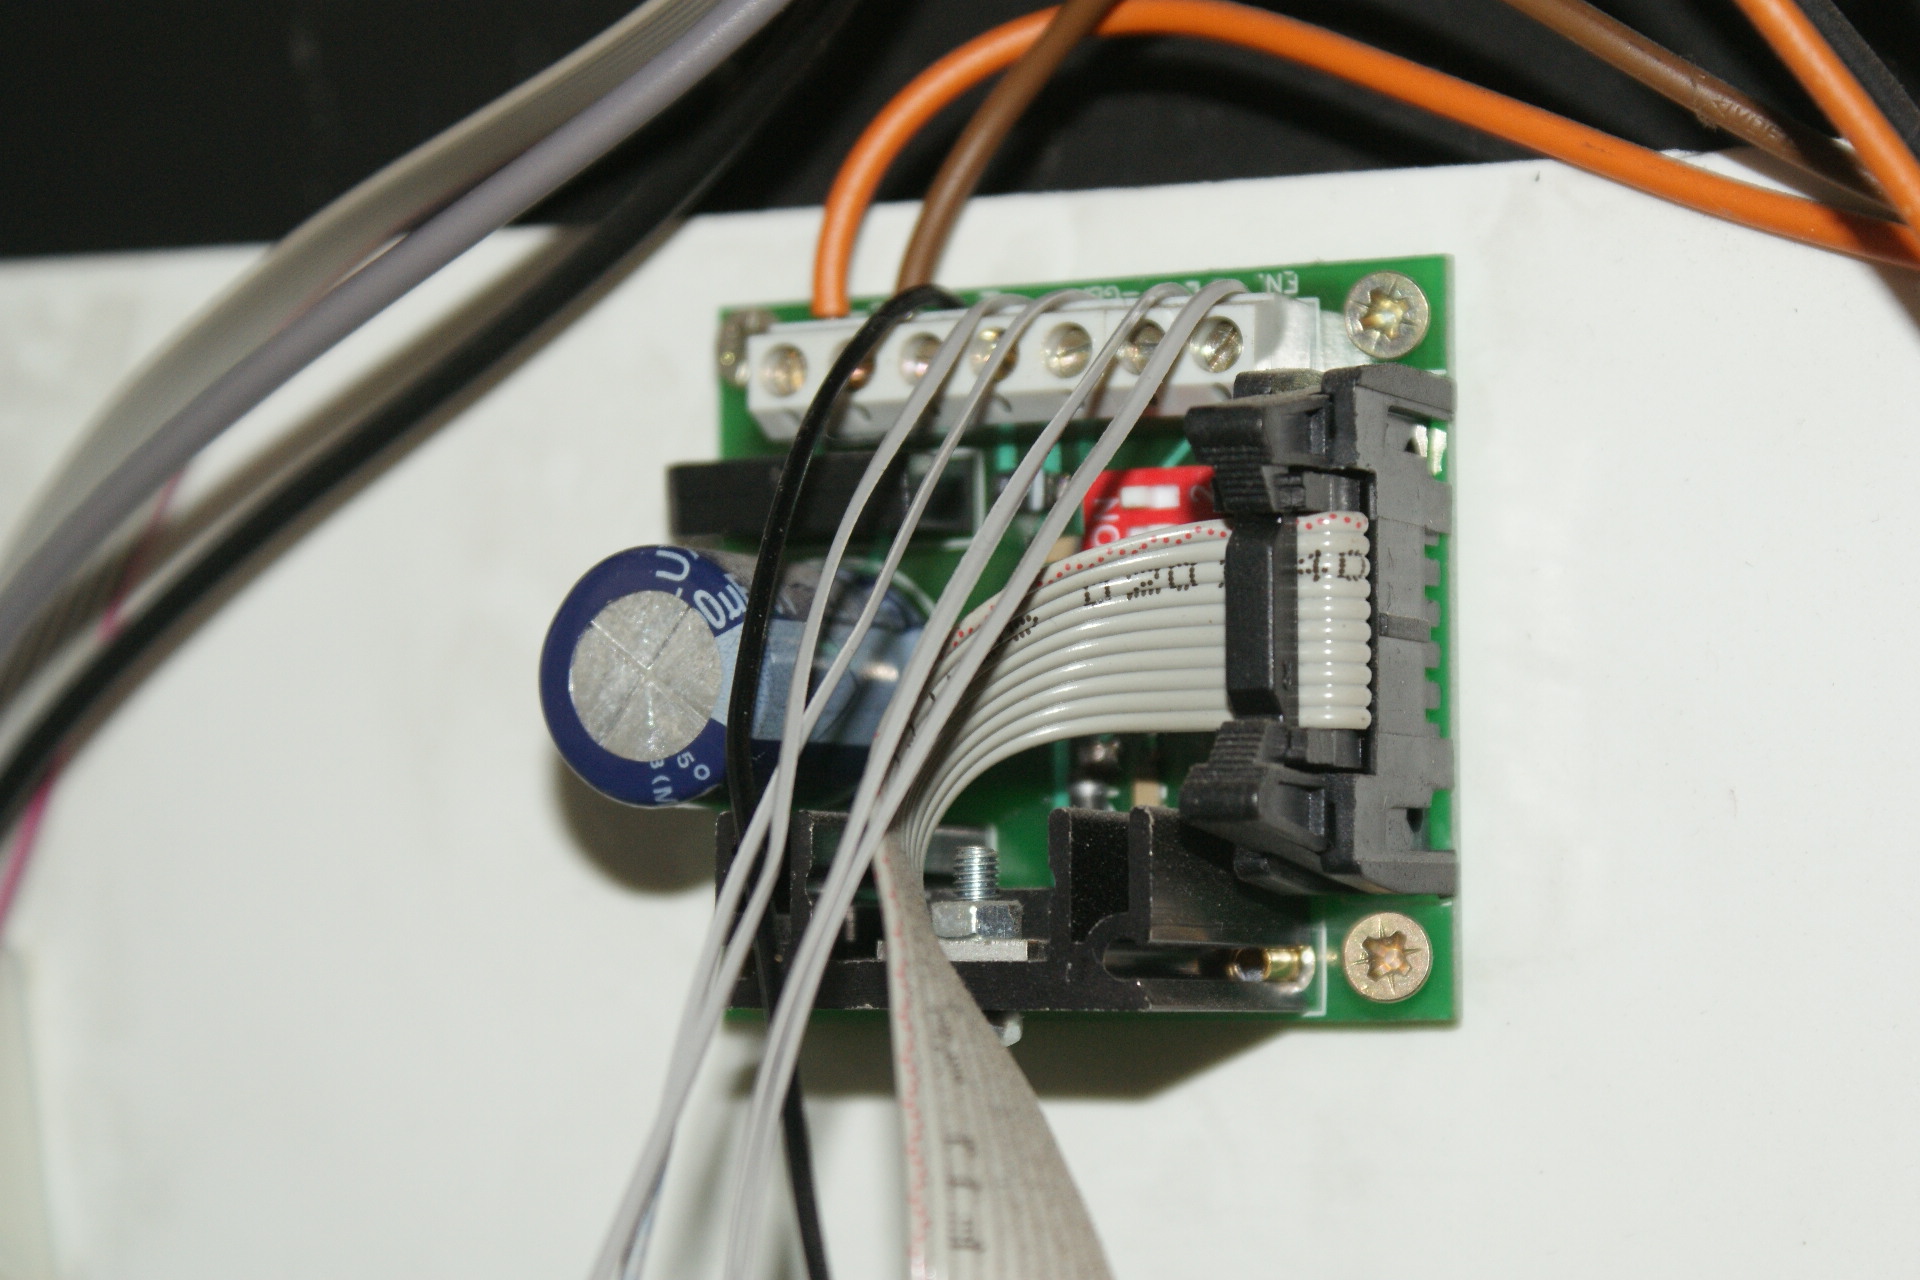
In order from left to right on the interface board, the wires were connected as follows:
- Red/+12v
- Black/GND
- White/Signal
- Gray/Enable Electromagnetic Counter
Once connected, I used the coin mechanism test option in the test menu to confirm that it was working correctly.
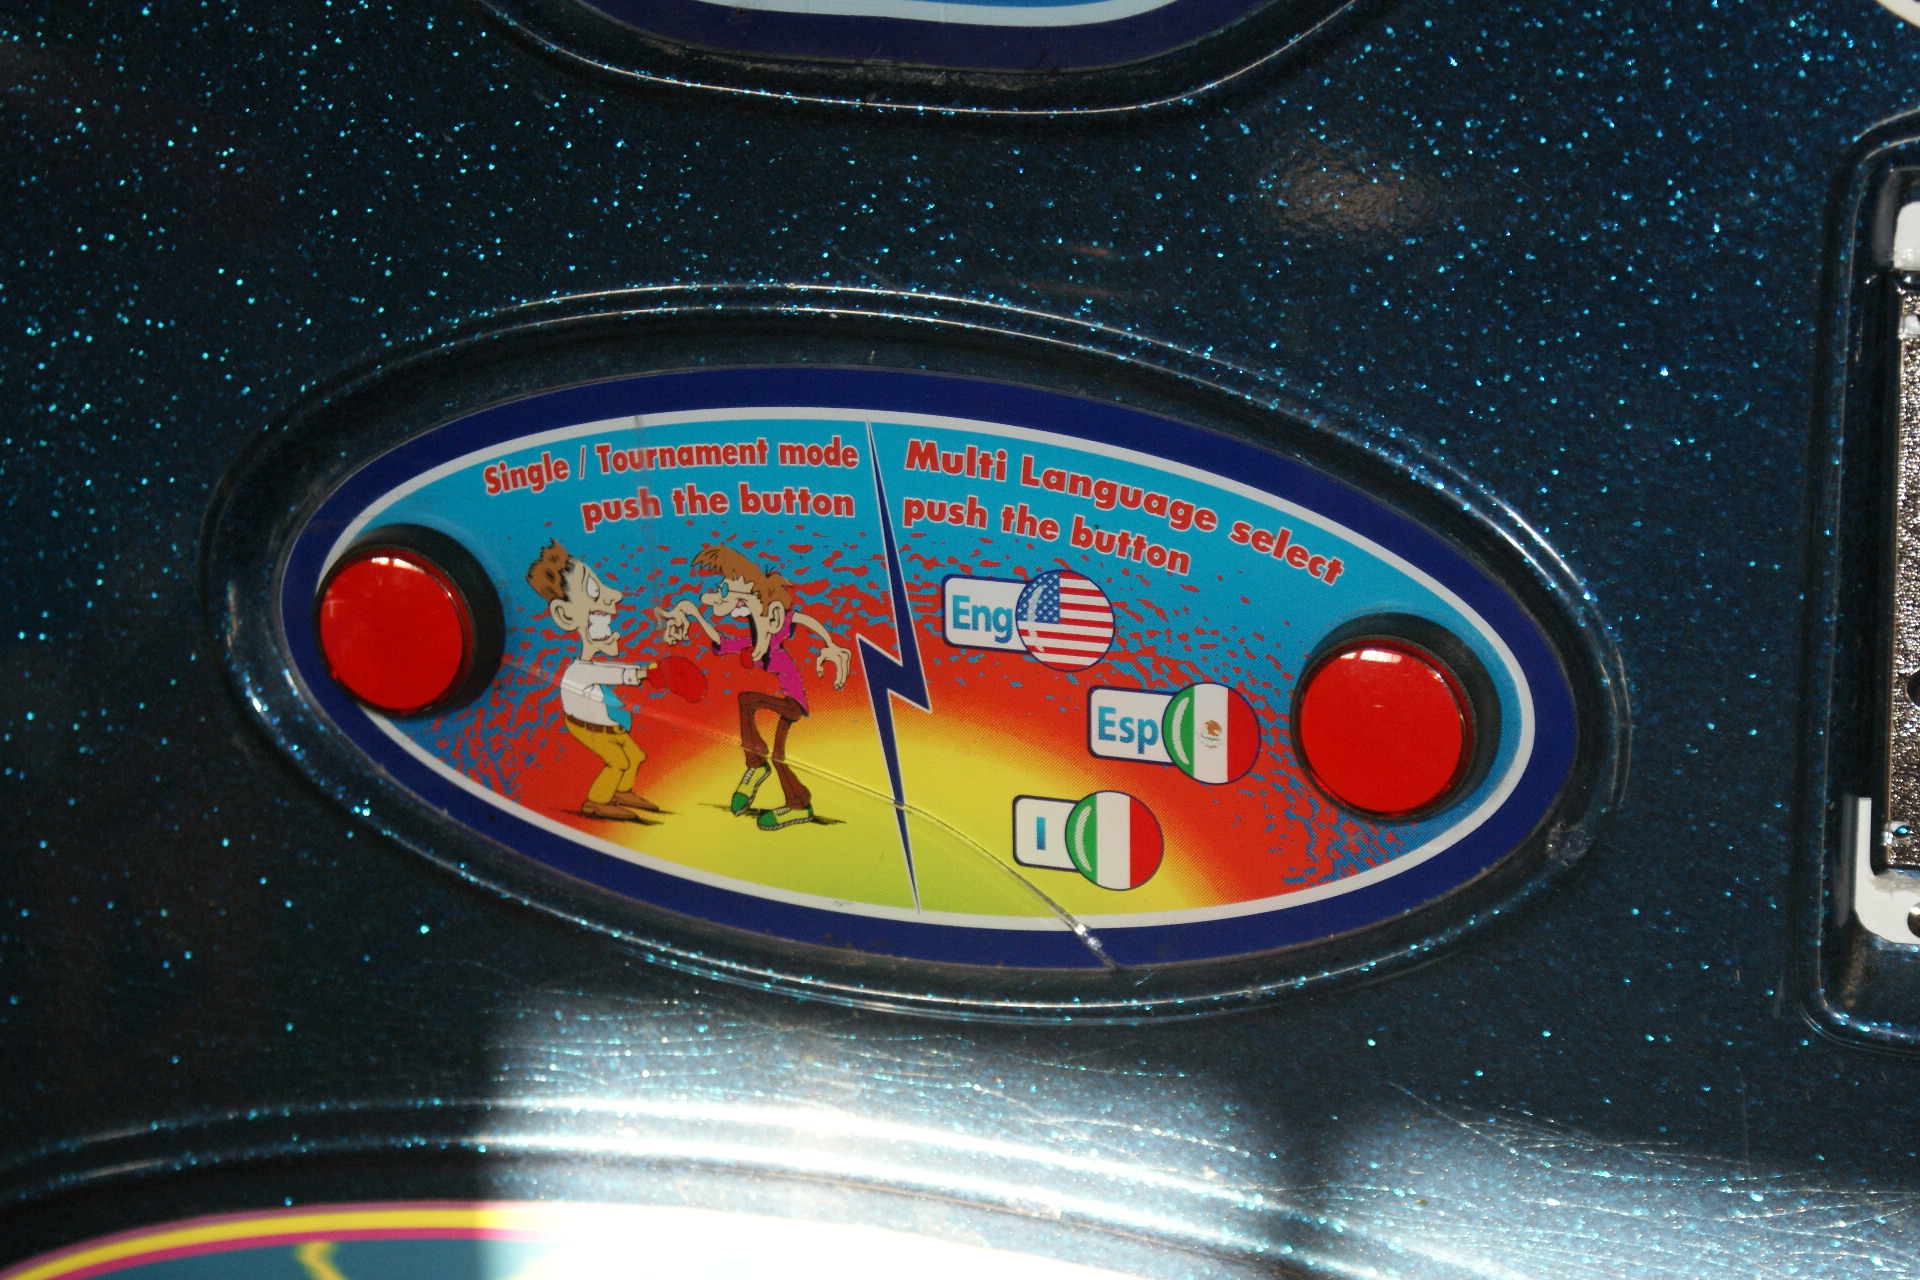
Next was the buttons. The old buttons were odd shapes and sizes, and didn’t exactly match; so I replaced them with three of the same red 43mm pushbuttons with built-in LEDs, which went for $1.50/ea on eBay. As the holes were bigger than the screw on the back, I had to improvise, using a few large caps to hold the buttons in place. I believe the blue one came from a Kernels popcorn seasoning shaker.
While replacing the Start button on the top, I discovered why the machine always released the ball on startup – the microswitch was connected on the NC (normally closed) line instead of the NO (normally open) line, which meant it closed the button circuit and started the game as soon as the machine was turned on.

I finished off the day by ordering a punchball and pad off of eBay and the new solenoid from Coney Island Arcade for $120 plus shipping, as I couldn’t find one that would fit on my own.
What’s Missing:
- 1 Top Halogen Light Bulb
- Punchball
- Solenoid/Electromagnet
Coin AcceptorSome Screws + Nuts
What’s Needs Fixing:
Plastic Display Holder – It looks like someone took a sledgehammer to it…Buttons – All of them are mismatched, and one’s sticky.- Foam Hand Guard
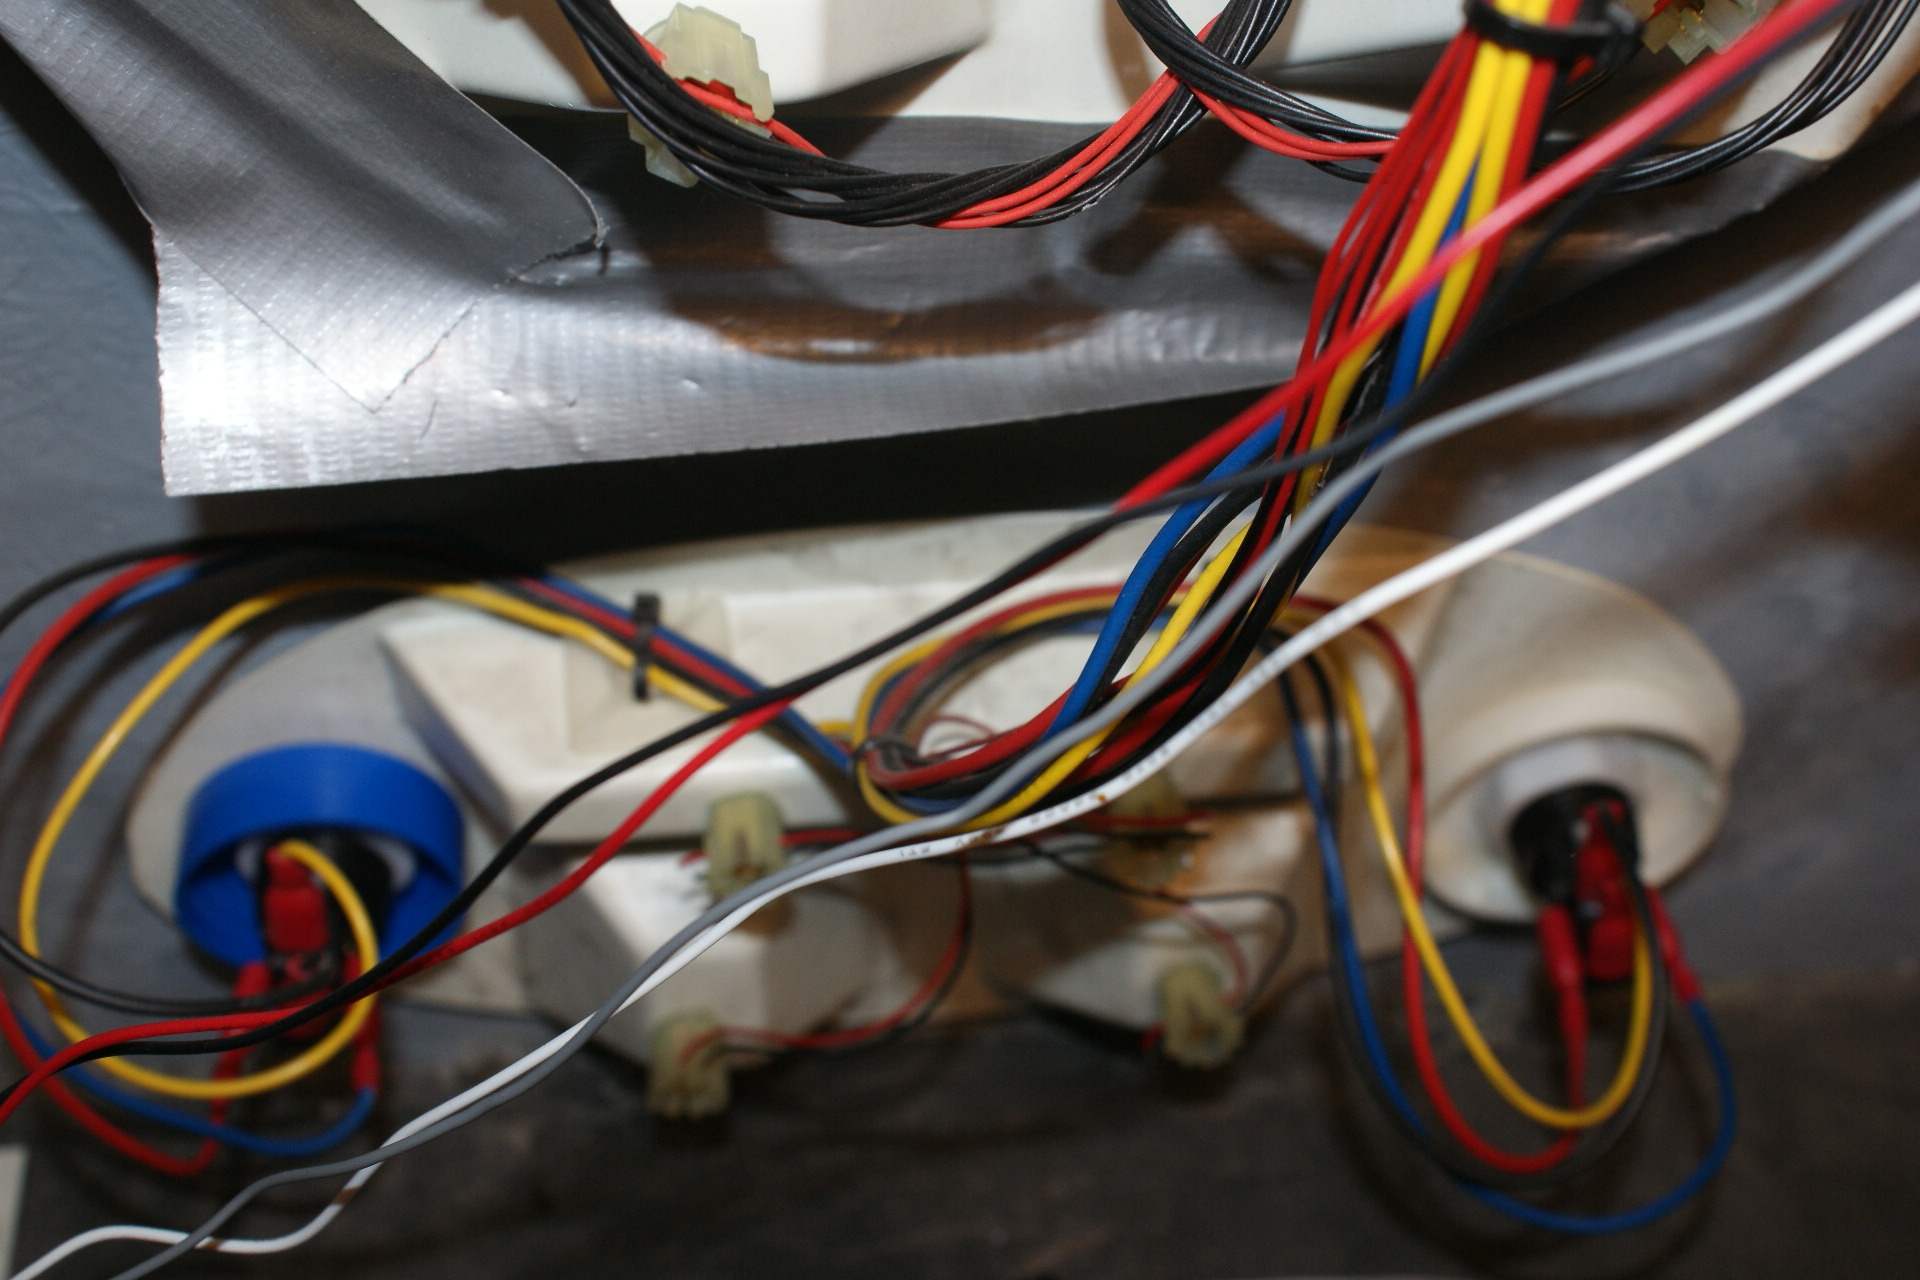
Many of the Mini Lightbulbs for the Strength Indicator are burned outDisplay Board – Wires… Everywhere!- Cabinet needs some buffing/TLC
- Coin/Mech door on the back needs a lock + screws