After having repaired my Apple Time Capsule’s power supply twice due to heat-damaged bulging capacitors, I went ahead with a mod that I had been thinking about attempting for quite some time. The mod replaced the built-in power supply with a simple ATX Molex connector, allowing the Time Capsule to run without it’s hottest component, on a standard DC Molex connector, like those found on any common computer power supply.
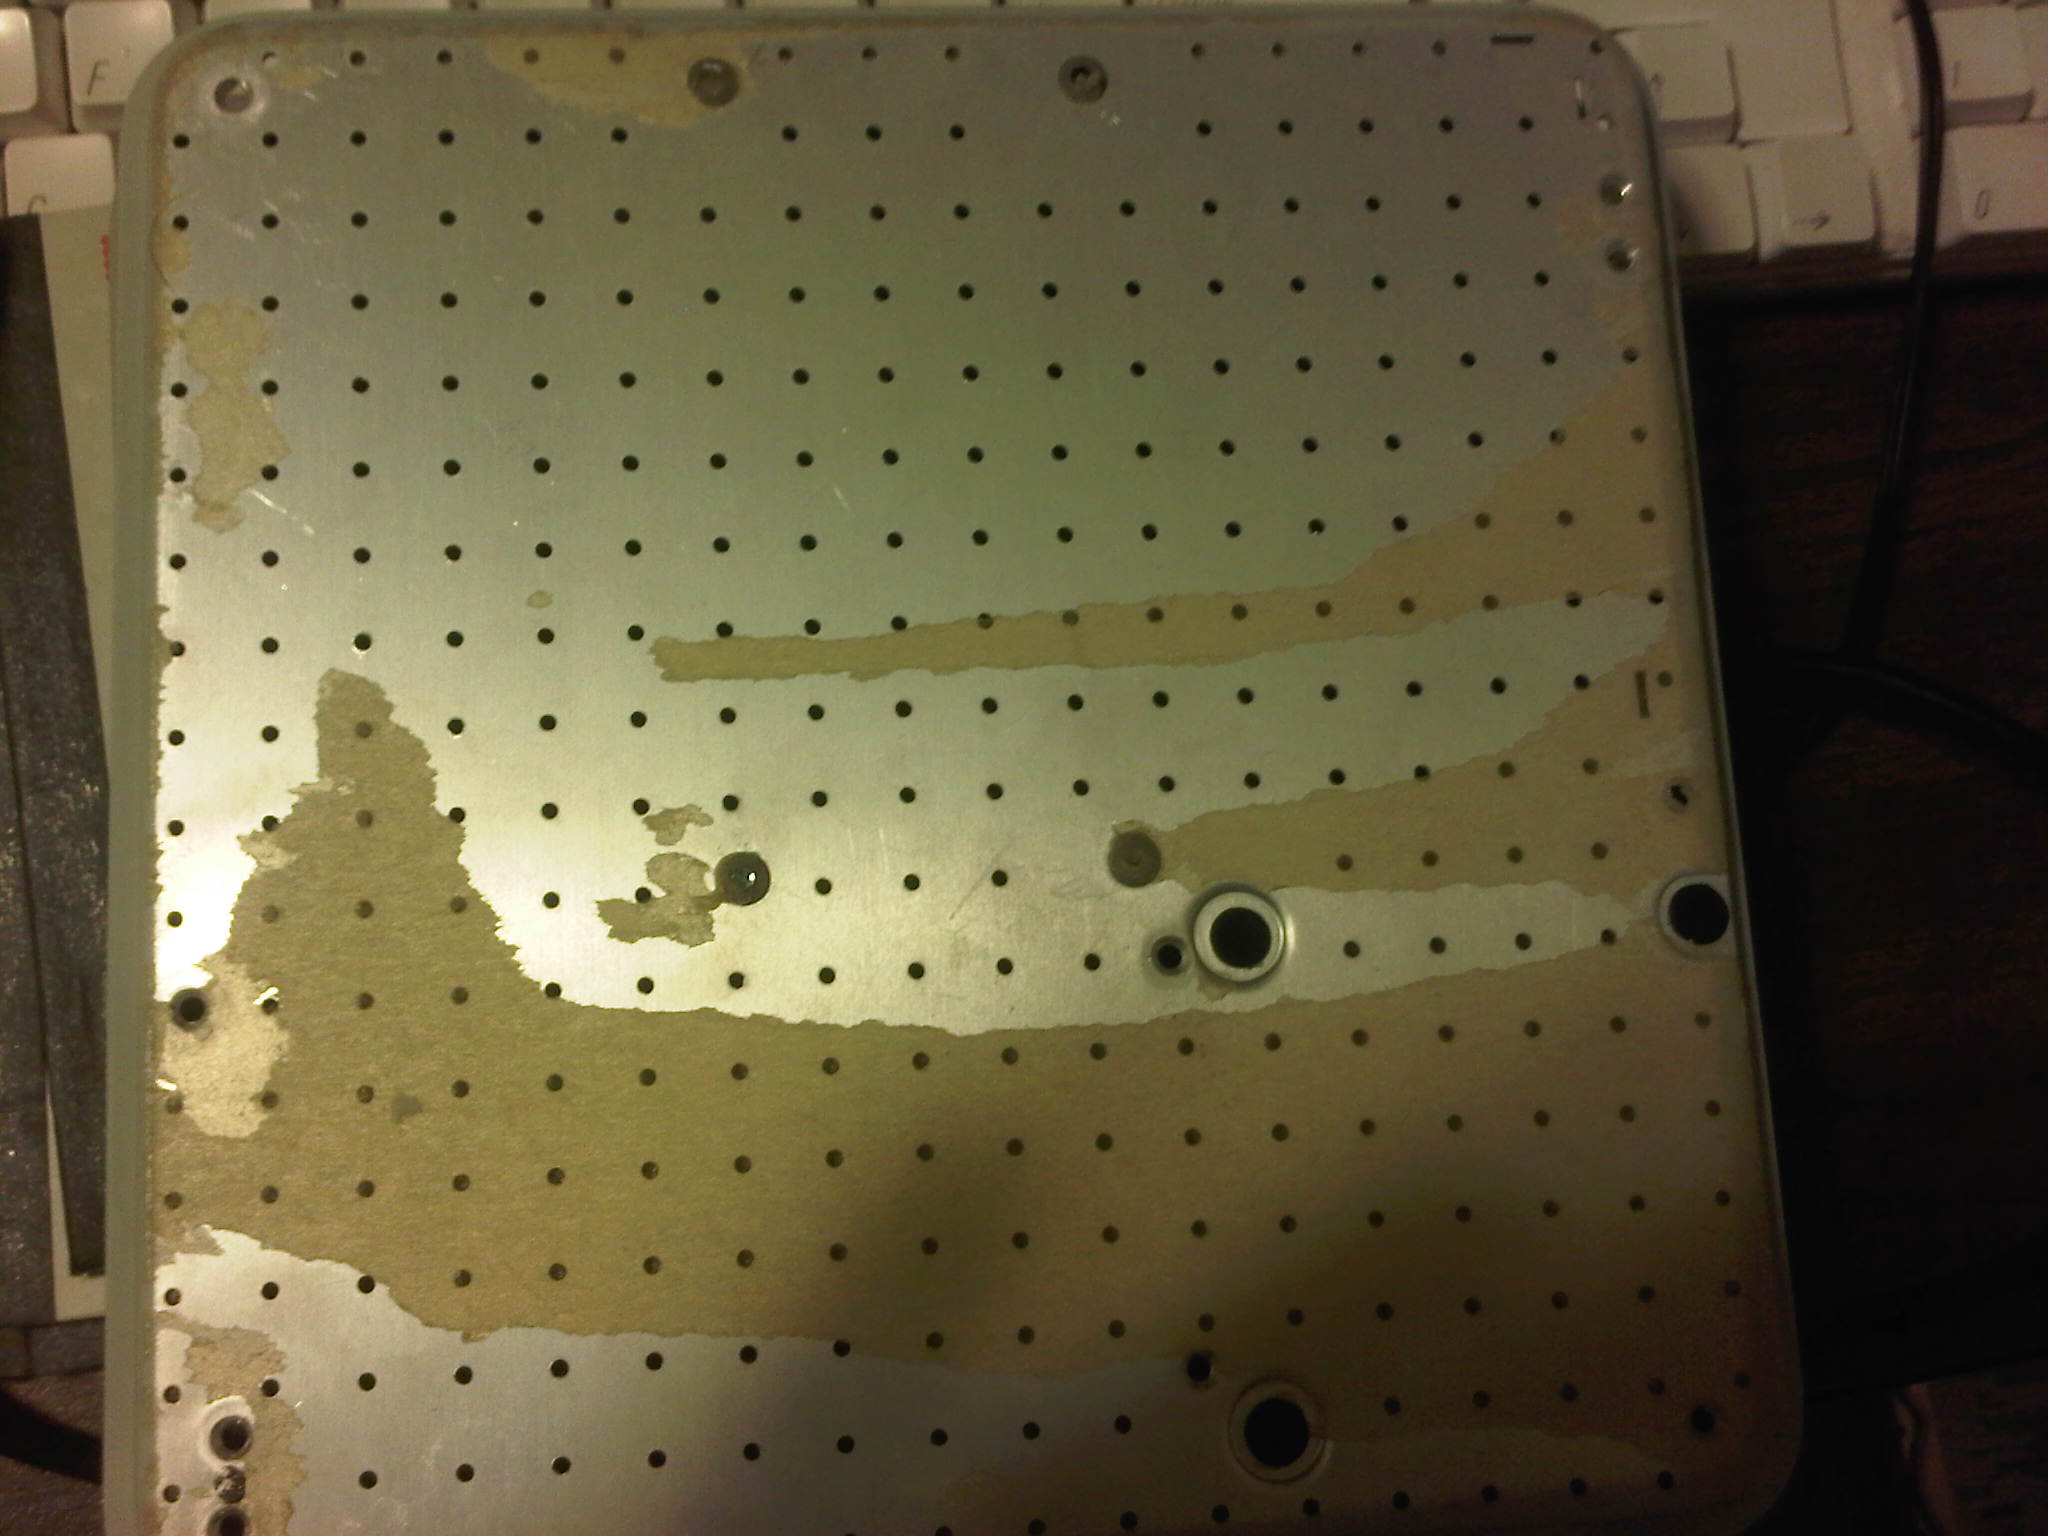
To complete this mod, I first removed the bottom rubber cover from the Time Capsule, exposing the screws below. This should probably be done with either a hair dryer or a heat gun to avoid damaging or tearing the rubber. After exposing the screws, I removed them; as well as the metal cover protecting the logic board.
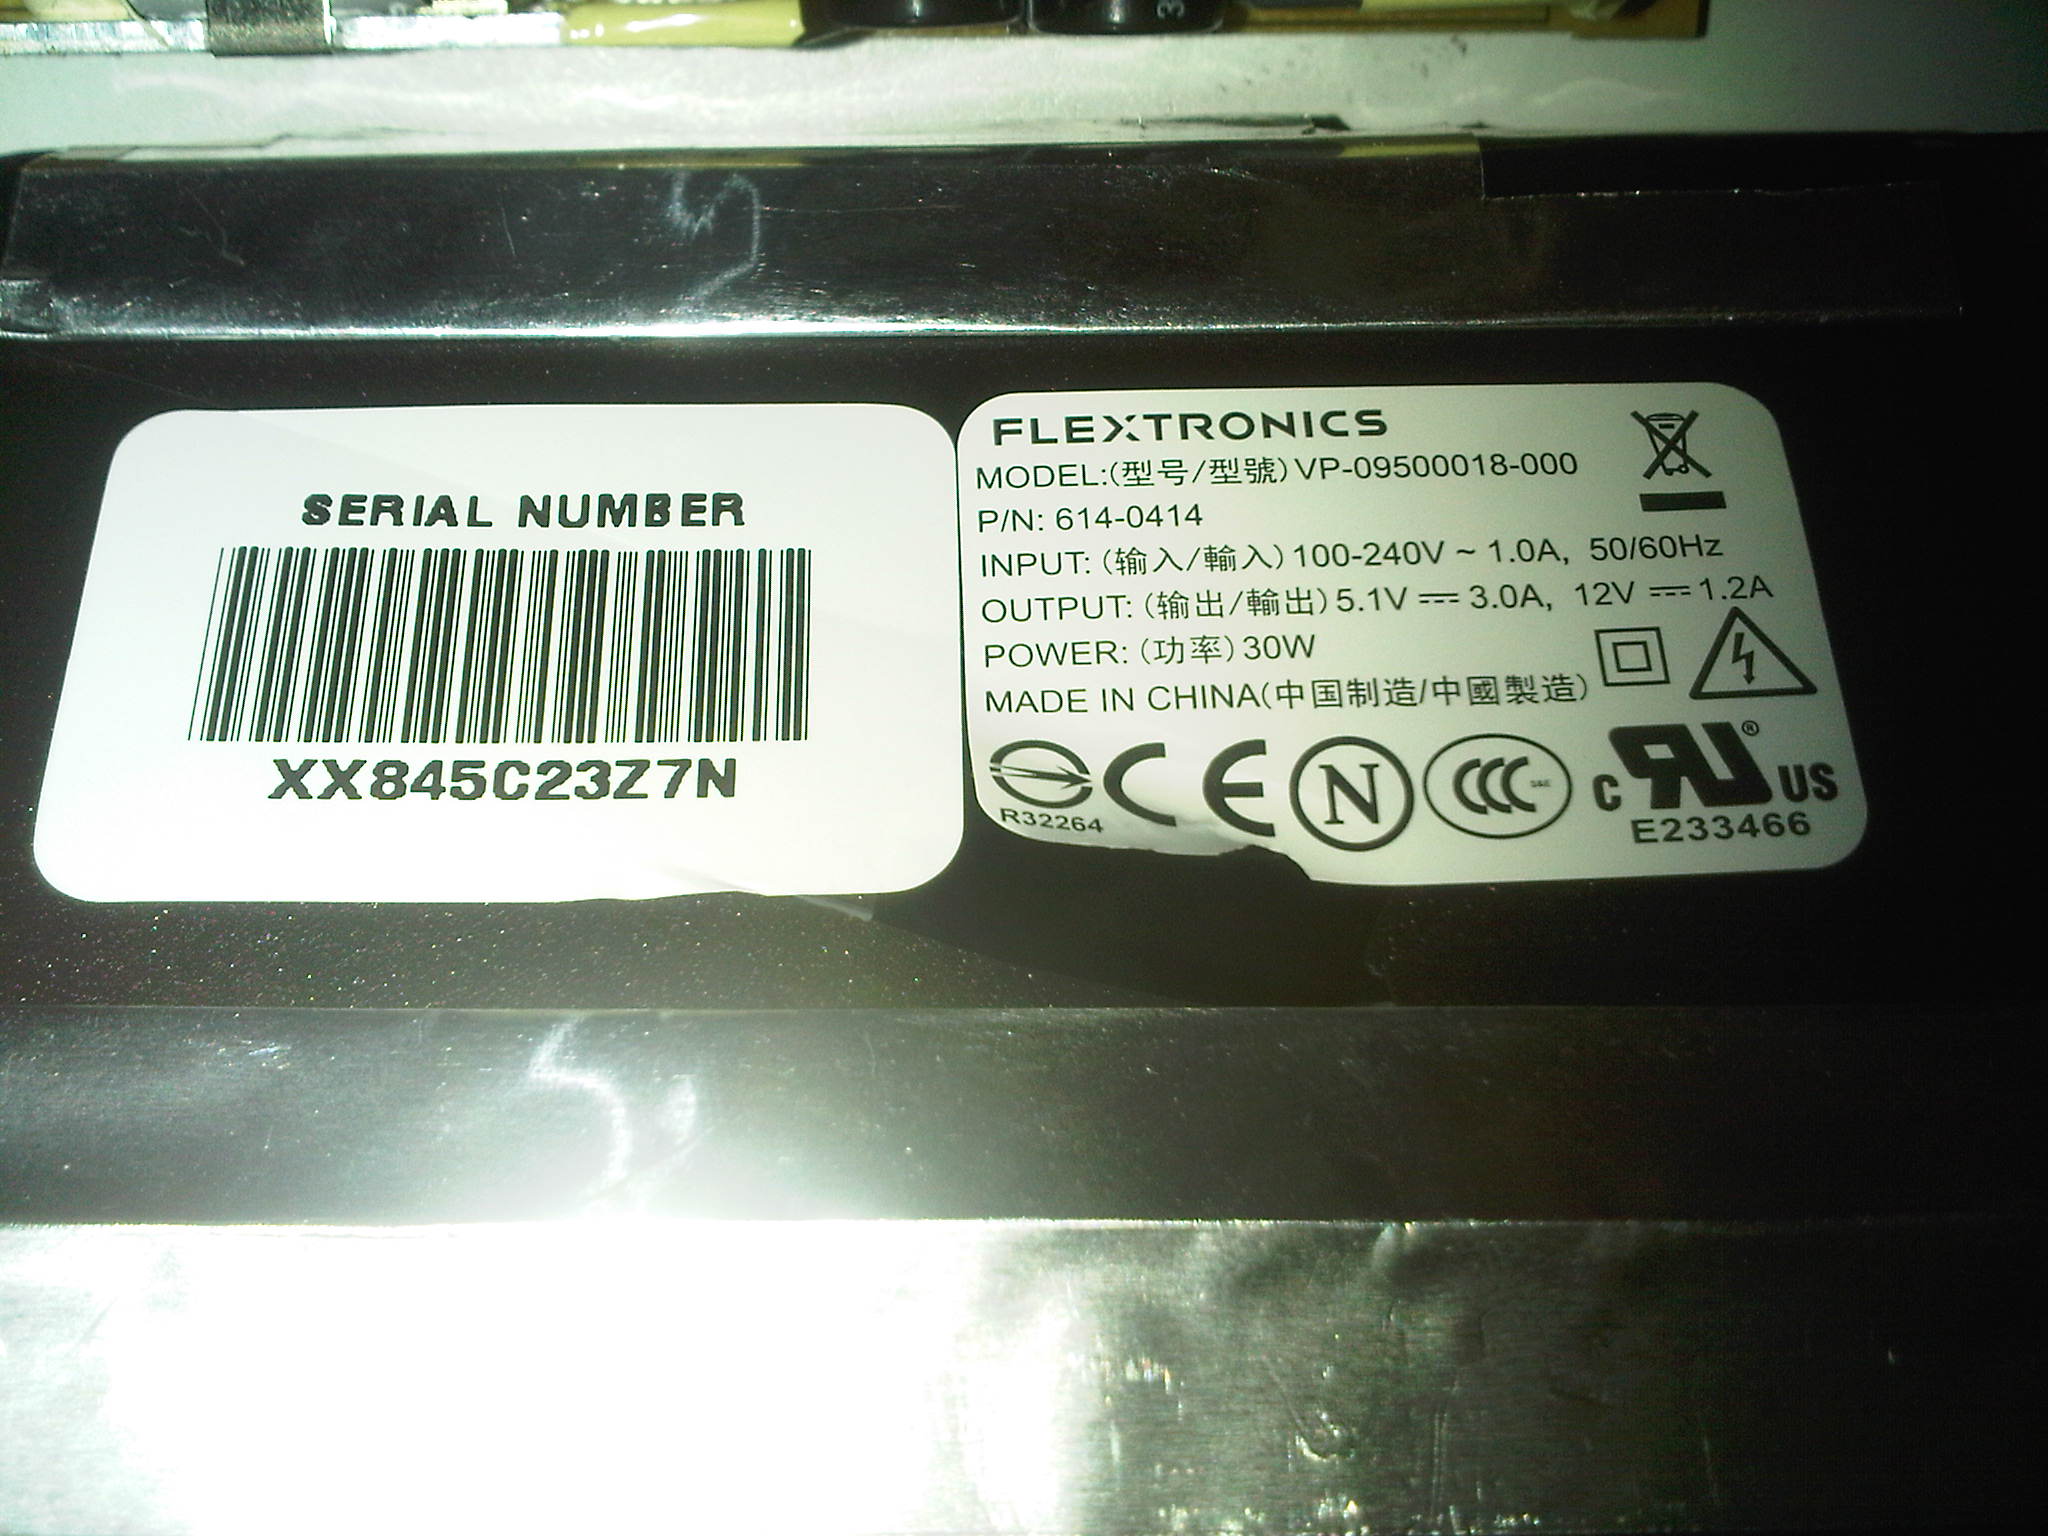
Next, I disconnected and removed the power supply. Pictured below, it was a small, black, plastic-wrapped module that according to the label, was rated for 30W.
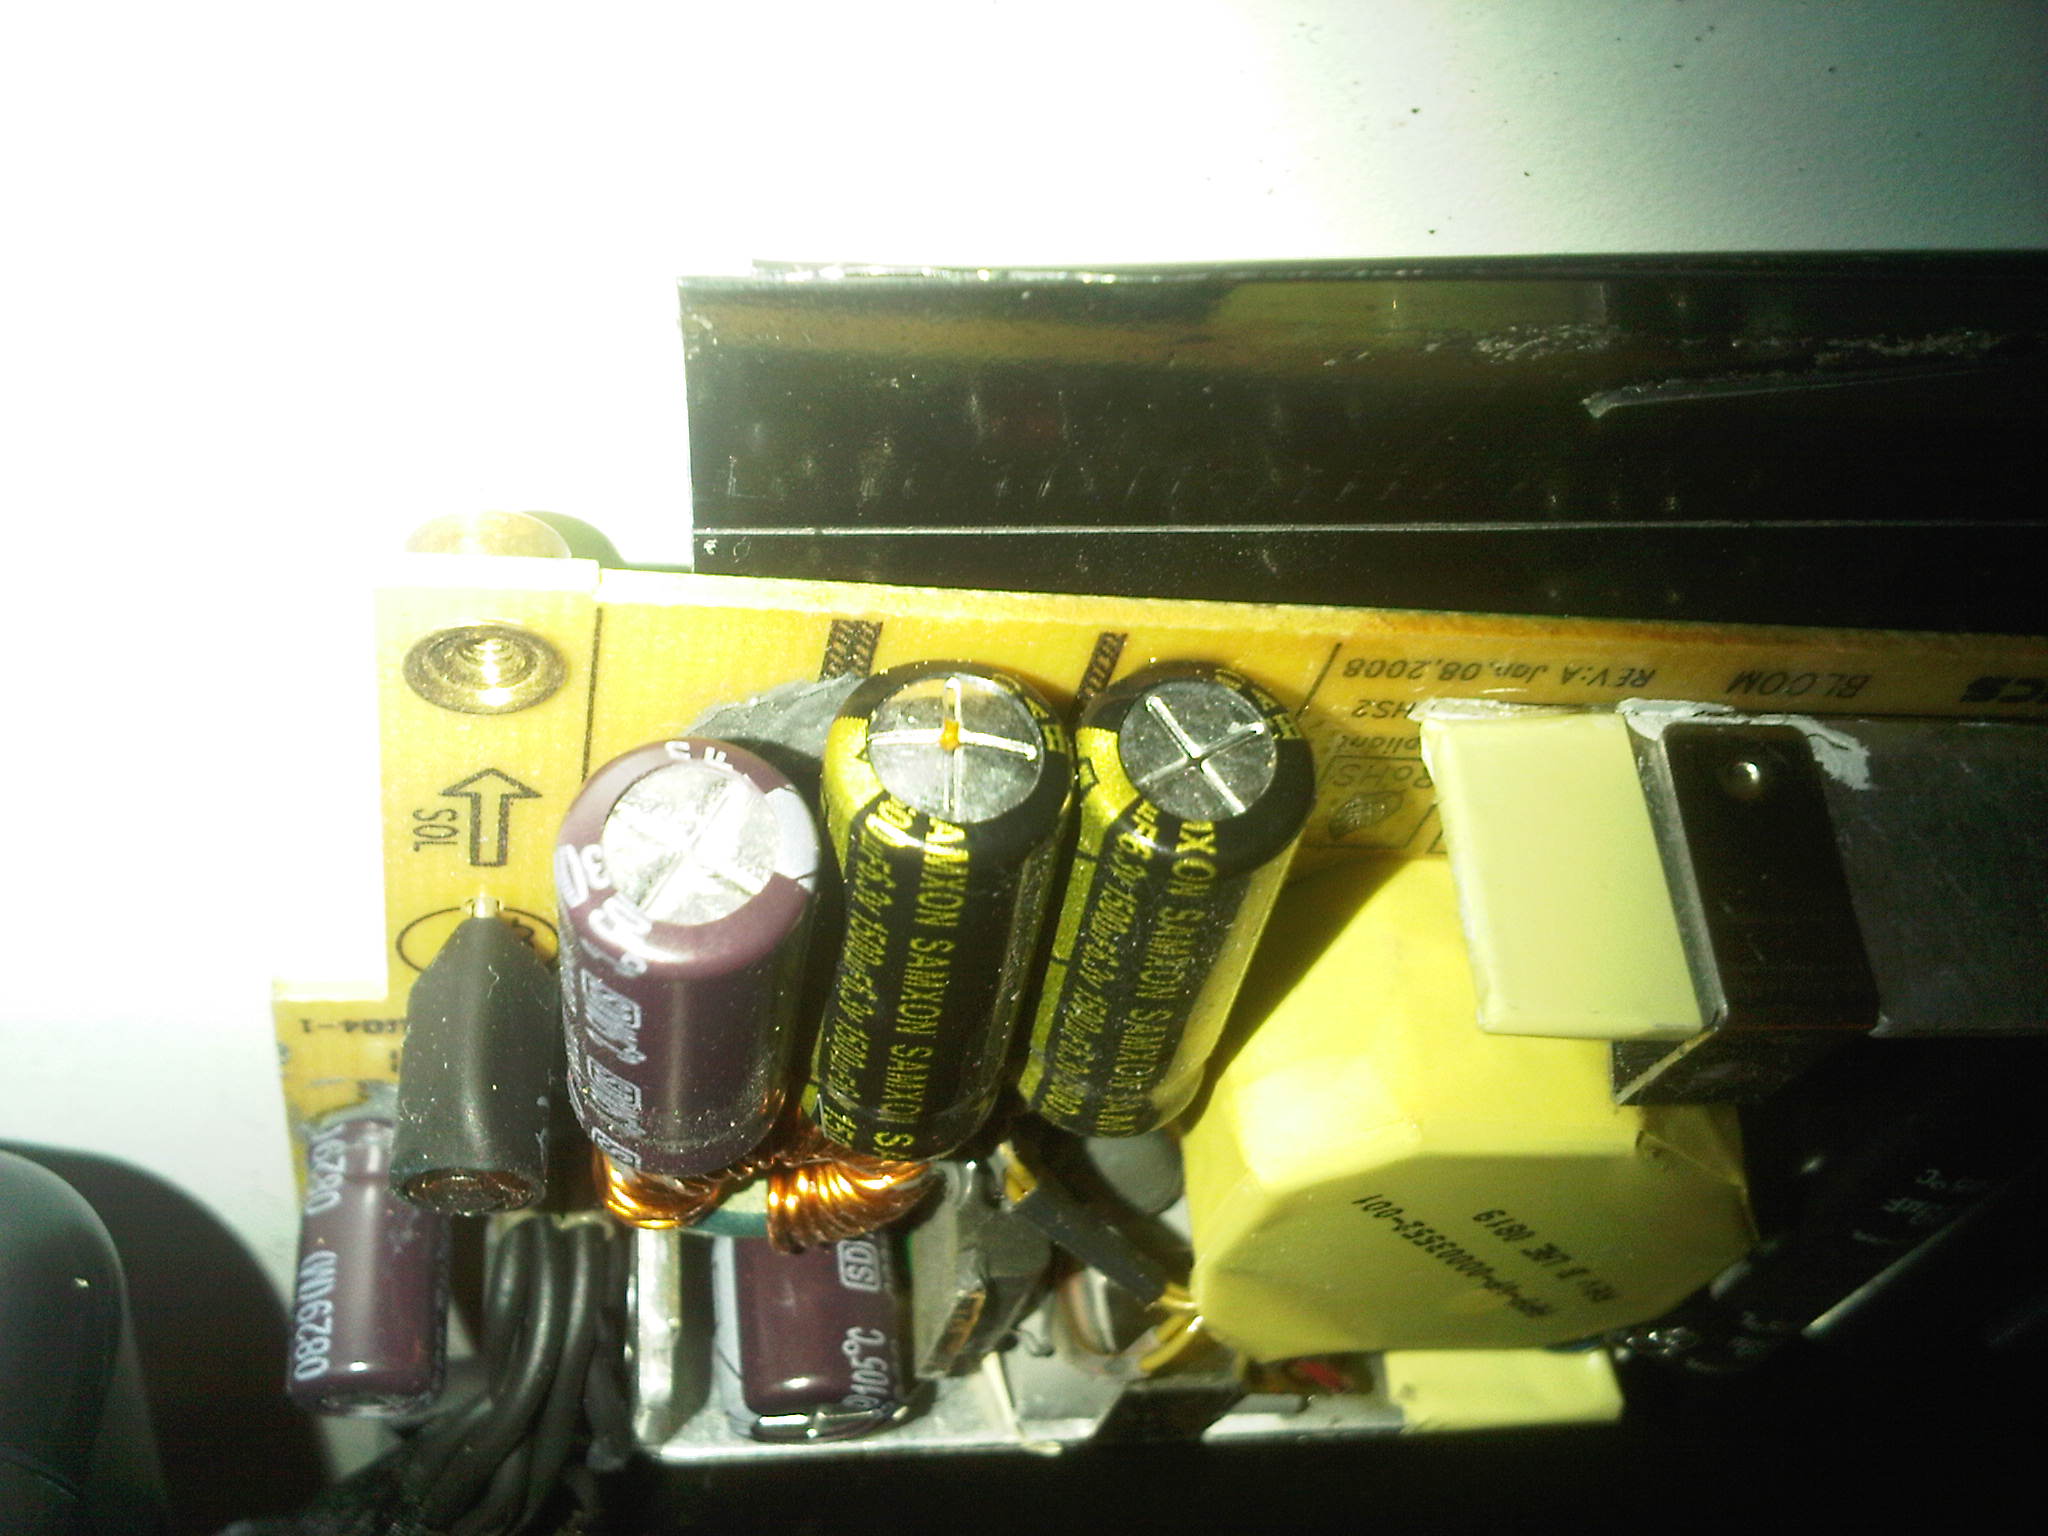
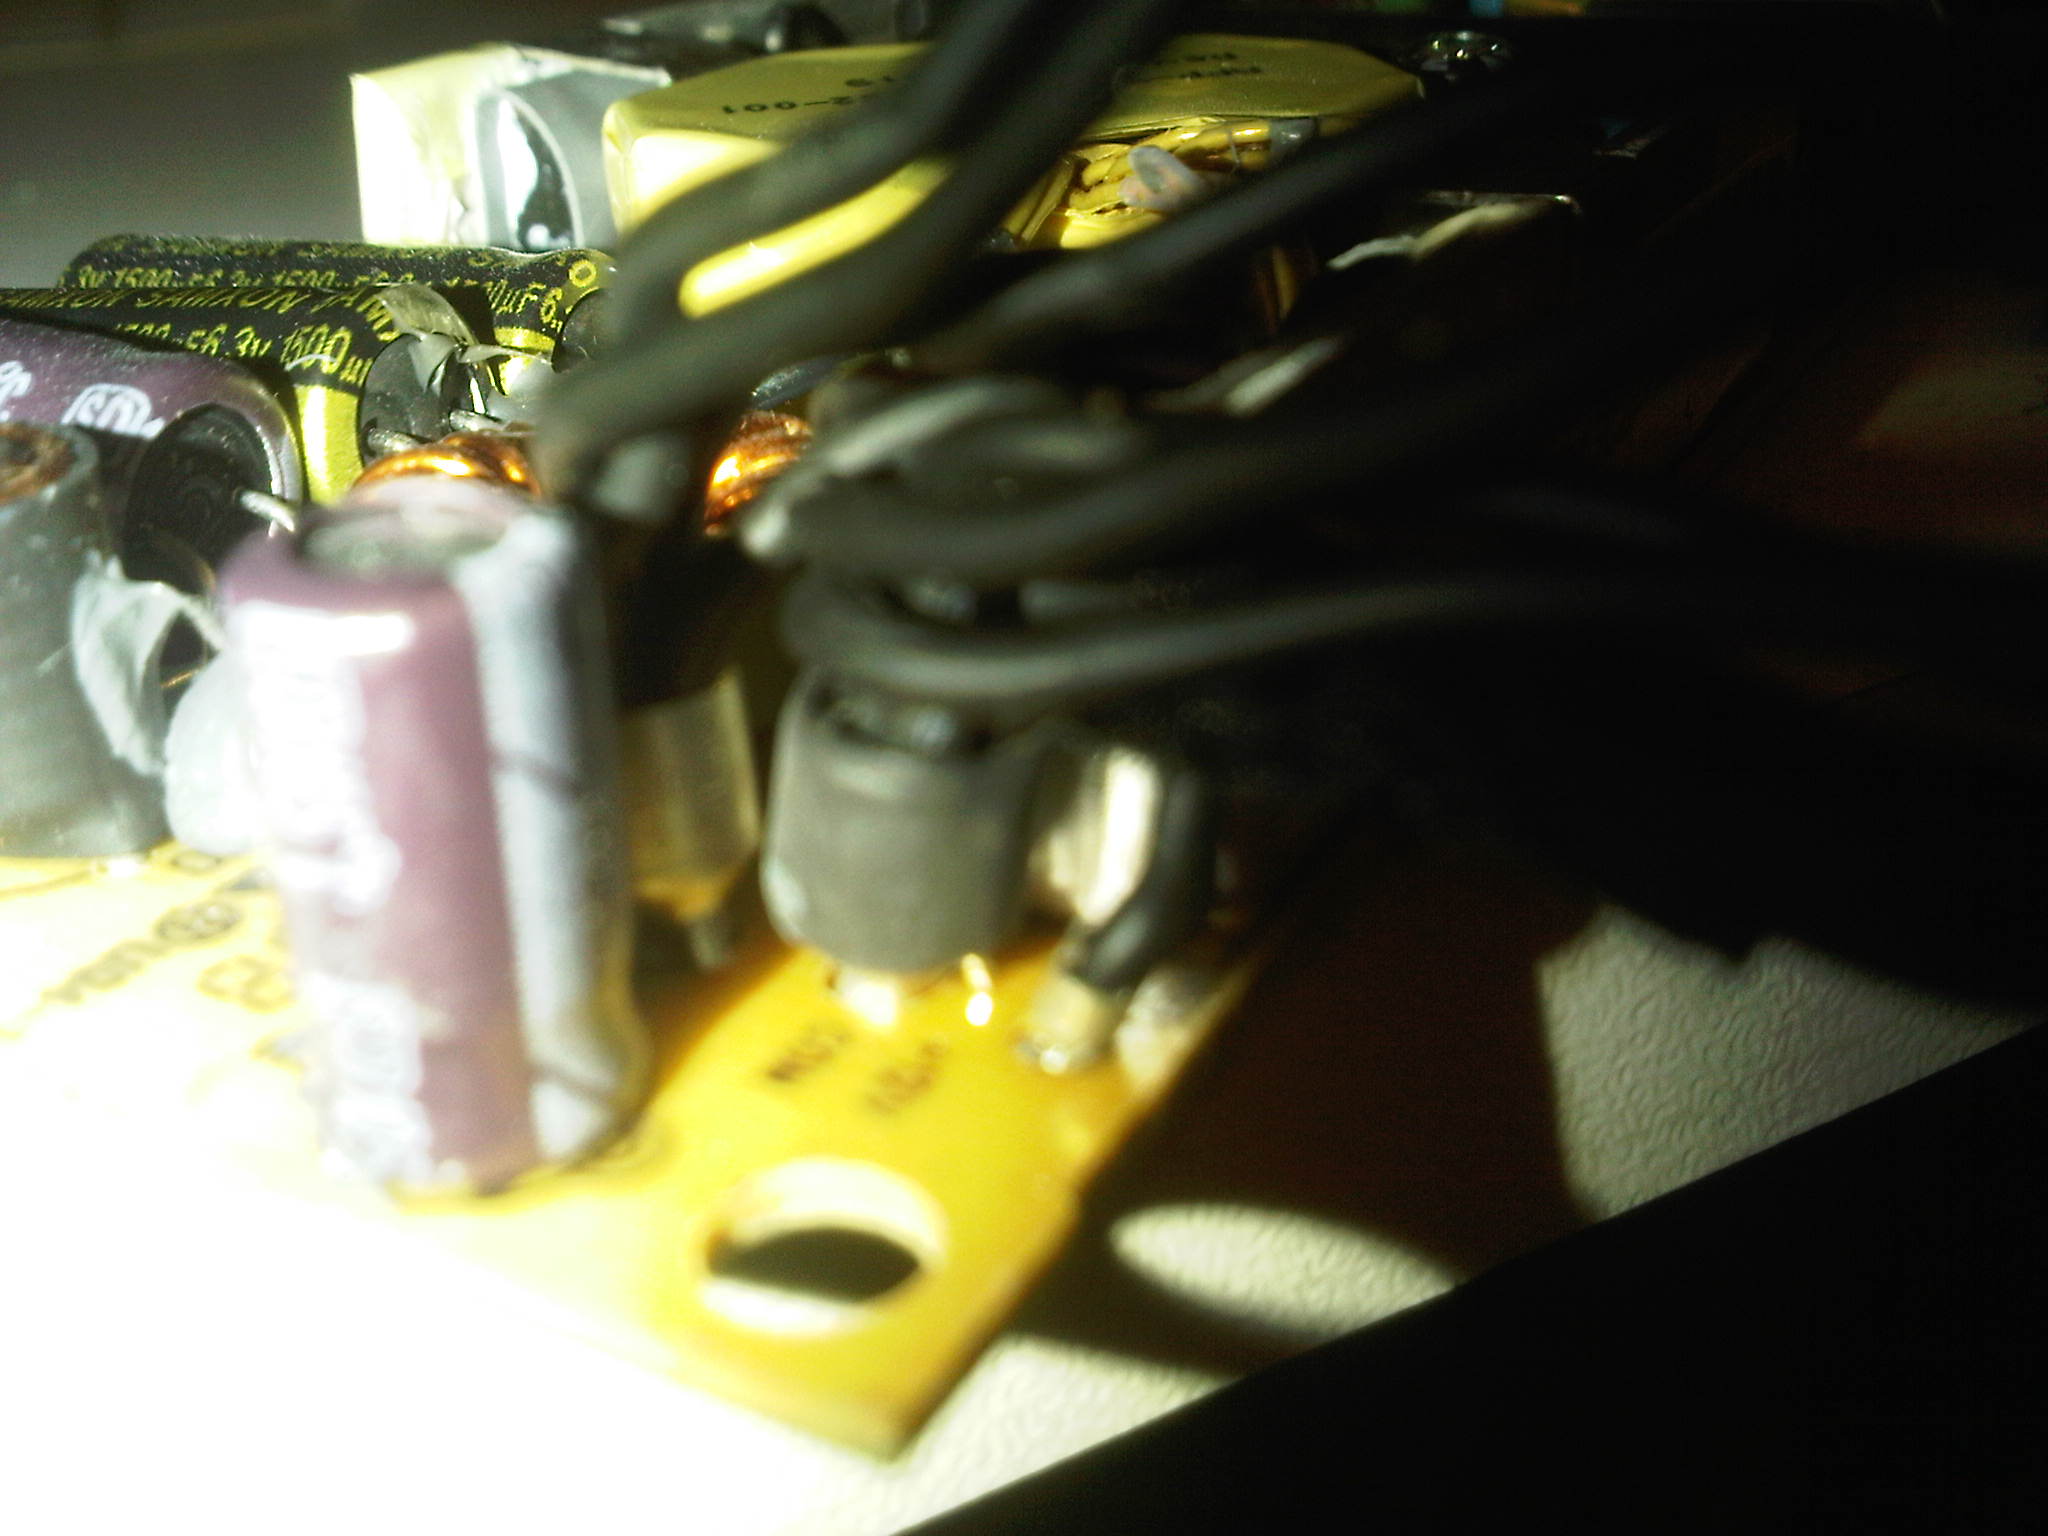
To confirm that it was in fact the power supply that was causing problems, I removed the cover and measured the voltages with a PSU testing tool (meh, easier than a multimeter). While connecting the tester, I also noticed that the 6.3v caps were all bulging (a classic sign of damaged capacitors). The tester confirmed this, showing an incorrect output voltage on the 5v line, which would explain why the Time Capsule wouldn’t turn on.

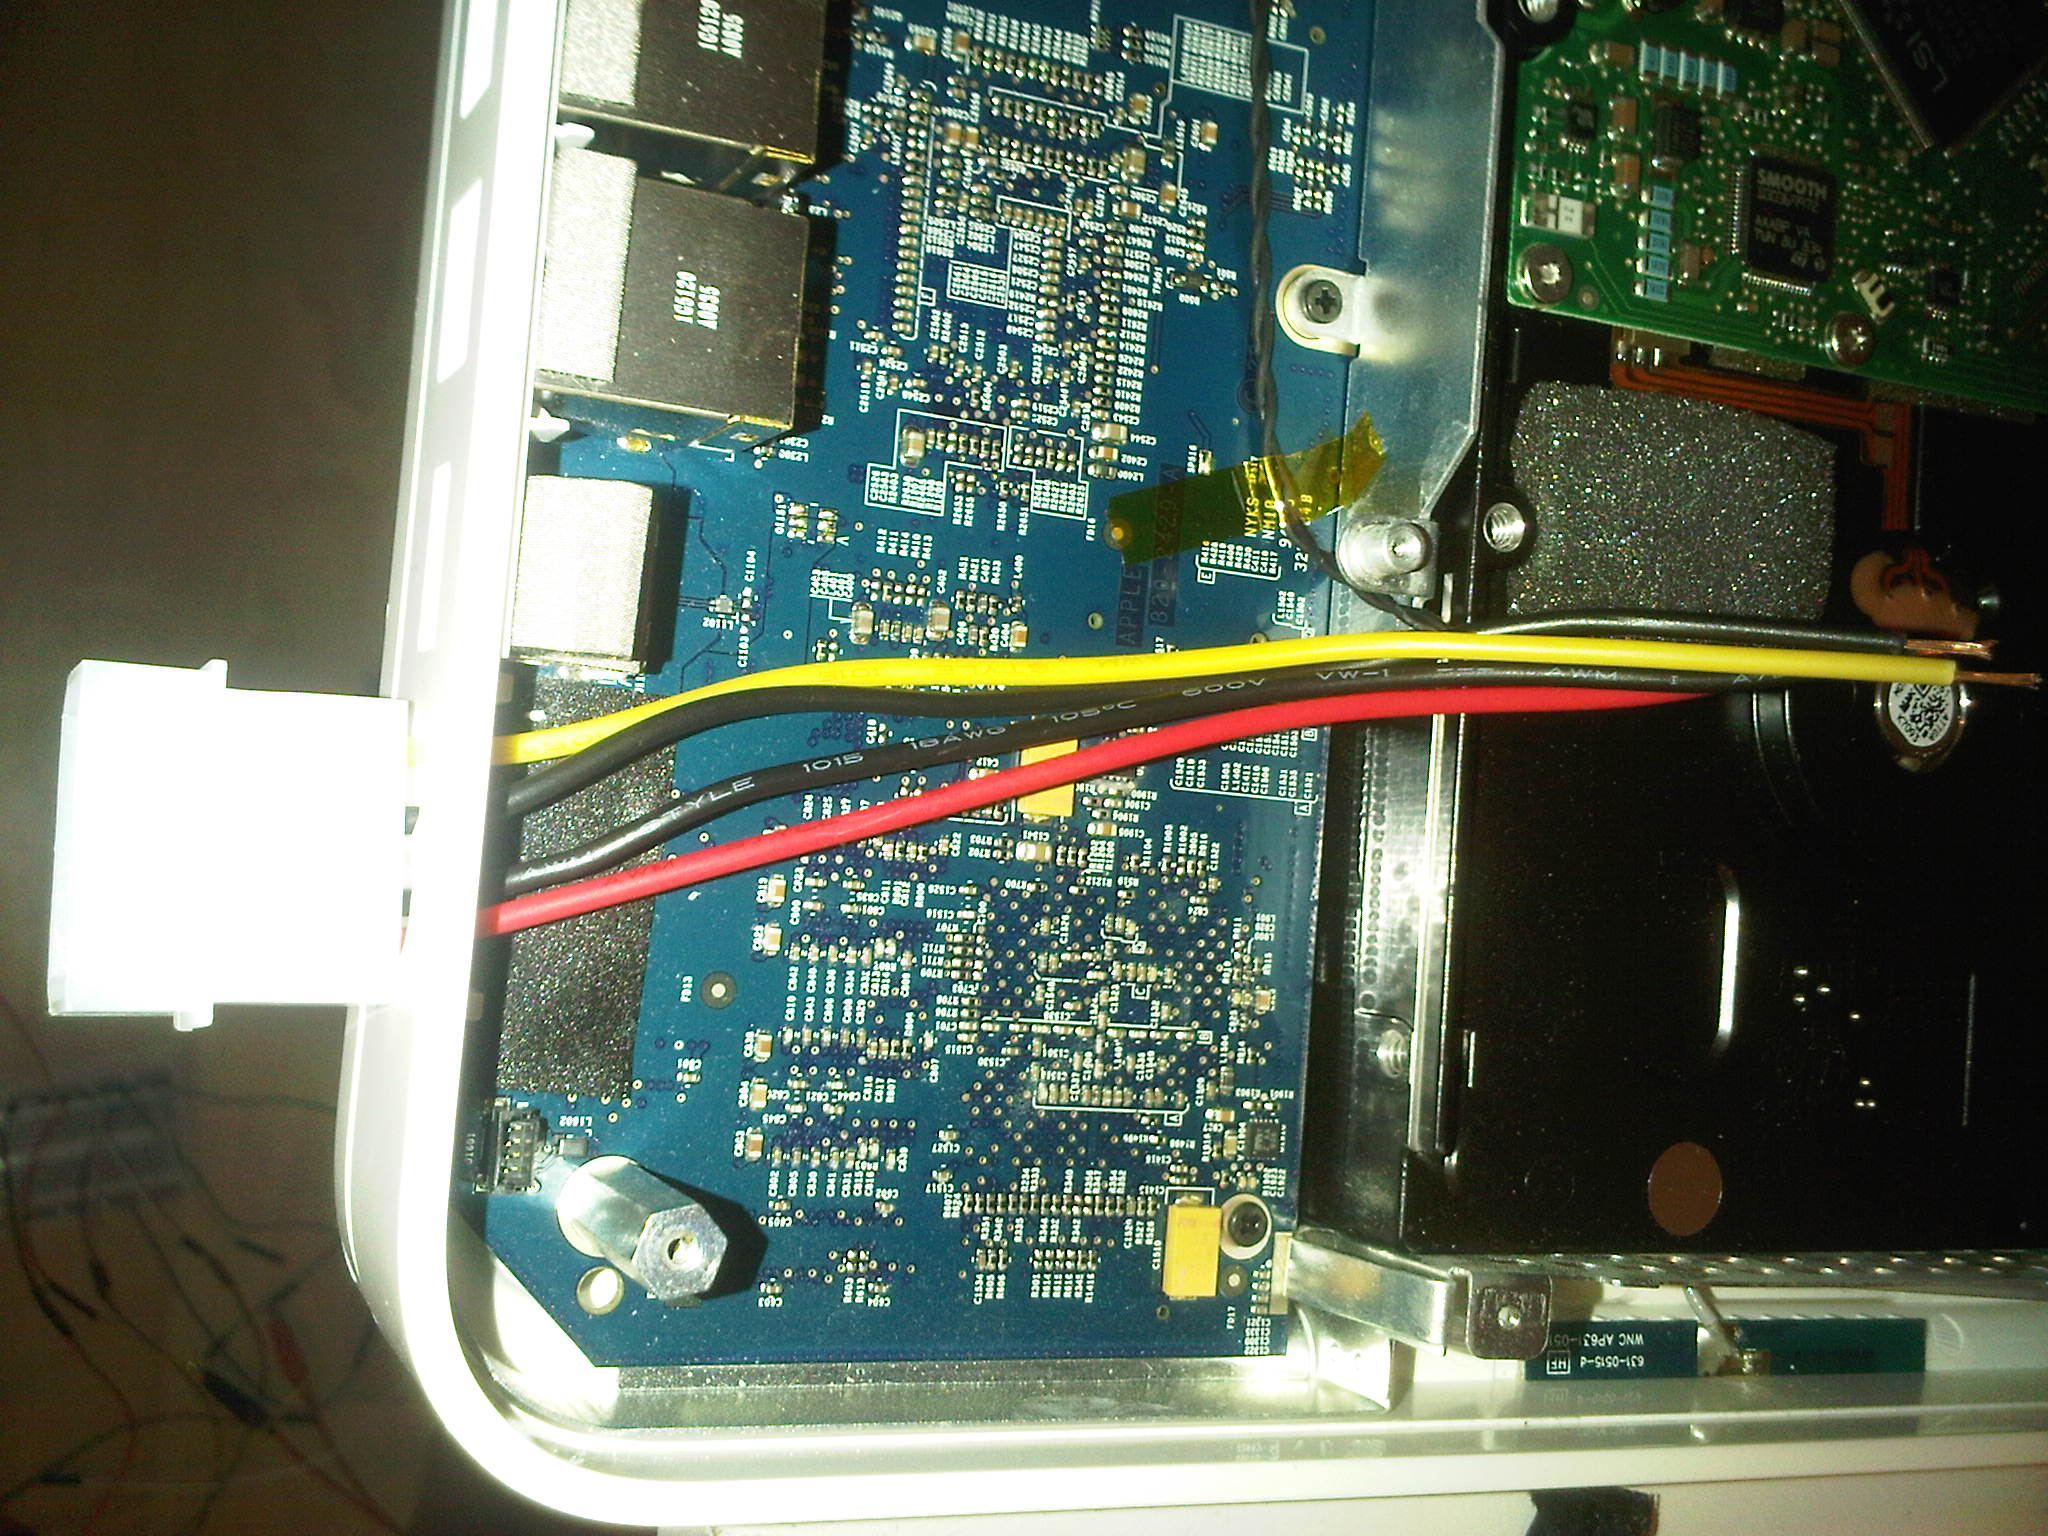
With this confirmed, I began work on the mod. I found a Molex extension cable and stripped the ends; soldering them to the matching connection lines which I cut from the old power supply. If you look closely, the 5V, 12V, and GND lines are all labelled on the power supply board. GND was connected to the black line, +5V to the red line, and +12V to the yellow line on the Molex connector. After soldering, I covered the exposed parts of the wire with electrical tape.

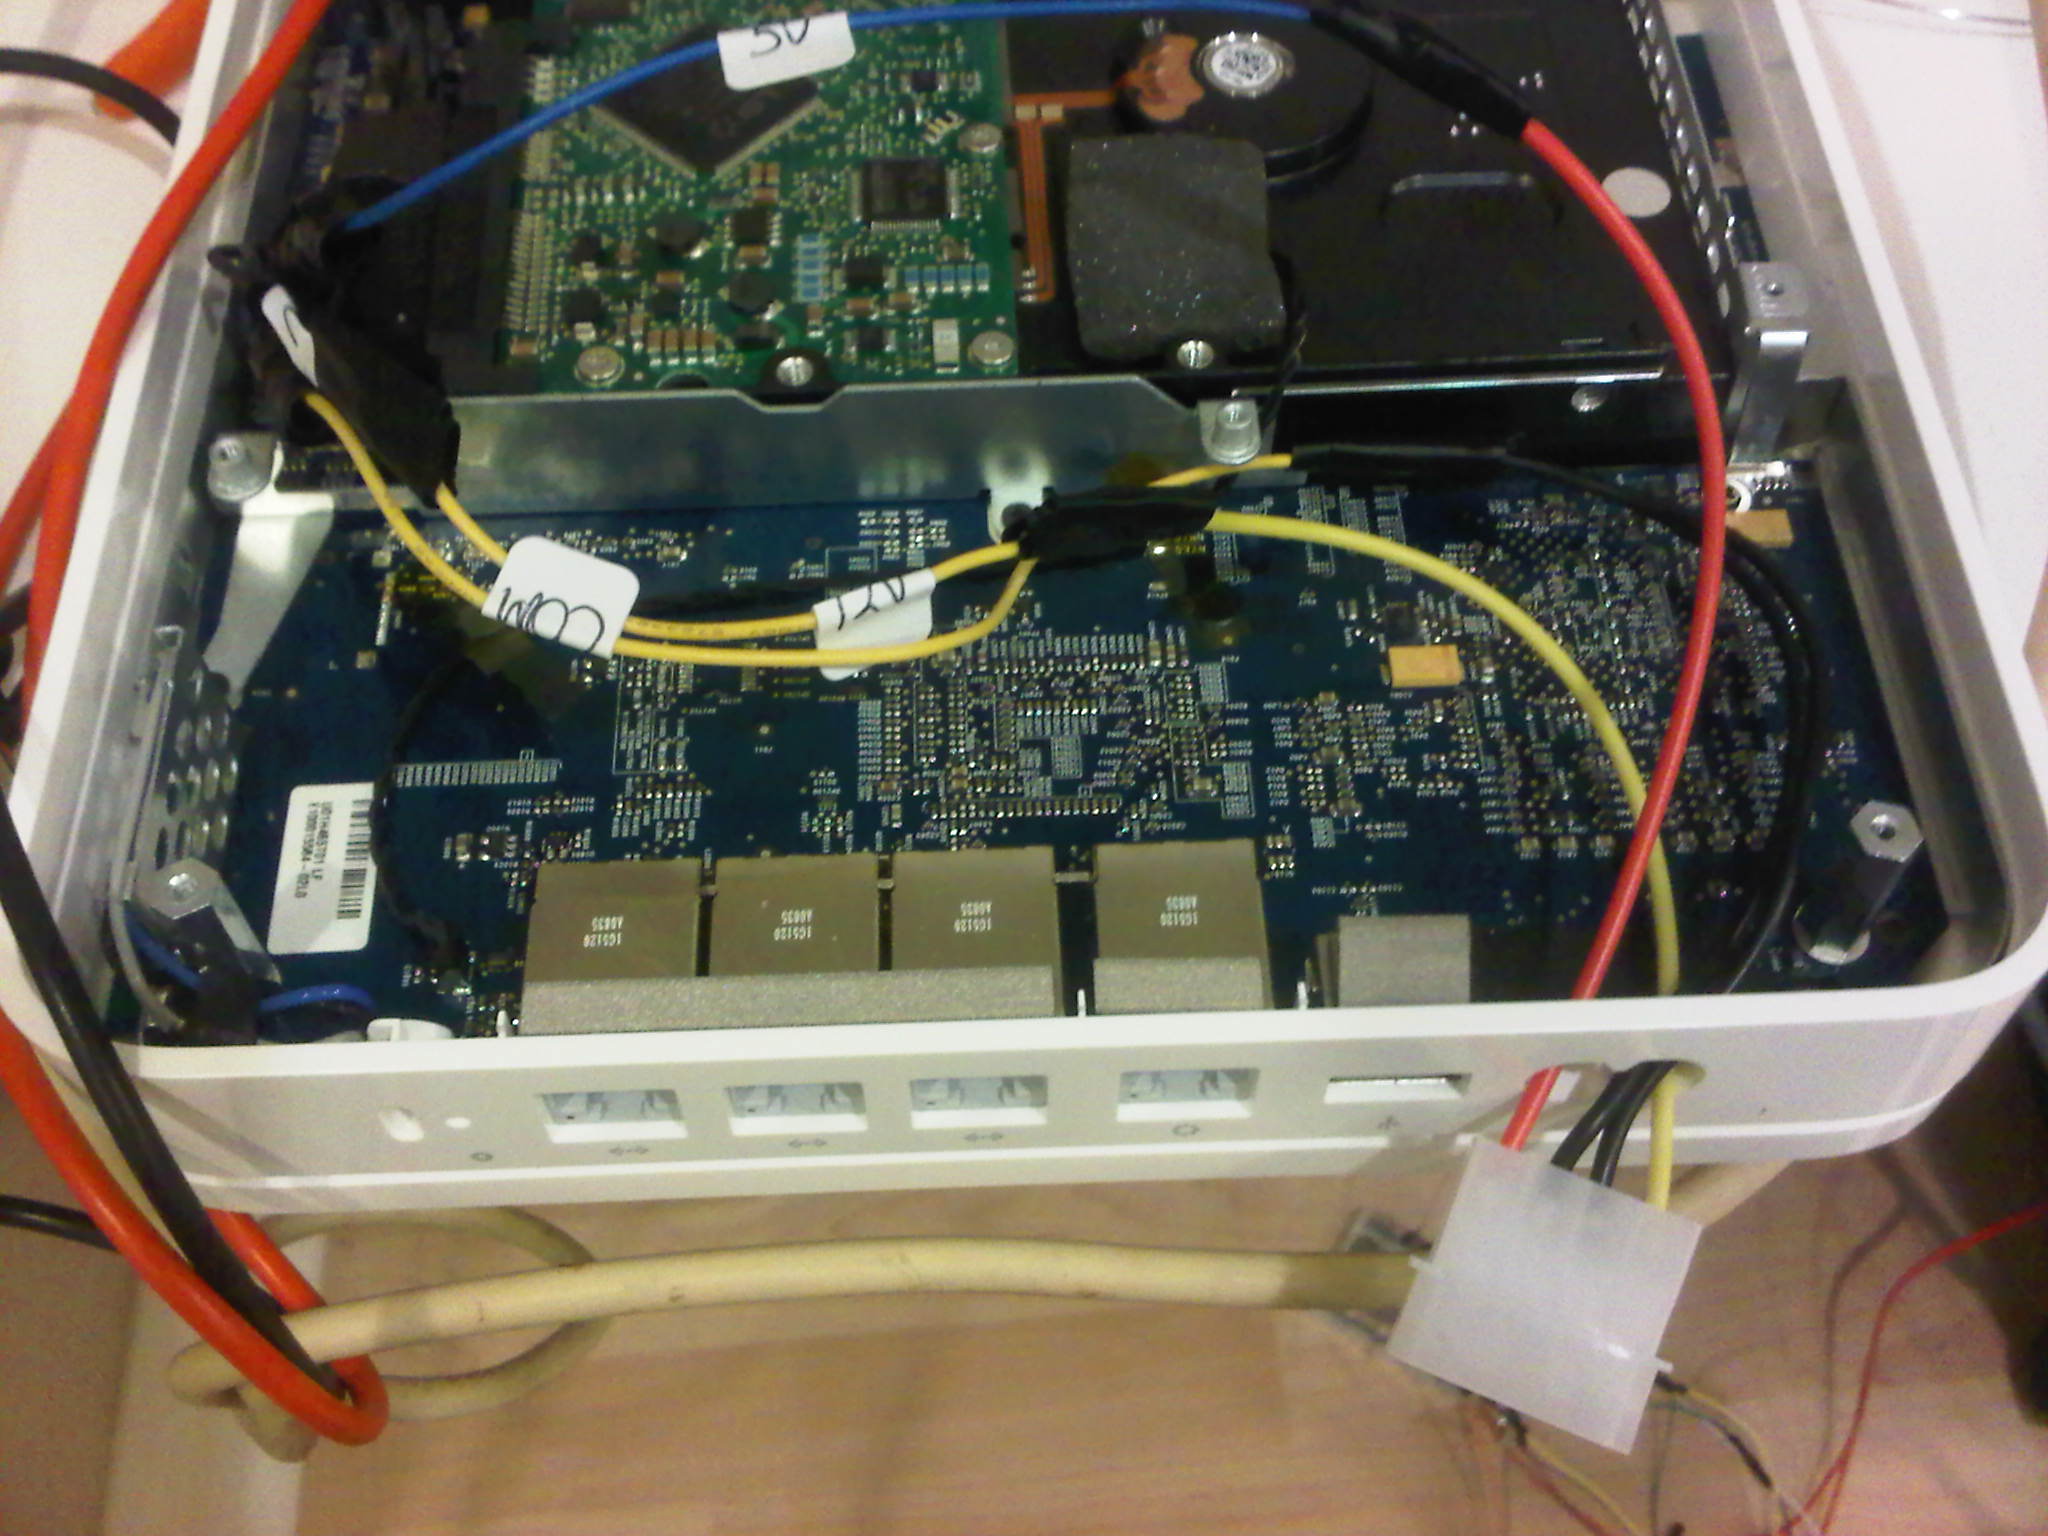
With all the lines connected, I then tied them together with Kapton (heat resistant) tape, and closed the Time Capsule back up. Note that although it doesn’t show in the picture, I did connect the fan again before putting it back together.


But what is it you repaired or replaced the psu!??